The final phase of any epoxy project is the curing phase. This phase typically is seen as a mostly hands-off part of the process. But that doesn't mean there aren't things you can do beforehand and during to achieve that perfectly clear finish that epoxy resin is well known for.
In this article, we'll be discussing 5 different tricks you can use to ensure that your epoxy cures solid as rock and clear as glass.
The core phases of an epoxy project
The core phases of an epoxy project are:
- Obtaining your epoxy.
- Measuring your epoxy.
- Mixing your epoxy.
- Pouring your epoxy.
- Curing your epoxy.
In addition to this article, there are also guides for obtaining, measuring, mixing, and pouring you epoxy, which you can visit in the links above.
5 Tricks for Achieving a Perfect Epoxy Cure
Getting the perfect cure from your epoxy finish is surprisingly easy, relying on just a few straightforward tasks. Though these tasks are quick and simple, the key to it is knowing what to do and when.
Here's our list of 5 tricks, with more info further below:
-
Choosing the right resin—The perfect cure starts with your resin choice.
-
Measuring your epoxy carefully—Take the time to get accurate proportions; it's worth it.
-
Remove those air bubbles!—Right after you pour is the perfect opportunity to clear up any last issues.
-
Maintain the right temperature/humidity—These are essential factors in a pristine cure.
- Be patient—Epoxy curing takes some time, but you'll be glad you waited.
Let's take a look at each.

Trick #1: Choosing the right resin
The first step to getting a perfect epoxy cure happens before you even mix up a batch.
Watch out for "budget brand epoxy".
One of the most important factors to epoxy curing strength and clarity is in the makeup of the epoxy itself.
These days, there are numerous brands of epoxy resin, many of which don't exhibit the same level of quality as the stronger crystal-clear premium brands. These subpar brands are often sold at a discounted price, earning them the moniker "budget brand epoxy".
The manufacturers of budget brand epoxies are almost always imported, allowing them to cut corners on production without being subjected to quality assurance or safety regulations. This is what allows them to offer their wares at such a low cost. Unfortunately, the consequences of this are always passed onto the customer. Substandard epoxy is more likely to produce a murky finish, break down early, or even become a health concern.
Premium epoxy saves the day.
On the bright side, there's an easy way to avoid this problem; just use a premium-grade epoxy from a reputable dealer. For instance, our UltraClear Bar & Table Top Epoxy is 100% made in the USA, featuring high-quality ingredients with no compromises or fillers. This means that you can achieve a crystal-clear finish without worrying about unexpected weakness to various types of damage such as scratching, household chemicals, or even rain.

Trick #2: Measuring your epoxy carefully
As part of preparing an epoxy batch to pour, you'll need to carefully measure portions of two liquid components into a shared container: resin and hardener. This blending of resin and hardener is what initiates the curing process and enables the epoxy to transition into the iconic finish its known for.
Epoxy mixing ratios vary by type.
Getting the right ratio between your epoxy components is essential to attaining a strong, clear cure. Because each epoxy has its own ratio, it's super important to confirm the right proportions before you start adding either component to the mixing container.
For instance, our UltraClear Bar & Table Top Epoxy requires a 1:1 mixing ratio. This means equal amounts of hardener and resin should be mixed together to get the perfect cure.
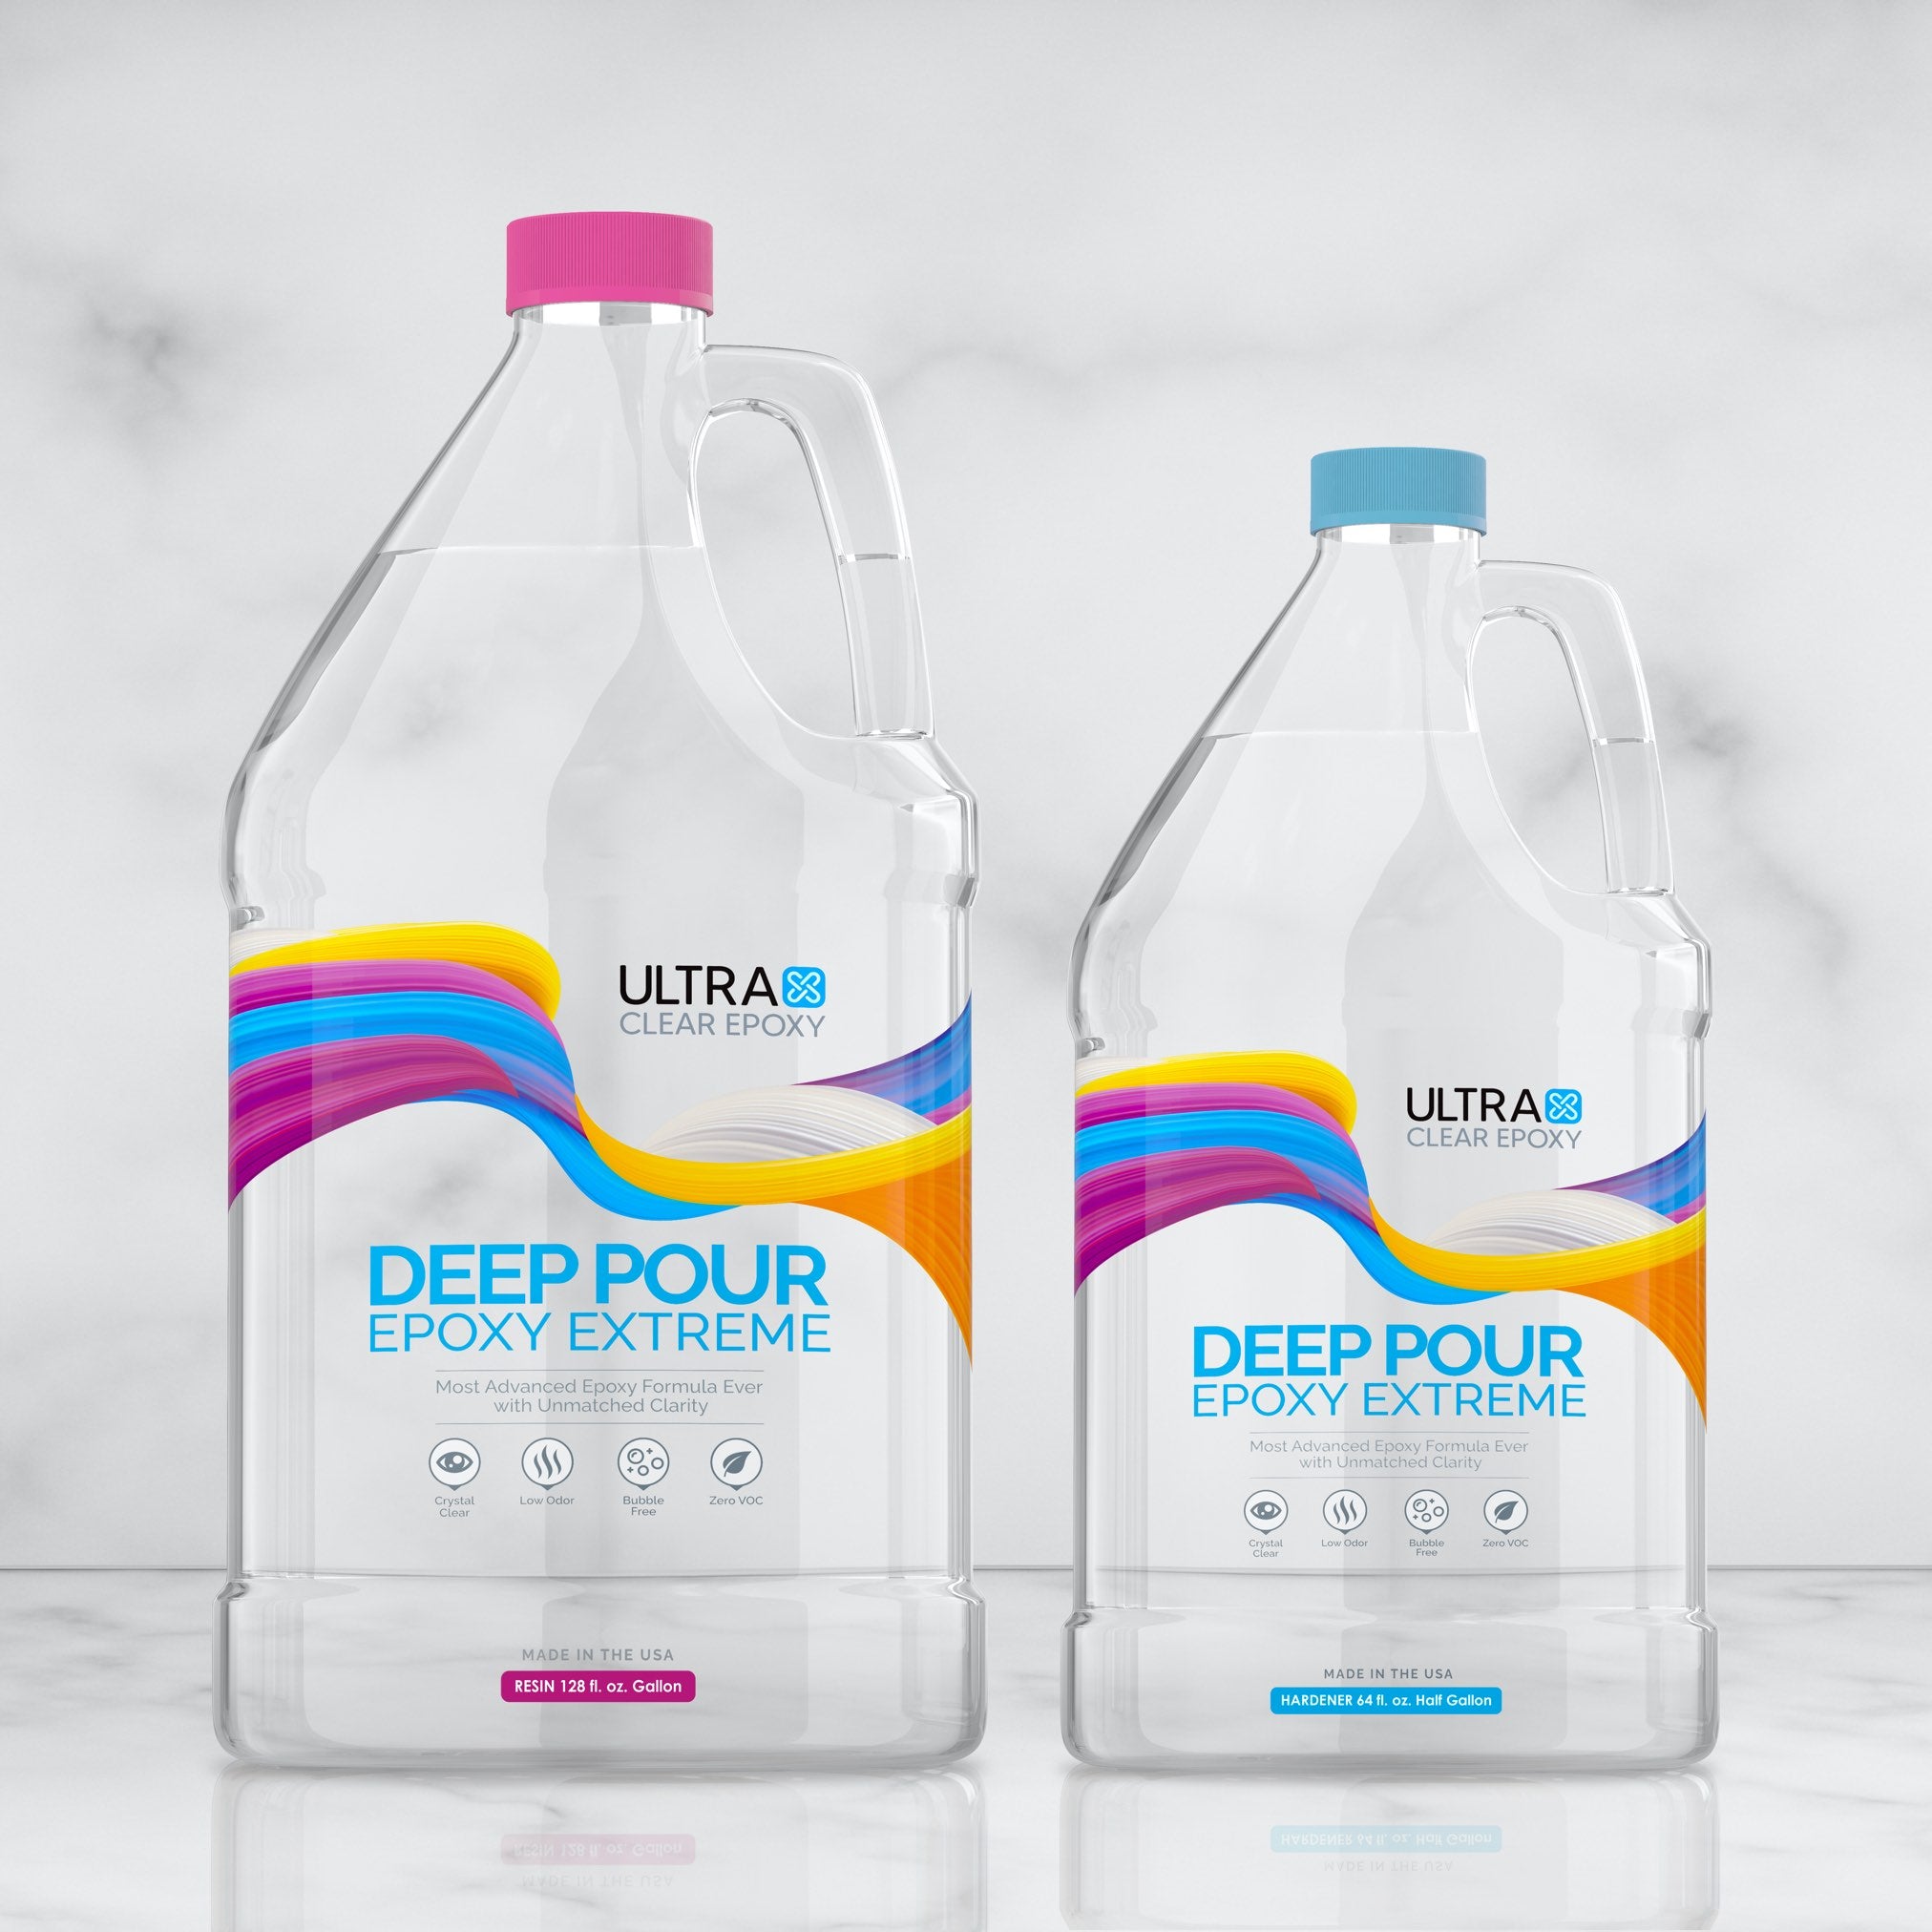
On the other hand, our UltraClear Deep Pour Epoxy uses a 2:1 ratio of resin to hardener. For this variant, you'll use twice as much resin as hardener, so a 36 ounce batch would be 24 ounces of resin and 12 ounces of hardener.
When epoxy is mixed without the correct ratio, it may develop soft spots in the finish and could fail to cure entirely. So, always read the instructions for your chosen epoxy brand to confirm you're adding the right amounts.
Learn more about measuring epoxy here.

Trick #3: Remove those air bubbles!
After pouring your epoxy layer out onto your substrate, there's just one more thing to do before giving it time to cure: air bubble removal.
Air bubble removal is a routine step in the process of epoxy application. When an epoxy batch is applied to a substrate or poured into a mold, it can seep into the substrate material, pushing out air which attempts to escape. But not all air makes it to the surface, instead becoming suspended within the viscous epoxy layer. That's when air bubble removal comes into play.
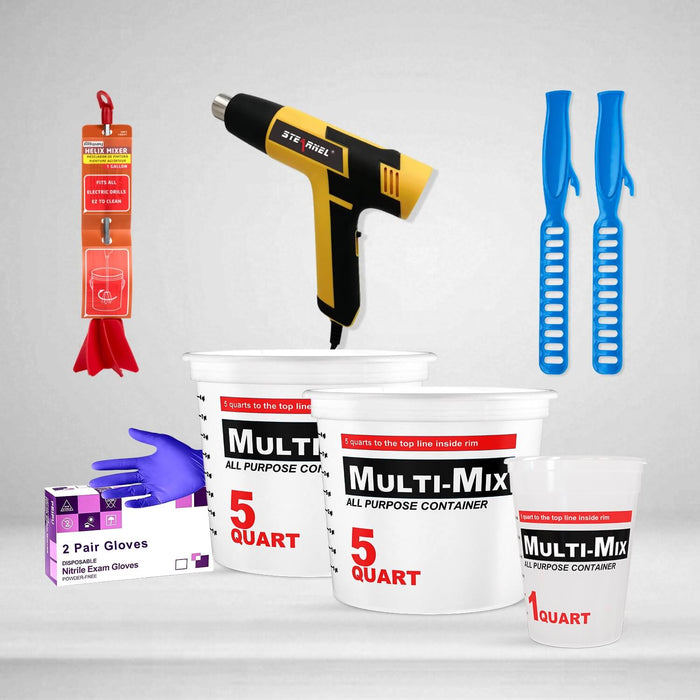
Removing air bubbles is quick and easy, with little room for error. A heat gun or blowtorch is held several inches over the epoxy coating. While active, the tool is moved smoothly over and across the entire epoxy surface. This generates heat within the epoxy layer, which causes the air to rise to the surface, where it bursts out of the epoxy bubbles its trapped in and is released into the environment.
Once the air exits the epoxy coating, the epoxy itself will settle, resulting in the crystal-clear appearance often achieved by enthusiasts and professionals who are familiar with the process.
See here for more information on removing air bubbles from epoxy.

Trick #4: Maintain the right temperature/humidity
Fourth from our list is maintaining the ideal temperatures and humidity levels while letting your epoxy cure.
For most epoxy resins, the optimal temperature setting is 75°F. This allows the epoxy to cure efficiently but isn't so hot that it cures unevenly. Being a few degrees off here isn't a major issue, but it's best to try and get as close as possible to that 75°F setting.
Additionally, while curing, it's important to keep the humidity from getting too high. An ideal humidity for curing epoxy is 60% or less. When humidity is too high, there's a chance for the epoxy to cure with a slightly (or severely) cloudy finish. Avoid this by keeping your project climate below 60% humidity.
Once cured, the epoxy will be waterproof, able to resist stains, water, rain and moisture in general without issue.
See our answers to common curing questions here!

Trick #5: Be patient
The last tip we have is also the simplest. Always give your epoxy adequate time to cure.
Waiting for epoxy resin to cure can feel strangely tedious at times. There's a sense of anticipation about being able to use the surface you so carefully constructed.
But epoxy needs the full curing time for good reason. In most cases, the outermost exterior of an epoxy finish will start to feel solid after 12 hours, maybe even less. But that doesn't mean its usable. Under the surface of this solidified layer is the rest of the epoxy, still curing as its attempts to generate and release the heat it creates through exothermic reaction.
All epoxy projects need time to cure.
For the average project, such as an epoxy table top, the curing phase typically lasts at least 72 hours. Depending on the scale and depth of the finish, plus relevant environmental conditions (i.e., temperature and humidity), this time can be extended by as much as several days.
But curing only happens once, and once you'll be glad to have allowed it due time, as once it's over, the epoxy resin will be beautiful and ultra-strong.
Have questions? Want advice? Contact us!
If you have any questions about getting an optimal epoxy cure, or if you'd like assistance in planning an epoxy project, please reach out to us at UltraClear Epoxy—our epoxy experts are ready to assist!
You can contact us via phone or email here. During business hours, you can also text chat online with one of our resin specialists by clicking the Help button at the bottom of your screen.
In our online store, you'll find a variety of useful tools and supplies, ideal for resin projects, plus our award-winning UltraClear Bar & Table Top Epoxy and our UltraClear Deep Pour Epoxy.