The pouring step of the epoxy process is fairly short, but a lot can happen during that brief period of time.
Since we often receive questions about how to pour epoxy resin properly, as well as whether you can pour it on certain types of materials or in particular conditions, we've decided to write this FAQ post, which answers a number of these questions while providing links to more detailed resources.
Epoxy resin FAQs: The pouring phase
We've listed these questions roughly in the order of how frequently we hear them.

Question #1: How do you pour resin into molds?
For most molds, you'll just pour it directly from the container, much like one would for a standard table top project. Move smoothly and keep the container a few inches above what you're pouring into to reduce air intake as it falls and settles.
For molds that have only a small opening to pass the resin through, you can try using pipettes to siphon the resin out of its mixing container and inject it into the mold until it's been filled.

Question #2: How do you pour resin on wood?
This is very straightforward. First, we recommend applying a seal coat to most wooden substrates. A seal coat will push out the air contained in the pores of the wood, vastly reducing the amount of air bubbles you have to remove later.
Later, once you've finished mixing your bigger batch, simply pour the resin carefully over the wooden substrate surface. Table top epoxy will self-level as you pour, so move across the surface to make sure it all gets covered, and keep an eye on it as it spreads out.
You can learn more about this in our How to pour resin article.
Question #3: How thick can you pour epoxy resin?
The answer to this depends on the type of resin being used.
Here is a quick reference list:
- UltraClear Table Top Epoxy - 1/8 of an inch per layer.
- Most other table top epoxies - 1/16 of an inch per layer.
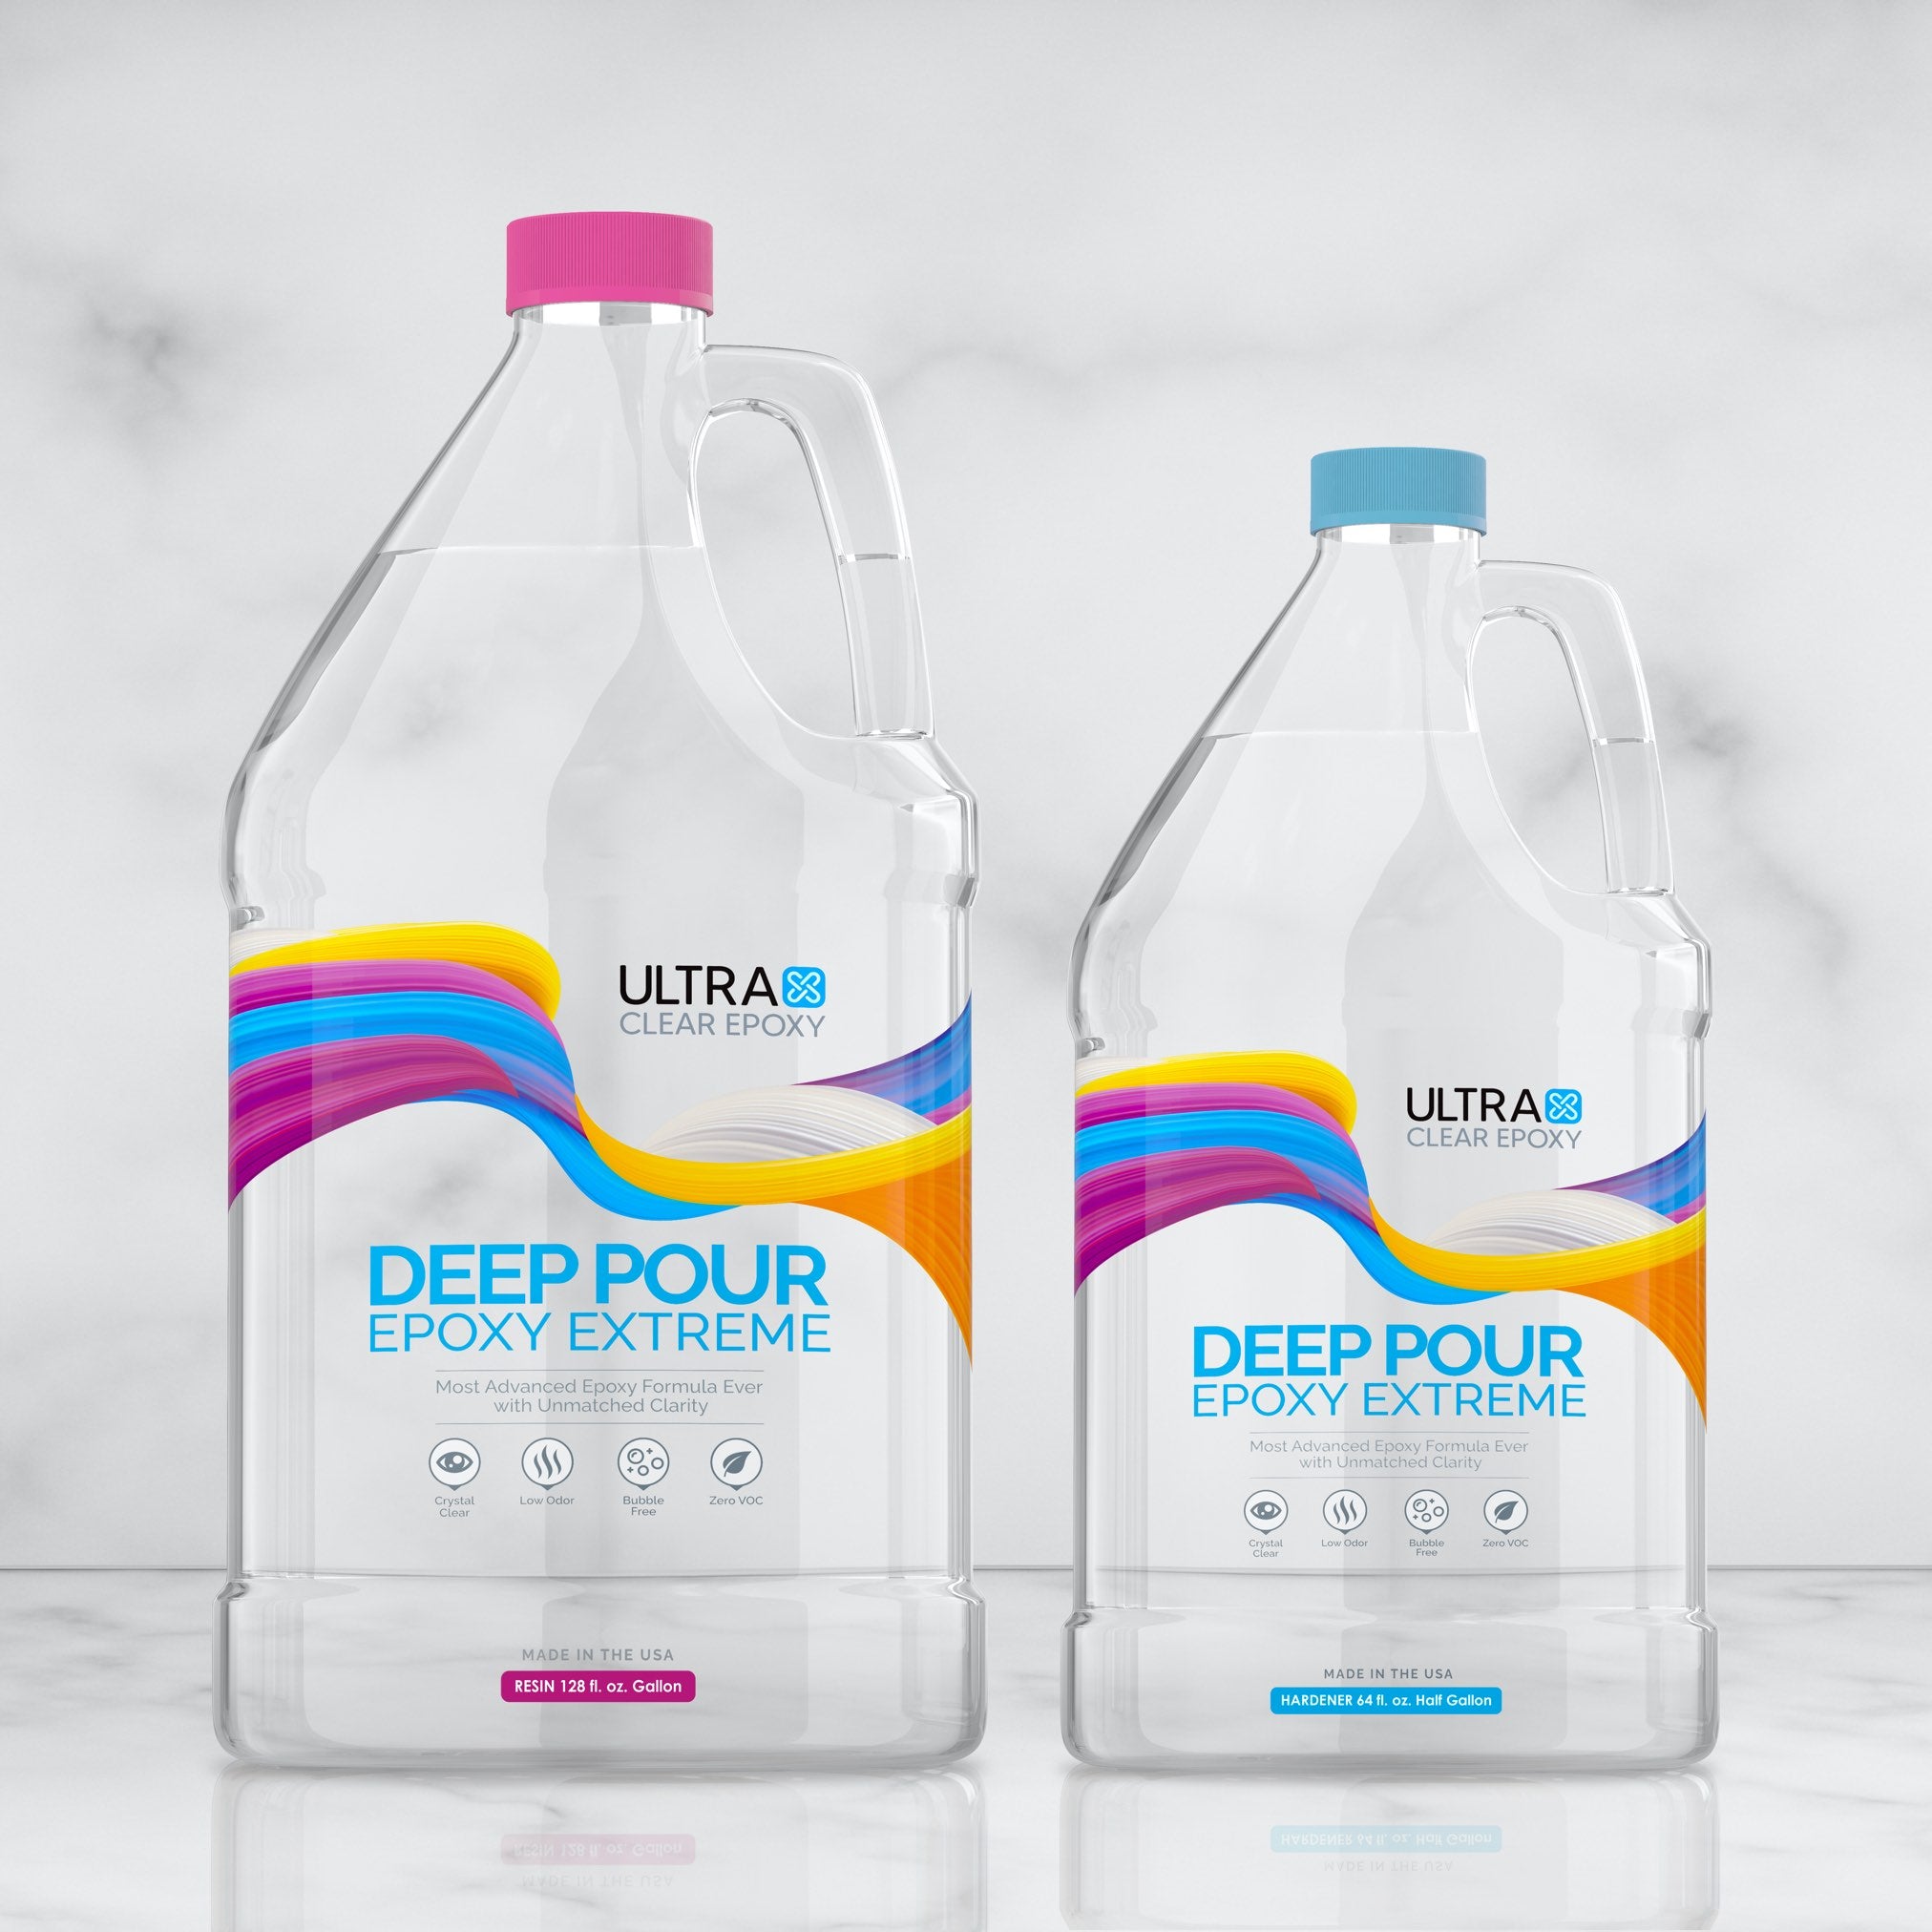
- UltraClear Deep Pour Epoxy - Up to 2 inches per layer.
- Most other casting resins - Up to 1 inch per layer.
With our UltraClear Table Top Epoxy, the resin self-levels at 1/8 of an inch. A single layer should not be poured thicker than that, but if desired, you can give it some time to cure and then add additional layers until satisfied.
For many other brands of table top epoxies, the epoxy will self-level at 1/16 of an inch, about half as much. Again, you can pour multiple layers to add further depth by letting the previous layer cure partially (often about 4 to 10 hours) then pouring your next layer over it.
For our UltraClear Deep Pour Epoxy, you can pour layers of up to 2 inches thick. Our Deep Pour Epoxy is a casting resin, so it's less viscous and flows more quickly than table top epoxy resins. The reason it allows for such deep layers is because the low viscosity permits air to escape more easily from it, preventing the imperfections that would show up in a high-viscosity resin.
Notably, casting resins don't self-level in the same way as table top epoxies and often need to be contained with a raised edge, rail guard, or trim to prevent them from flowing over the edge and off your project surface.
Question #4: How do you calculate an epoxy resin pour?
For most projects, you can determine the amount needed by using our Coverage Calculators, located on the following pages:
We've also written some guidelines in our Measuring Epoxy article.

Question #5: How do you pour resin without getting bubbles?
The key to air bubble prevention is actually in the mixing.
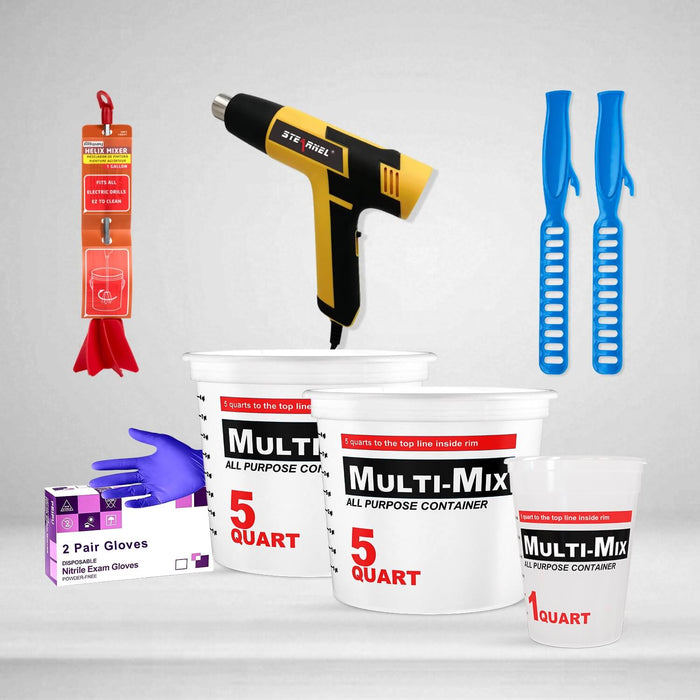
When you mix your epoxy components together, you need to be careful pulling in air. If you're using a power drill, make sure the batch is large enough (about 1 gallon), and use Medium speed while keeping the bit placed in the lower half of the batch.
If you raise the drill bit too high, it can pull in air, which will add bubbles to your resin batch.
As long as you mix properly per your chosen brand's instructions, you shouldn't end up with too many air bubbles after pouring. The few that do show up can be easily removed with a heat gun or propane torch.
Question #6: Can you pour resin over acrylic paint?
Yes, resin can bond to surfaces containing dry acrylic paint.
Question #7: Can you pour resin over sand?
Yes. In fact, some of our favorite projects employ sand liberally to create ocean and beach-themed resin projects.
Question #8: How long do you let resin sit before pouring?
You don't need to wait at all, actually.
Once you've finished mixing up a resin batch, it will be immediately ready for pouring. Mixed epoxy resins have a pot-life (i.e. working time), which is how long they can be safely poured without issue.
For UltraClear Table Top Epoxy, the working time is 5 minutes, so pour it right after you finish mixing for optimal results.
For UltraClear Deep Pour Epoxy, you get a very lenient 20 to 30 minutes, depending on batch size, which is far more than enough to do a full pour.

Question #9: Can you pour resin on canvas?
Yes, epoxy resin can be poured on canvas, whether or not it's been painted. It will cure strong and give the art a slightly darker, deeper appearance.
Question #10: Can you pour resin over paper?
Yes, you can pour resin over paper; many users choose to embed paper items like photos and news articles into their project.
However, we strongly recommend coating these items with a layer of something like Mod Podge first. This will help prevent the paper from absorbing the epoxy resin and becoming "wet".

Have questions? Want advice? Contact us!
If you have any questions about epoxy resin, or if you'd like assistance in planning an epoxy project, please reach out to us at UltraClear Epoxy—our epoxy experts are ready to assist!
You can contact us via phone or email here. During business hours, you can also text chat online with one of our resin specialists by clicking the Help button at the bottom of your screen.
In our online store, you'll find a variety of useful tools and supplies, ideal for resin projects, plus our award-winning UltraClear Bar & Table Top Epoxy and our UltraClear Deep Pour Epoxy.


