An epoxy finish can turn any old (or new) table top into a stunning work of art that can endure all sorts of wear and tear without breaking a sweat. But the method for applying an epoxy coating to a table top isn't immediately obvious.
While mixing and pouring epoxy are somewhat straightforward, getting a perfect finish takes some planning and understanding of the epoxy process.
In this article, we'll go over the entire process for giving your table top an epoxy finish, step by step.
First up—planning your epoxy table top project
Before you can begin your epoxy table project, you'll first need to plan it out, which involves gathering the necessary materials and acquiring a quality epoxy that'll last long issue.

A list of the supplies you'll need:
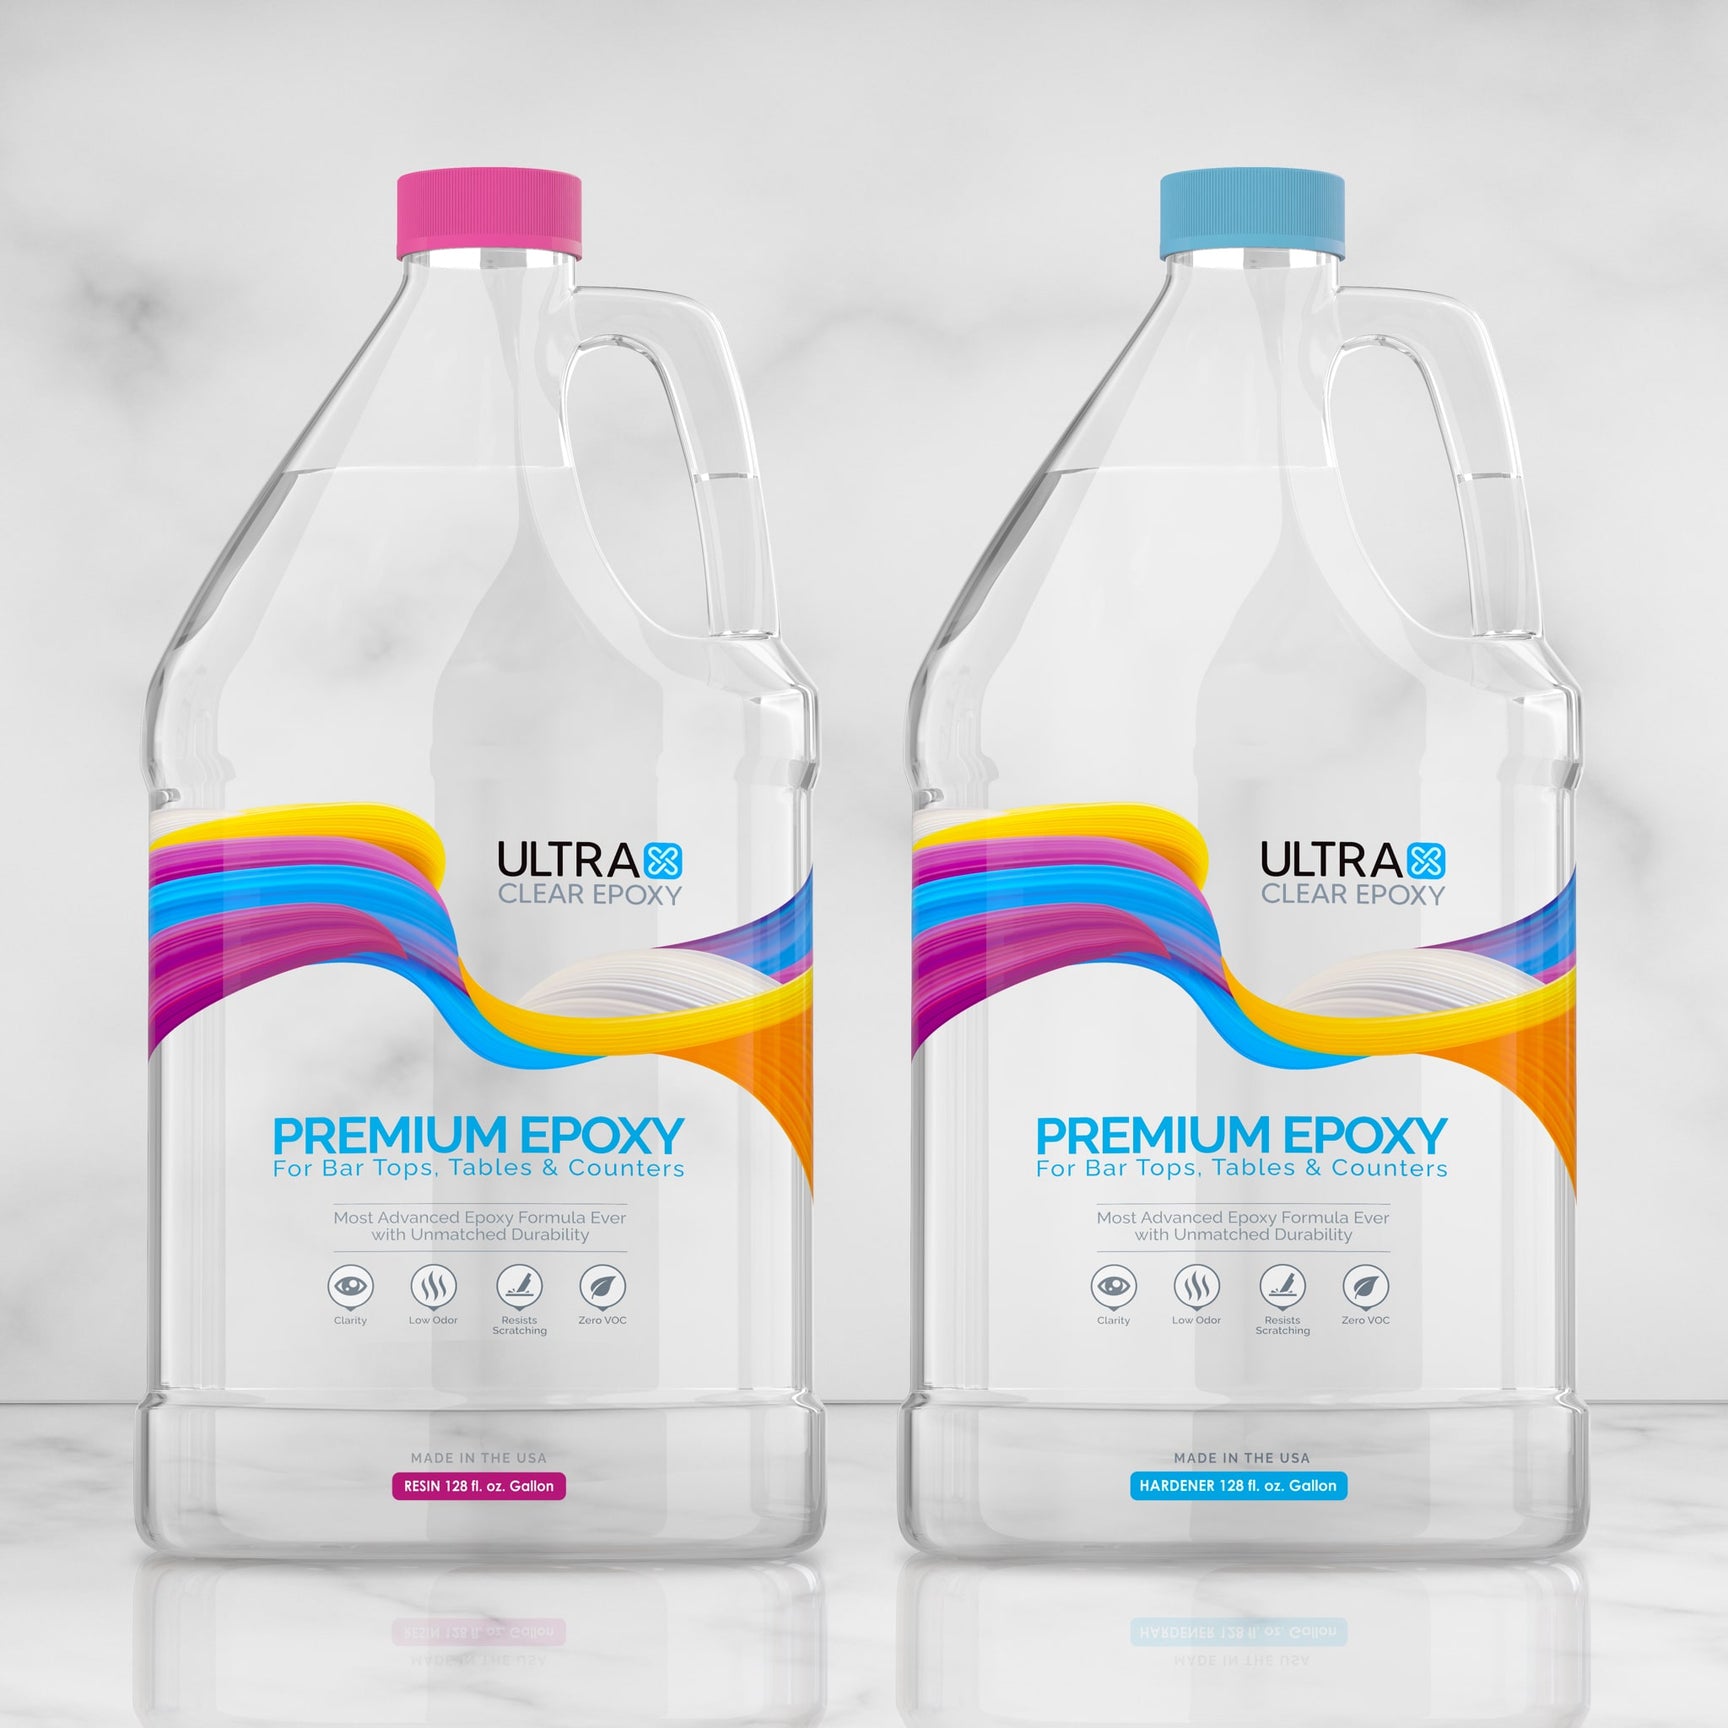
- UltraClear Bar & Table Top Epoxy
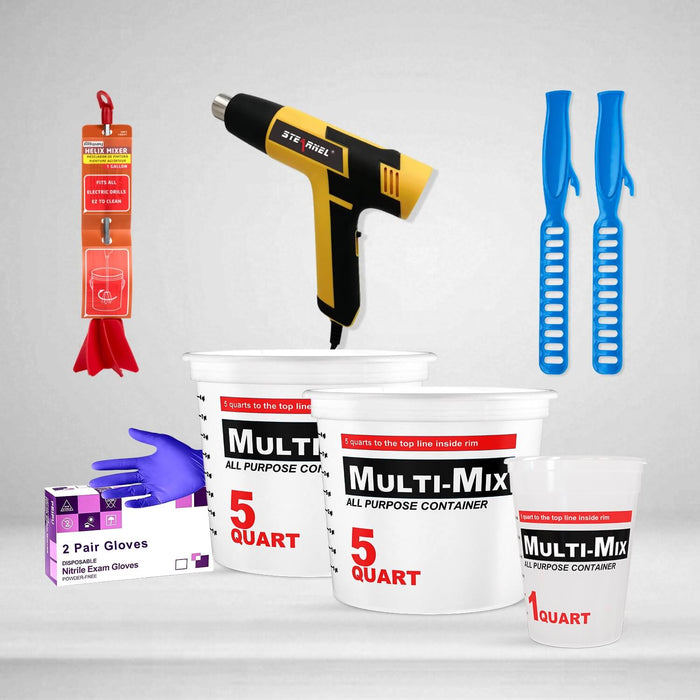
- Mixing containers
- Mixing sticks and/or a power drill with a mixing bit
- Protective gloves
- A heat gun or torch (for removing bubbles)
- Sandpaper (various grits) or an orbital sander
- Clean cloth or tack cloth
- Painter's tape or plastic sheeting
- Leveling tool (optional)
- Measuring cup (for precise measurements)
For small batches (e.g., an epoxy seal coat), we recommend our 1-quart mixing containers. For large batches (e.g., an epoxy flood coat), we recommend our 5-quart mixing containers.
Applying epoxy to a table top: A step-by-step guide
Once you've acquired the supplies you'll need and settled on an area to perform your project, it's time to begin the project. Applying epoxy to a tabletop involves a number of straightforward steps to ensure a smooth, even finish. Here’s a step-by-step guide:

Step #1: Preparation
- Clean the surface: Ensure the tabletop is clean, dry, and free of dust or debris. Sand the surface lightly to create a better bond and wipe it down with a clean cloth.
- Seal edges: If your tabletop has raw edges, consider sealing them with a thin layer of epoxy or wood finish to prevent the epoxy from seeping through.
Step #2: Protect the surrounding areas
-
Use painter's tape (optional): Apply painter’s tape around the edges of the tabletop to protect the surrounding surfaces. You can also lay down plastic sheeting to catch any drips.
Step #3: Measure and mix the epoxy
- Measure according to the included epoxy instructions: Measure the resin and hardener according to the recommended mixing ratio. 1:1 for UltraClear Bar & Table Top Epoxy; others may vary.
- Mix thoroughly: In a mixing container, combine the resin and hardener. Stir slowly for several minutes until fully blended, scraping the sides and bottom of the container to ensure complete mixing. Consider a power drill with mixing bit for large batches.
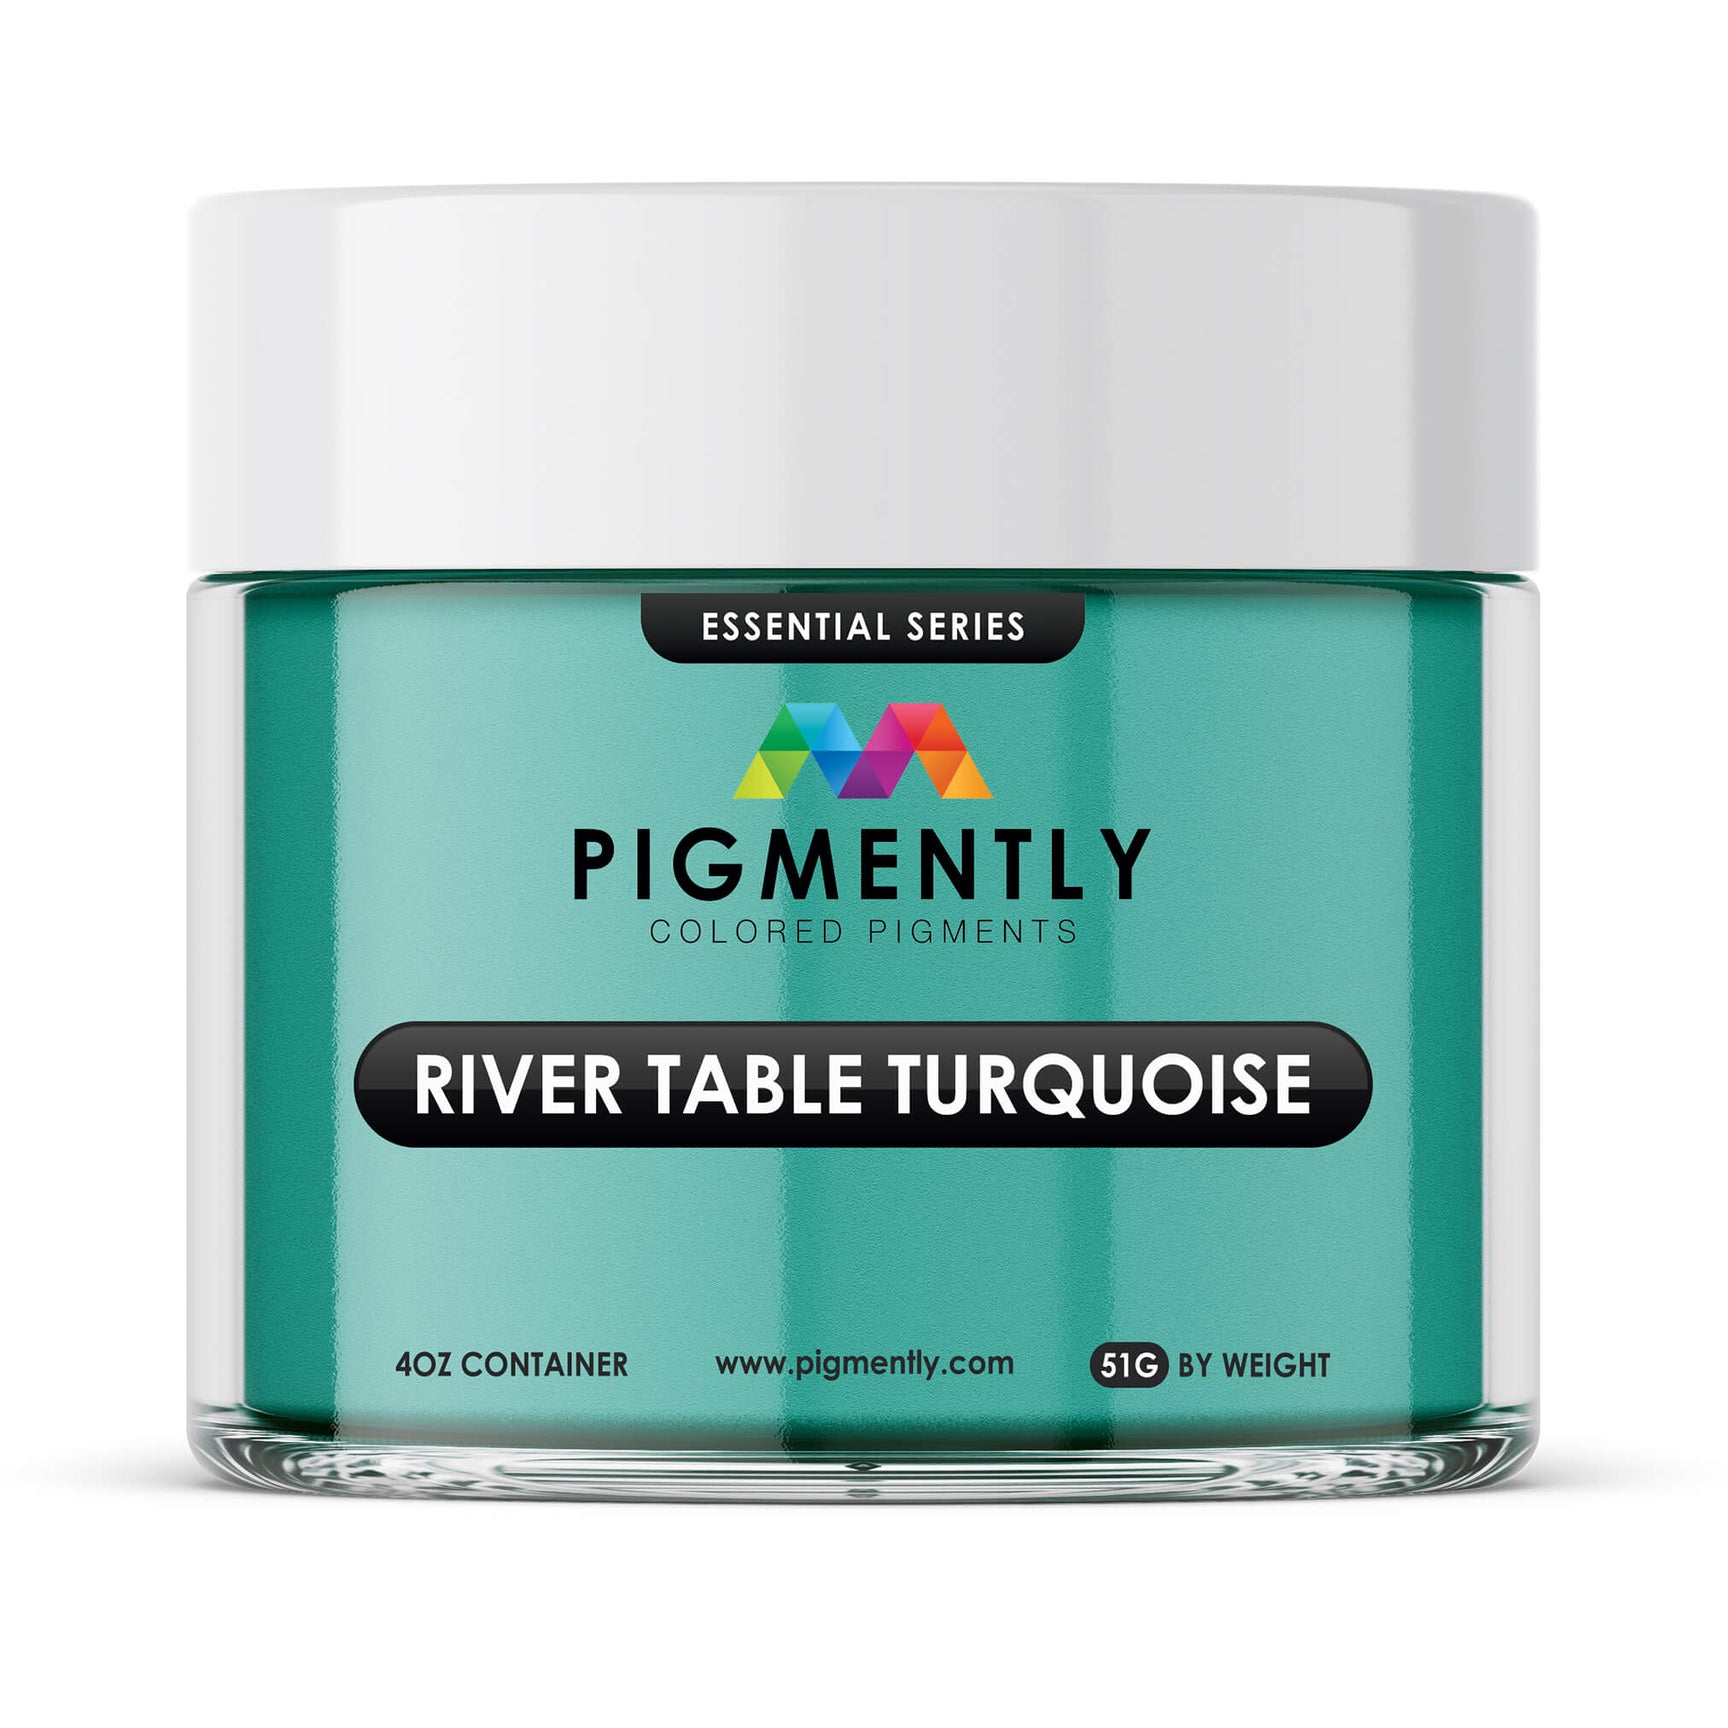
- Add color (optional): If desired, add pigments or dyes to the mixed epoxy for color. Stir well to evenly distribute the color throughout the mixture.
Unfamiliar with epoxy colorants? Read our coloring guide!

Step #4: Pour the epoxy
- Initial pour: Begin pouring the epoxy onto the center of the tabletop. Some users like to use a spatula or spreader to help guide the epoxy to the edges, ensuring it covers the entire surface.
- Create an even layer: Use a foam roller or a brush to spread the epoxy evenly across the surface. Aim for a thickness of about 1/8 inch or as recommended by the epoxy manufacturer.
Click here to learn about 5 common pouring mistakes and how to avoid them.
Step #5: Remove air bubbles:
- After pouring, use a heat gun or torch to gently pass over the surface of the epoxy. This will help remove any air bubbles that may have formed during mixing or pouring. Keep the tool a few inches away and move it continuously to avoid overheating any one area.
Read our air bubbles guide for detailed guidance.
Step #6: Let the epoxy cure
- Allow the epoxy to cure according to the manufacturer’s instructions—typically for a minimum of 72 hours.
- Ensure the area is kept at a stable temperature and low humidity to promote proper curing.
- Avoid touching or disturbing the surface during this time.
Check out these 5 expert tips for achieving a perfect cure!

Step #7: Applying some finishing touches
- Sanding: Once the epoxy is fully cured, you may want to sand the surface lightly with fine-grit sandpaper or an orbital sander to smooth out any imperfections.
- Apply a Final Coat (Optional): For added durability and a glossy finish, you can apply a second layer of epoxy after sanding.
Step #8: Cleanup
- If you placed painter's tape, remove it while the epoxy is still slightly tacky to achieve clean edges. Clean any tools and containers immediately, as epoxy can be difficult to remove once cured.
Additional Tips:
- Perform you project in a controlled environment: Ensure the temperature and humidity are within the recommended range for the epoxy to cure properly. This is typically 75°F and below 60% humidity.
- Plan for drips: Place a level underneath the tabletop to ensure it is even, preventing drips on one side.
- Safety precautions: Always wear gloves and work in a well-ventilated area when handling epoxy. Quality epoxy isn't dangerous, but it can still be a mild irritant before it hardens, so stay safe.
Following these steps will help you achieve a smooth, professional-looking epoxy finish on your tabletop.

UltraClear Epoxy: Resin products of unmatched quality
As with any material, epoxy resin has both pros and cons. But no other sealant has so few weaknesses, and that's what puts epoxy above all other options when it comes to being a finish for high-traffic fixtures and furniture such as countertops, table tops, and bar tops. And among epoxy resin products, there are none that match the quality of UltraClear.
You can find our UltraClear Epoxy products on the following pages:
- UltraClear Bar & Table Top Epoxy: The classic choice for bar tops, countertops, and table tops. Rock-solid, waterproof, and crystal-clear.
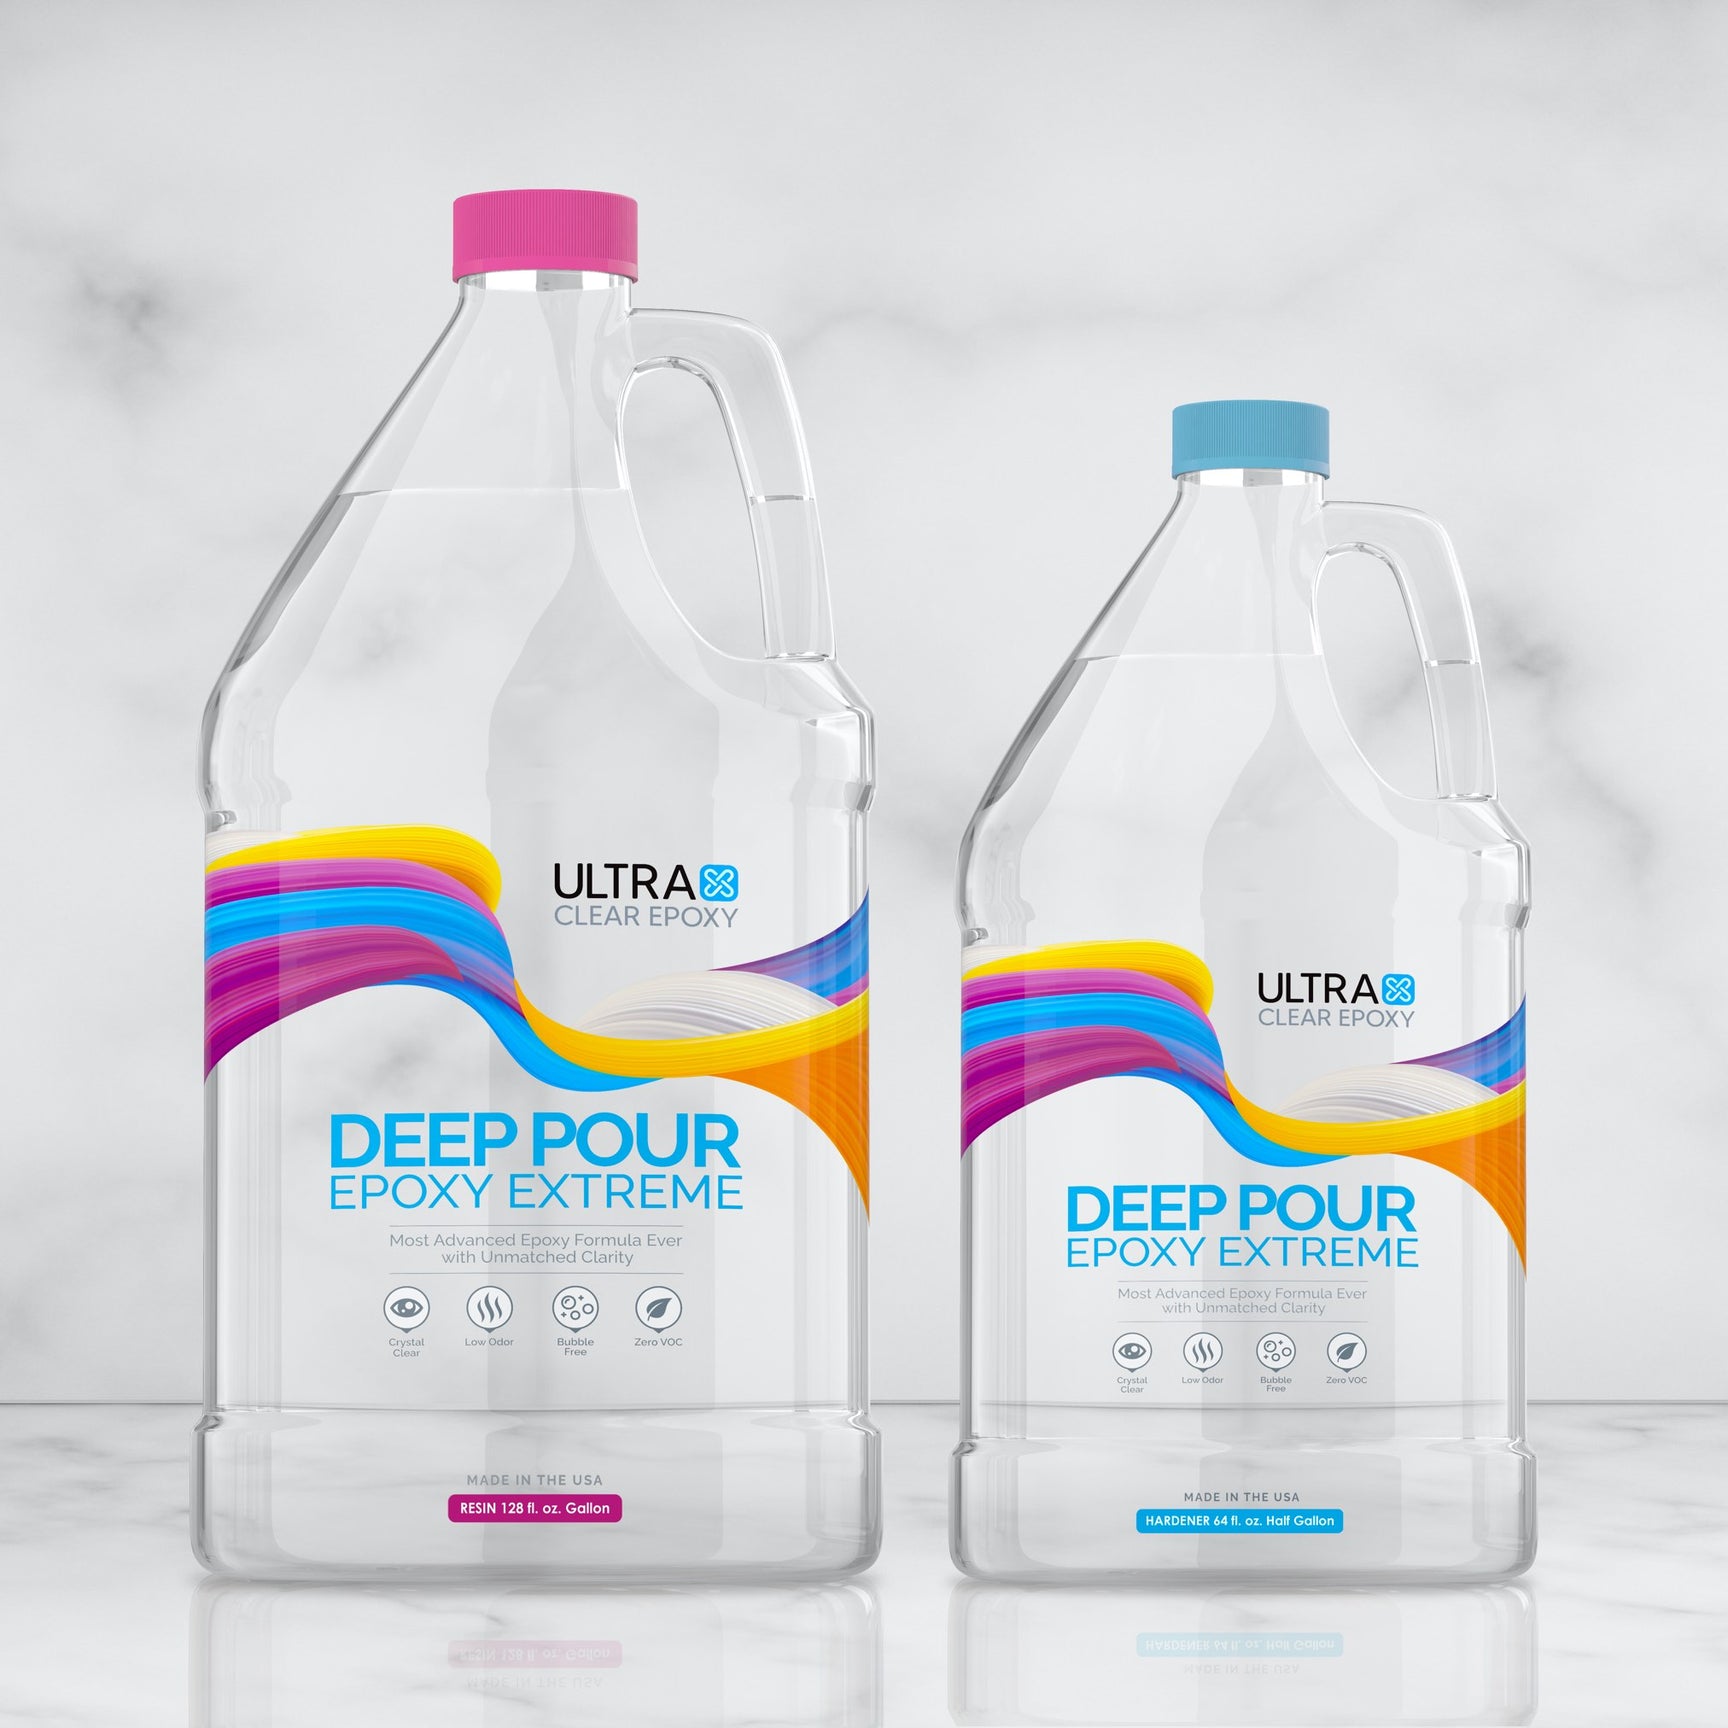
- UltraClear Deep Pour Epoxy: Our deep pour casting resin. Ideal for thick layers, such as those needed for river tables.
- UltraClear Art & Craft Epoxy: Our arts and crafts resin, designed for smaller artistic endeavors which typically involve resin molds and require a bit more fluidity than bar top epoxy.
Epoxies that endure, with minimal upkeep
With high chemical and physical resistance, UltraClear resins can withstand and endure many forms of wear and tear without breaking a sweat or showcasing any cosmetic damage.
Plus, in addition to its ease of application, they also require little upkeep to maintain its pristine appearance. With a high-quality epoxy finish, you can expect a minimum lifespan of 7 years, with no need for reapplication. Beyond that, it's a breeze to renew that coating, requiring only a light sanding and a fresh layer of epoxy.
Expert support from our resin specialists
For more information about epoxy, or for assistance with your epoxy project, contact us at UltraClear Epoxy, where you can speak with one of our epoxy experts. During business hours, you can also text chat online with one of our resin specialists by clicking the Help button at the bottom of your screen.