Understanding how to apply epoxy from beginning to end is essential to achieving a perfectly clear and strong finish. Though the application process isn't difficult, it's not immediately self-evident, either. For this reason, most reputable epoxy brands include a detailed set of instructions on how to use it in your project.
But not all brands do, and sometimes you just want to look something up anyway. In this article, we'll explain the core elements of the epoxy application process, going over each part step by step. We'll also link to in-depth guides we have for each phase, and we'll let you know which epoxy we think is best for nearly every type of DIY or commercial project.
The Epoxy Application Process, Step by Step
The task of applying epoxy is often divided into several phases each with their own series of smaller steps to perform.
Below, we've written an outline of our version of the process:
- Phase #1: Preparation
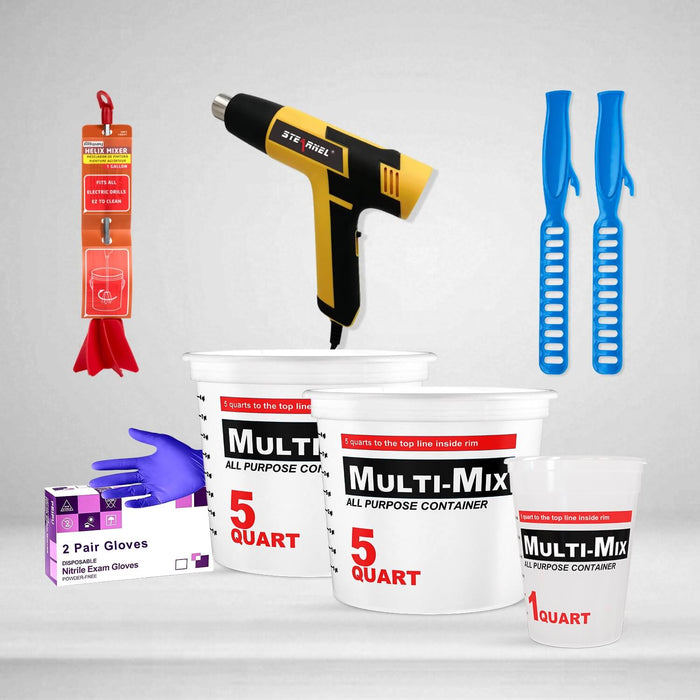
- Gather the epoxy and any additional supplies and tools you need.
- Clean your substrate material.
- Cover the surrounding work area with plastic sheeting.
- Phase #2: Seal Coating
- Mix up a small resin batch.
- Apply it as an epoxy seal coat to your substrate.
- Allow the seal coat to partially cure for 4 hours (no more than 10).
- Phase #3: Flood Coating
- Mix up a large resin batch (suitable for your project).
- Pour it onto your substrate material.
- Use a heat gun or torch to remove air bubbles.
- Phase #4: Curing
- Set and maintain an ambient temperature and humidity as close to optimal levels as possible.
- Allow the epoxy to cure in this climate for at least 72 hours.
- After that time has passed, your surface will be usable!
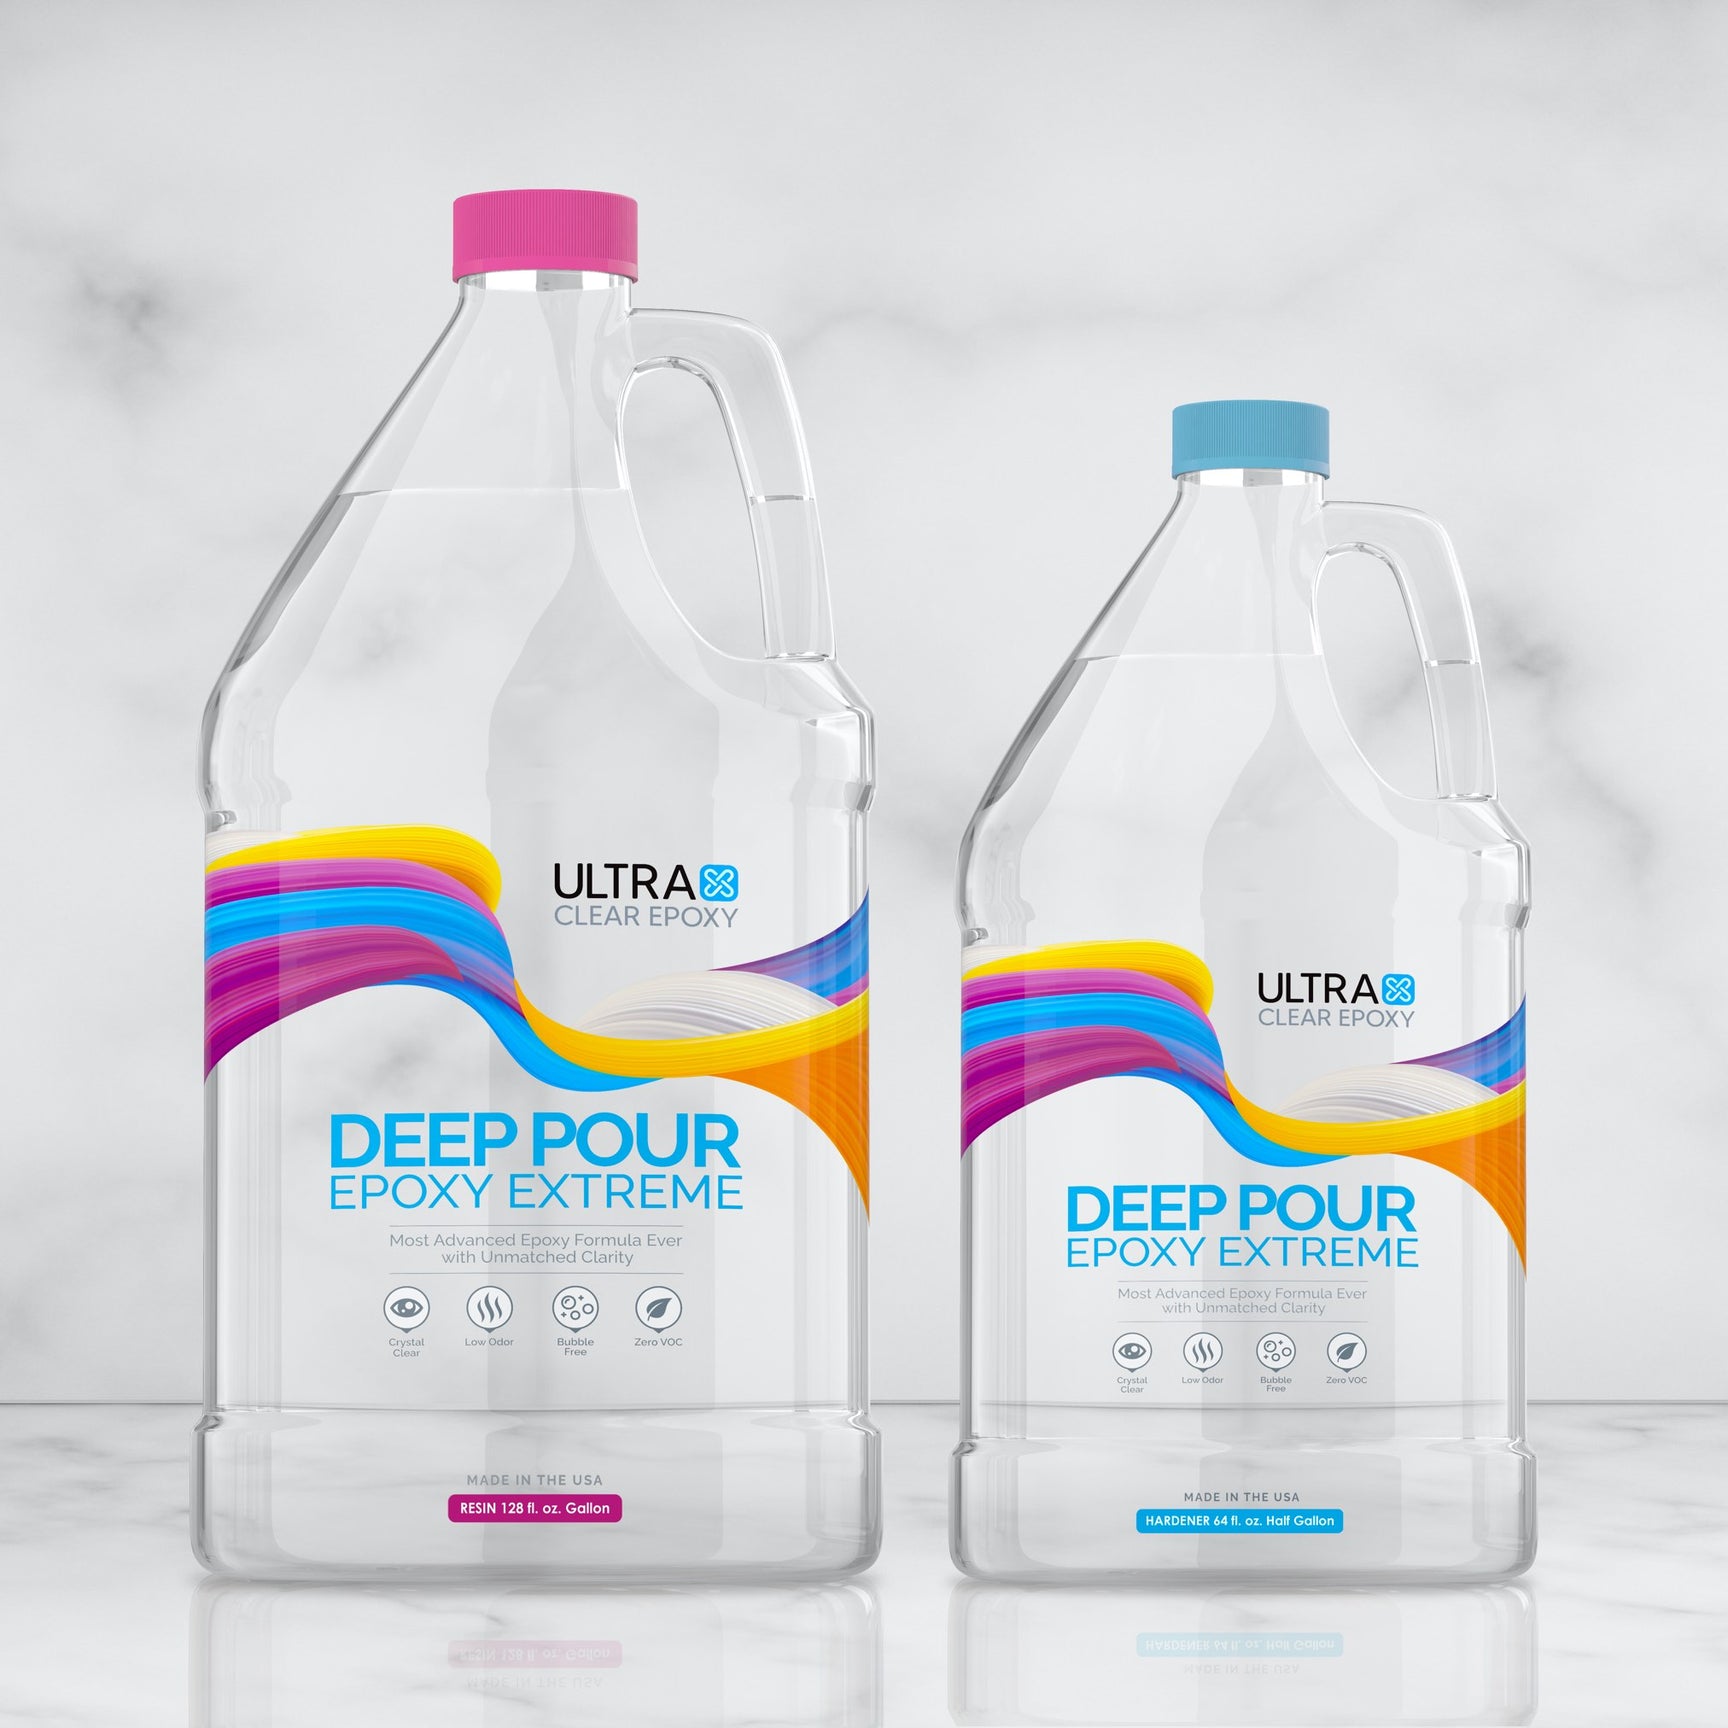
Depending on the type of project, there may be other steps involved. For instance, a river table makes use of Deep Pour Epoxy to generate a "river" epoxy vein in a space between substrate materials; this adds on an additional phase.
But for the average epoxy project, this is the bulk of the process. Next we'll take a slightly closer look at what each phase means.

Phase #1: Preparation
The preparation phase includes gathering all of the tools and supplies—and the epoxy, of course—that you'll need to complete your project. It's much better to have everything ready when you begin than to find out you're missing something partway through.
This phase also involves cleaning your substrate and readying it for a strong epoxy bond. Sometimes a substrate needs a light sanding, other times it just needs to be freed of residue and other potential imperfections or contaminants that might otherwise mar the epoxy finish.
Finally, a potentially optional step involves putting plastic sheeting on any surface near the epoxy work area. This protects those surfaces from errant epoxy droplets or accidental spills. Though this isn't absolutely necessary, most users employ this advice to be safe.

Phase #2: Seal Coating
For almost any epoxy project, applying a seal coat is an incredibly important task to ensure a crystal-clear finish. The goal of a seal coat is to seal in the pores of a substrate, while also pushing out the air residing within them. In doing this, far fewer air bubbles will manifest during the flood coating, and the few that do show up are thus easily removed.
What is an epoxy seal coat, exactly?
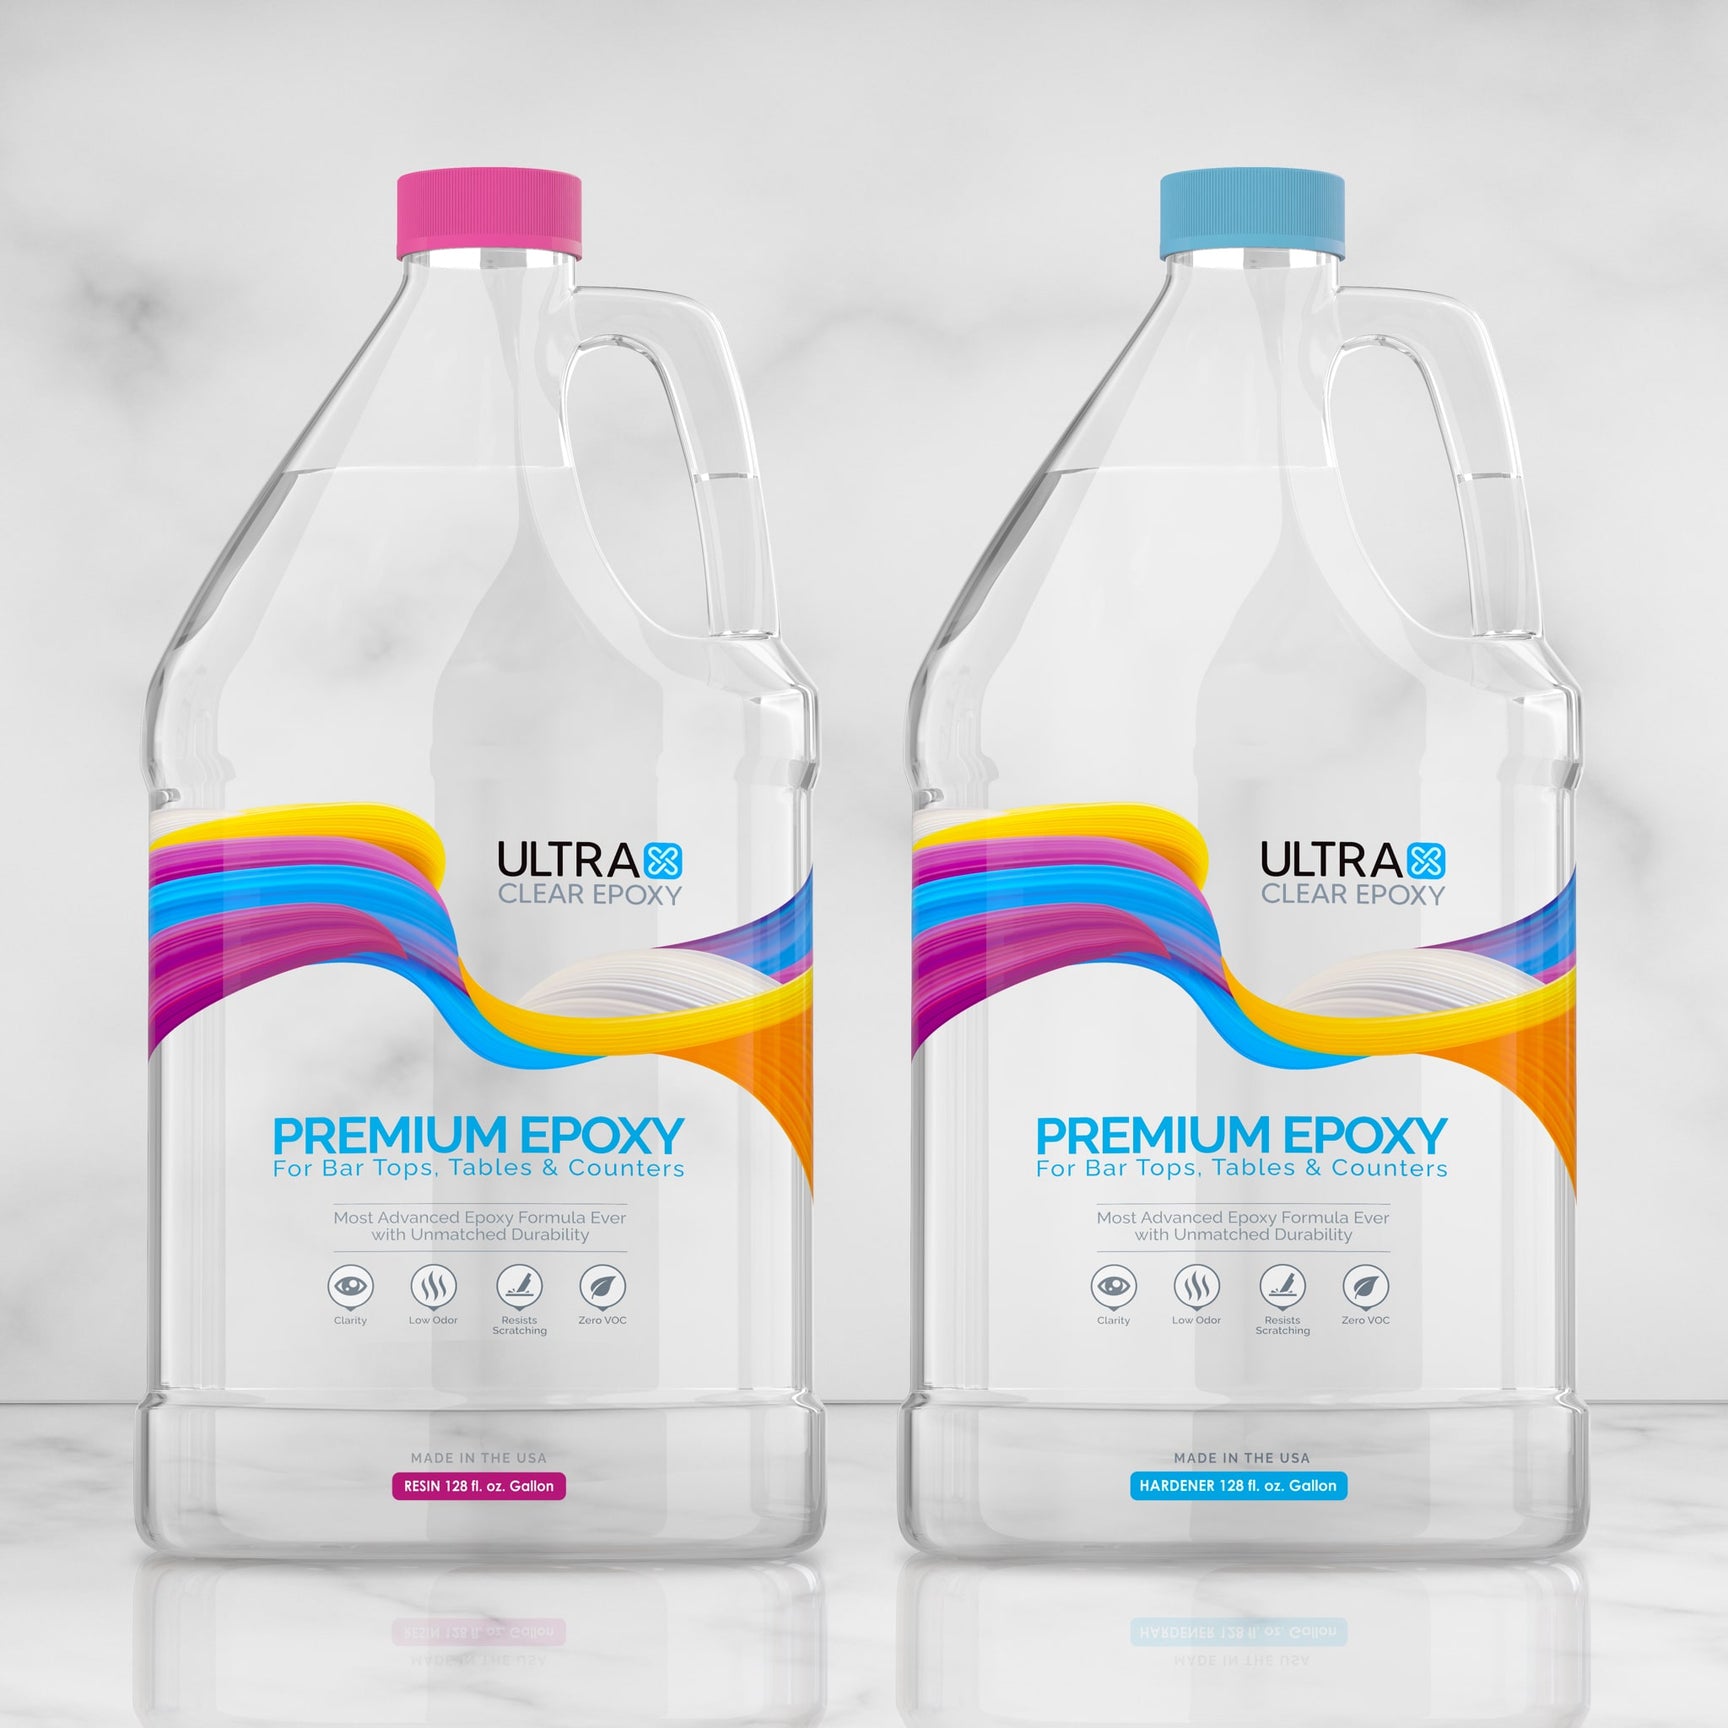
An epoxy seal coat is a small batch of Bar & Table Top Epoxy that has been brushed onto the entire substrate surface. This is manually applied using a paintbrush. The seal coat is then allowed to partially cure (4 hours typically) before moving onto the flood coat phase.
In some cases, a project may need multiple seal coats. This is typically for substrate materials that are incredibly porous, such as barn wood.
Learn more about epoxy seal coats in our in-depth guide here.

Phase #3: Flood Coating
The flood coat phase of the epoxy project is what many consider the "main" phase of the entire process. In this phase, a flood coat of epoxy is poured onto the substrate surface, ultimately becoming the final epoxy finish.
A flood coat of epoxy uses much more epoxy resin than a seal coat, and as such usually requires larger mixing containers.
To get the flood coat ready, the epoxy must be measured carefully then mixed for several minutes before finally pouring it onto the substrate surface.
Once the pouring is completed, the user should begin the air bubble removal step. This step makes use of a heat gun or torch to remove any air bubbles within the epoxy finish by raising their temperature, causing them to rise to the surface and burst, at which point the air is released into the atmosphere and the epoxy resin is then able to level out and settle, free of blemishes.
After that, the project moves onto the final phase of the project: curing.

Phase #4: Curing
The curing phase occurs in the final stretch of an epoxy project. In this phase the epoxy is simply left alone, giving it time to cure (i.e., harden) via the chemical reactions that lead to it changing from liquid to solid.
During this phase, it's important to keep the climate conditions (temperature and humidity) of the area in which it is curing to as close to the resin's ideal as possible.
For most resins, the ideals for temperature and humidity are:
- Temperature: 75°F. Between 70°F to 80°F is viable, but going outside that range ususally incurs increased risk of blemishes, such as clouding, amine blush, or air bubbles.
- Humidity: 60% or lower. Humidity is the level of moisture in the air. High moisture can interfere with the curing process; it can keep the epoxy soft, or cause amine blush to occur, making the finish look less clear.
Keeping your conditions within the desirable range will allow your epoxy to cure to the strong, crystal-clear finish it is cherished for.
To learn more about curing, check out our article on epoxy curing/drying times here.
FAQs Resources
For answers to a variety of common questions, take a look at the following articles.
- Our top 10 epoxy resin FAQs - A general FAQs article relating to epoxy.
- Epoxy resin FAQs: The curing phase - Our FAQs article dedicated to the curing phase of the epoxy process.
- Epoxy Resin FAQs: Cleaning and maintenance - Our FAQs article on cleaning and maintenance.

UltraClear Epoxy: Resin Products of Unmatched Quality
As with any material, epoxy resin has both pros and cons. But no other sealant has so few weaknesses, and that's what puts epoxy above all other options when it comes to being a finish for high-traffic fixtures and furniture such as countertops, table tops, and bar tops. And among epoxy resin products, there are none that match the quality of UltraClear.
You can find our UltraClear Epoxy products on the following pages:
- UltraClear Bar & Table Top Epoxy: The classic choice for bar tops, countertops, and table tops. Rock-solid, waterproof, and crystal-clear.
- UltraClear Deep Pour Epoxy: Our deep pour casting resin. Ideal for thick layers, such as those needed for river tables.
- UltraClear Art & Craft Epoxy: Our arts and crafts resin, designed for smaller artistic endeavors which typically involve resin molds and require a bit more fluidity than bar top epoxy.
With high chemical and physical resistance, UltraClear resins can withstand and endure many forms of wear and tear without breaking a sweat or showcasing any cosmetic damage.
Plus, in addition to its ease of application, they also require little upkeep to maintain its pristine appearance. With a high-quality epoxy finish, you can expect a minimum lifespan of 7 years, with no need for reapplication. Beyond that, it's a breeze to renew that coating, requiring only a light sanding and a fresh layer of epoxy.