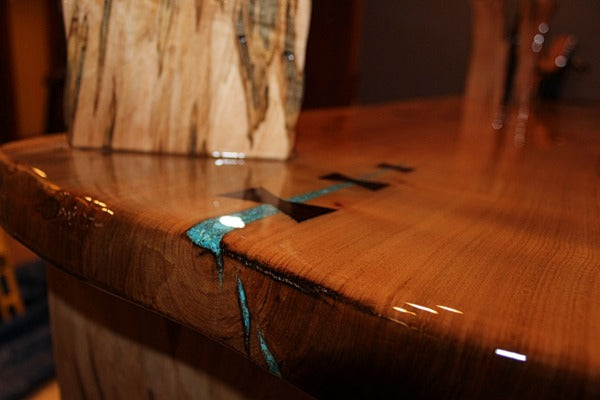
Epoxy resin is an incredible coating option for finishing bar tops, countertops, table tops, and more. It provides them with a rock-solid, crystal-clear surface that safeguards them from physical force, moisture damage, and bacterial intrusion while also enhancing their appearance and providing an exterior that's easier to clean.
The epoxy resin coating process
The full process of applying epoxy resin involves several different steps, culminating in the (mostly) hands-off Curing Phase. These steps are all fairly straightforward individually, but as a whole can seem a little overwhelming for newcomers.
Planning your project in advance, making sure you have the necessary tools and supplies, and preparing your workspace for an epoxy coating are all small parts that can be handled one-by-one to make the project more manageable.
Here's a list of the essential phases for most epoxy projects:
- The seal coat phase - In which you "seal" your substrate surfaces with a thin layer of epoxy to prevent air bubbles and other blemishes from forming later.
- The flood coat phase - In which you pour a self-leveling coat of epoxy over your entire substrate. As the final coating, this is what provides the full-strength protection.
- The air bubble removal phase - A brief phase that involves removing any persistent air bubbles right after the flood coat has settled.
- The curing phase - This phase involves letting the epoxy cure undisturbed, until it fully or almost-fully hardened.
In this article, we'll be answering in detail a question often submitted about the pouring step of the flood coat phase: "What happens if I pour epoxy too thick?"
What happens if I pour epoxy too thick?
The first thing to understand about pouring epoxy is that a premium epoxy resin will do much of the work for you. Most high-quality epoxy resins are self-leveling, meaning they naturally spread out as much as they can until they reach a particular thickness. This is the ideal thickness for a single layer.
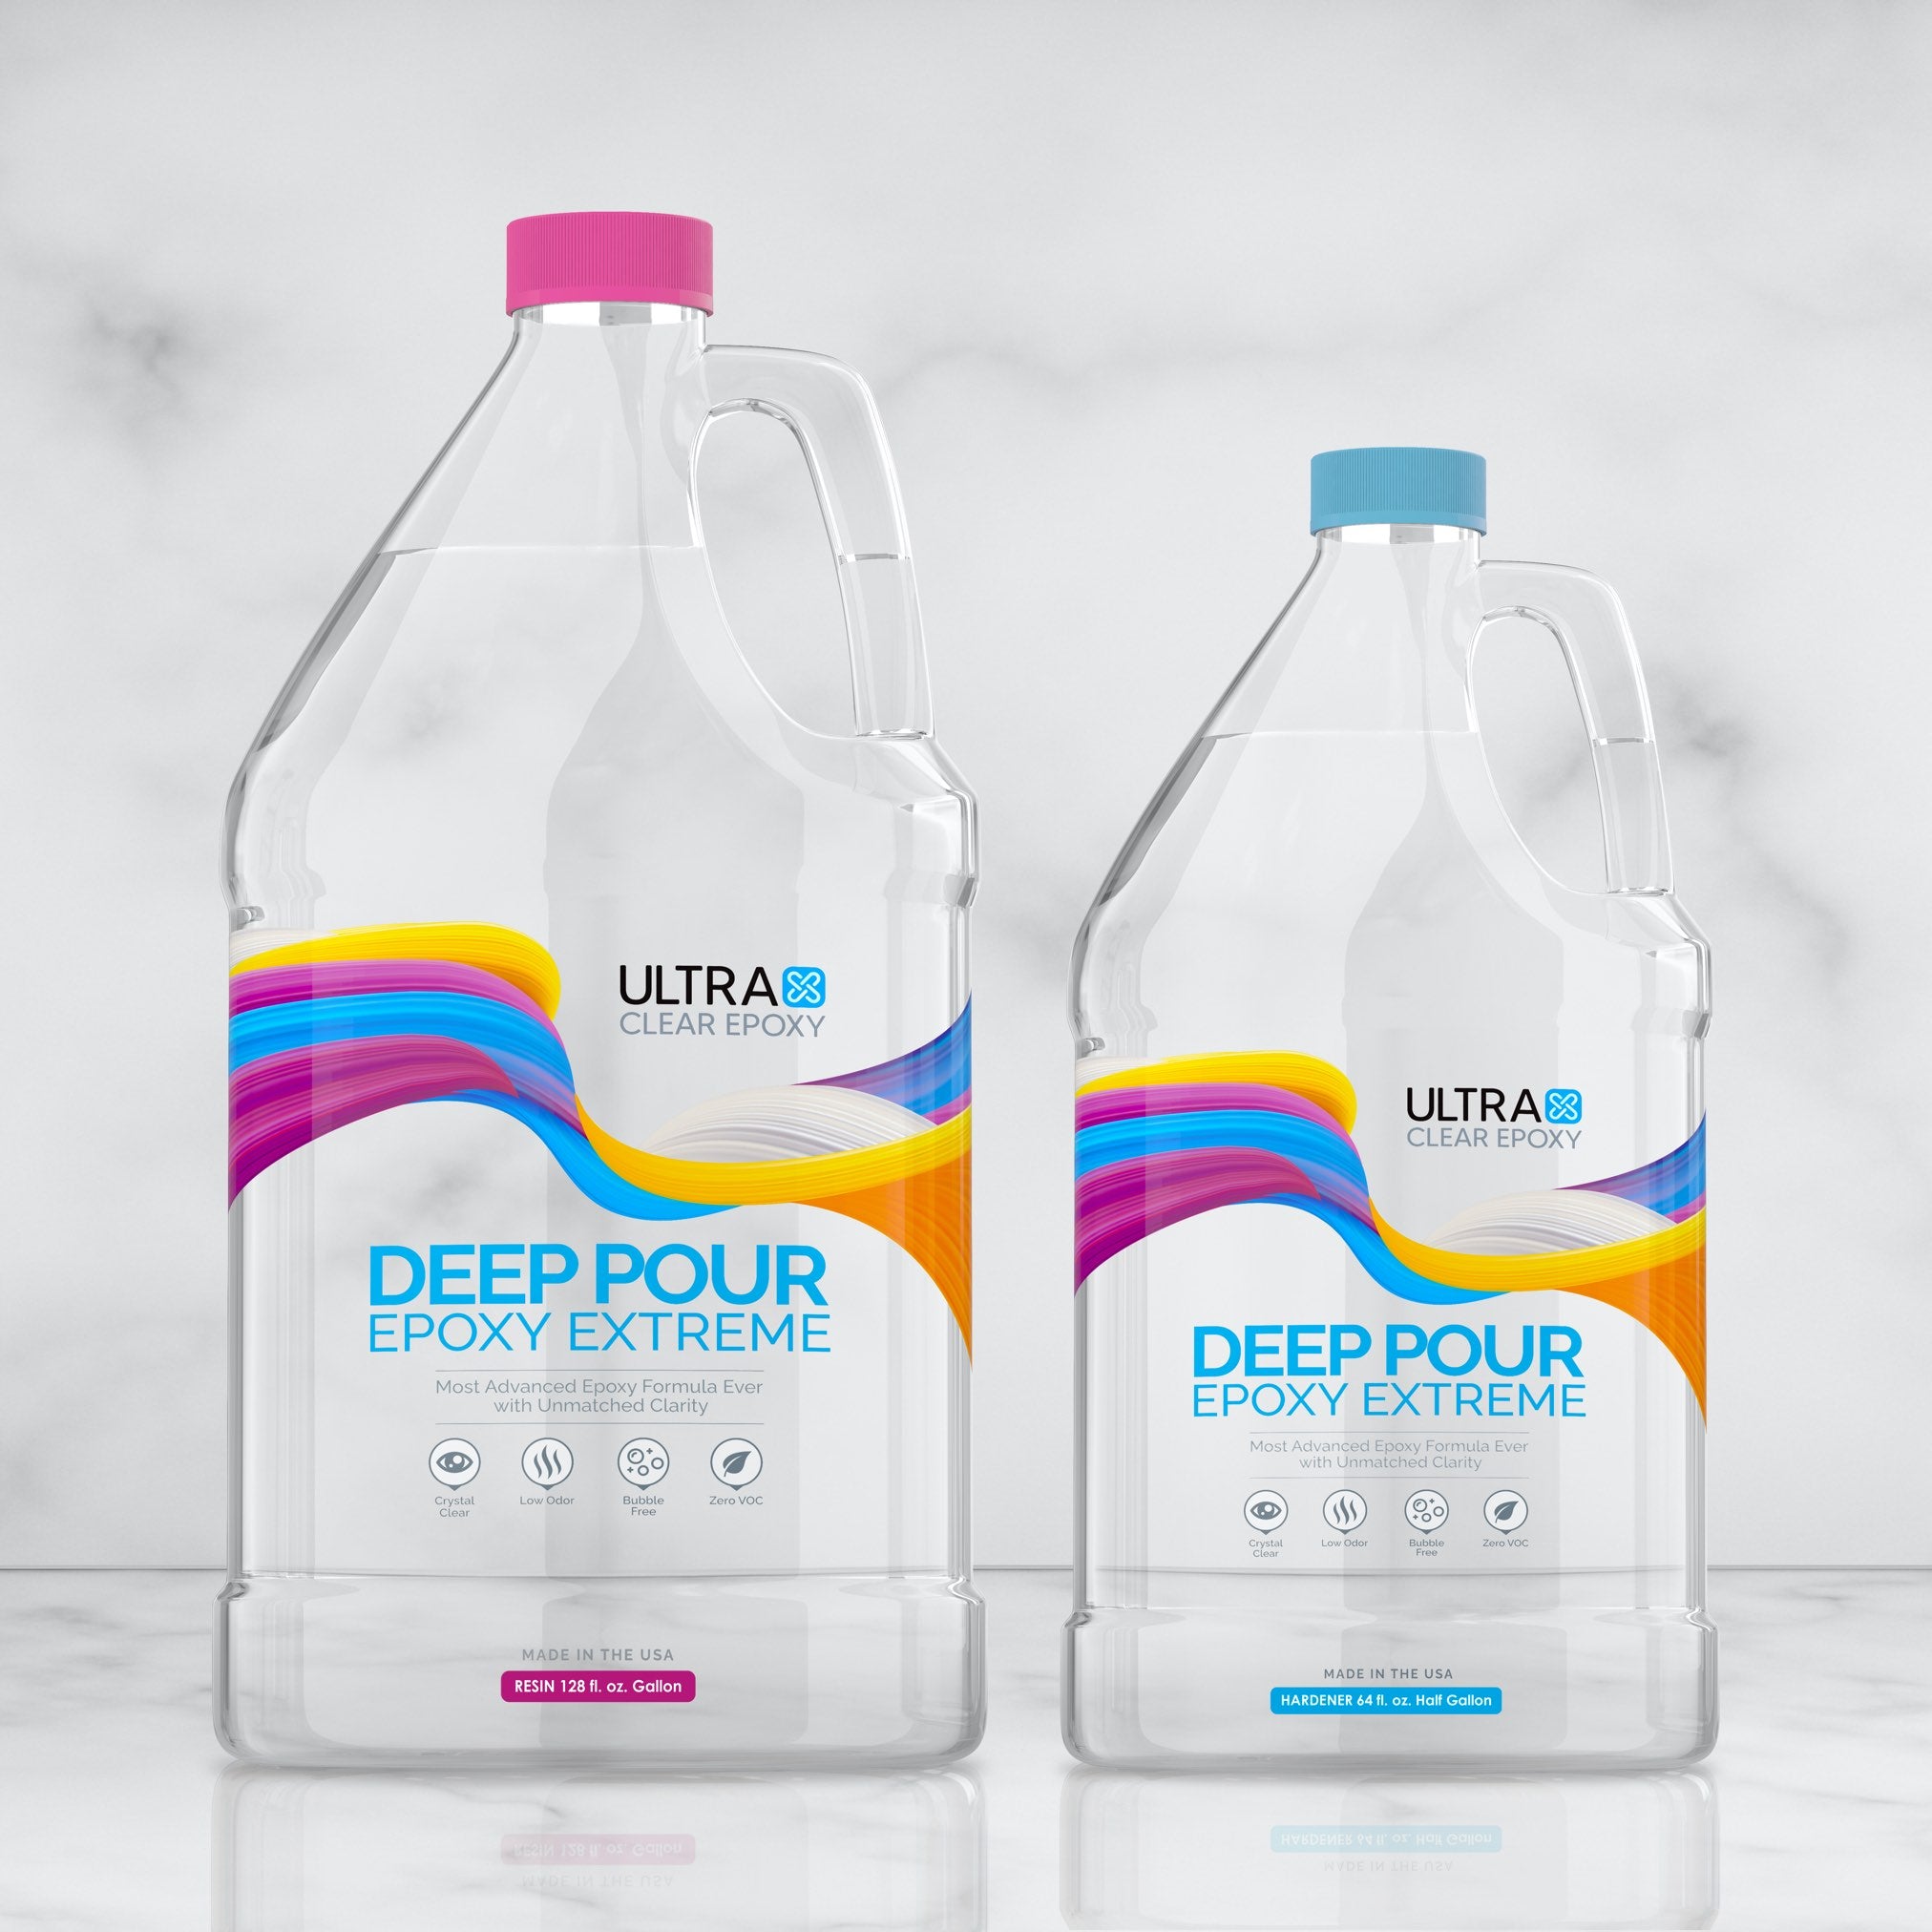
For many of these epoxy resins, that thickness is 1/16 of an inch. For our UltraClear Bar & Table Top Epoxy, it's 1/8 of an inch. Other types of epoxy, such as Deep Pour Epoxy, are less viscous and can be poured in much thicker layers—up to 2-inches.
Attempting to pour a layer thicker than what is recommended or natural for the epoxy you've chosen can lead to various problems, such as:
- An abundance of trapped air bubbles.
- Smoky emissions from the overly thick epoxy layer.
- Failure to fully cure, or an extended curing time.
- A murky or cloudy resulting finish.
Fortunately, all of these issues can be prevented by making sure your layers don't exceed the optimal thickness. You can always let a layer partially cure, then add a new layer on top until you reach your desired depth.
When mixing up a batch, make sure to first measure the amount you need carefully. If you end up mixing significantly more than is needed for an individual layer—notably relevant if your project has raised edges or a temporary dam—it may be tempting to use it all despite the recommendations.
Your best option, however, it to leave the excess in the container, so that your current layer can finish spreading out and isn't too saturated.
Reach your desired epoxy thickness with additional layers
You can still reach a greater depth for your epoxy project by pouring on multiple layers. Here's how:
- To apply additional layers, wait 4 to 6 hours after pouring the most recent one.
- Next, mix up a batch and apply the new one over the previous layer, which should now be partially cured but still soft.
- Remove any new air bubbles using a heat gun or torch.
- Repeat Steps 1 to 3 until you're satisfied with the depth of your finish.
- Allow the entire project to fully cure. This is typically 24 to 72 hours, depending on the type of project. Consult the instructions for your chosen epoxy brand to get more specific information.
If handled properly, your project will turn out beautifully, without air bubbles or other blemishes/imperfections.
Additional Resources
We hope you've found this article informative. Below are some additional resources may be helpful.
- Epoxy: Proper storage, shelf life, and preventing "yellowing" - Discover how to store epoxy to keep it fresh until you're ready to use it in this article!
- Our guide to coloring epoxy resin - Did you know you can infuse your epoxy with vivid colors and multi-toned textures? Learn how here!
- Table top or deep pour epoxy: Which is right for you? - Not sure which type of epoxy you need? Take a look at this guide for advice on that.
Have questions? Want advice? Contact us!
If you have any questions about applying epoxy coatings, or if you'd like some assistance in planning one of your own, please reach out to us at UltraClear Epoxy—our epoxy experts are ready to assist!
You can contact us via phone or email here. During business hours, you can also text chat online with one of our resin specialists by clicking the Help button at the bottom of your screen.
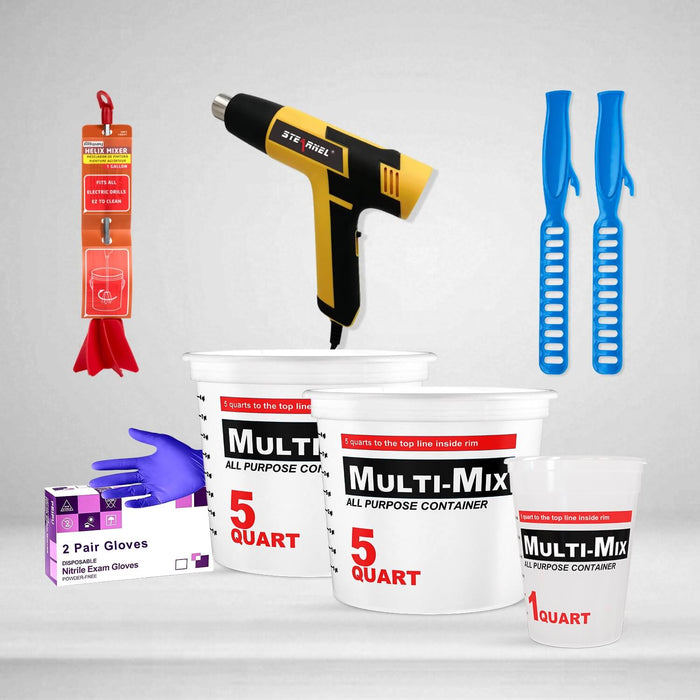
In our online store, you'll find a variety of useful tools and supplies, ideal for resin projects, plus our award-winning UltraClear Bar & Table Top Epoxy and our UltraClear Deep Pour Epoxy.

