Preparing to start your first epoxy project can be an exciting period. While the sizes of epoxy projects vary greatly, ranging from small dalliances (e.g., resin coasters) to considerable undertakings (e.g., epoxy bar tops), there are elements to the process that nevertheless remain the same.
In this article, we'll go over essential information about epoxy projects that we think is worth knowing before starting an epoxy project, both to prepare you for the epoxy process itself as well as to give you a sense of scope regarding what's possible during your planning phase.
Things you should know before starting your epoxy project
When trying something new out for the first time—such as epoxy—having an understanding of the basics can give you an advantage that enables you to achieve your goals.
For that reason, we've written below about 10 different aspects to epoxy projects that we consider essential information. Let's begin!

Aspect #1: Understanding epoxy ratios
For epoxy to cure and harden, it first needs to be measured and mixed. But the measuring isn't always straightforward; each epoxy has a particular mixing ratio that it must be measured by to blend properly, and not maintaining this ratio can cause it to cure poorly or not at all.
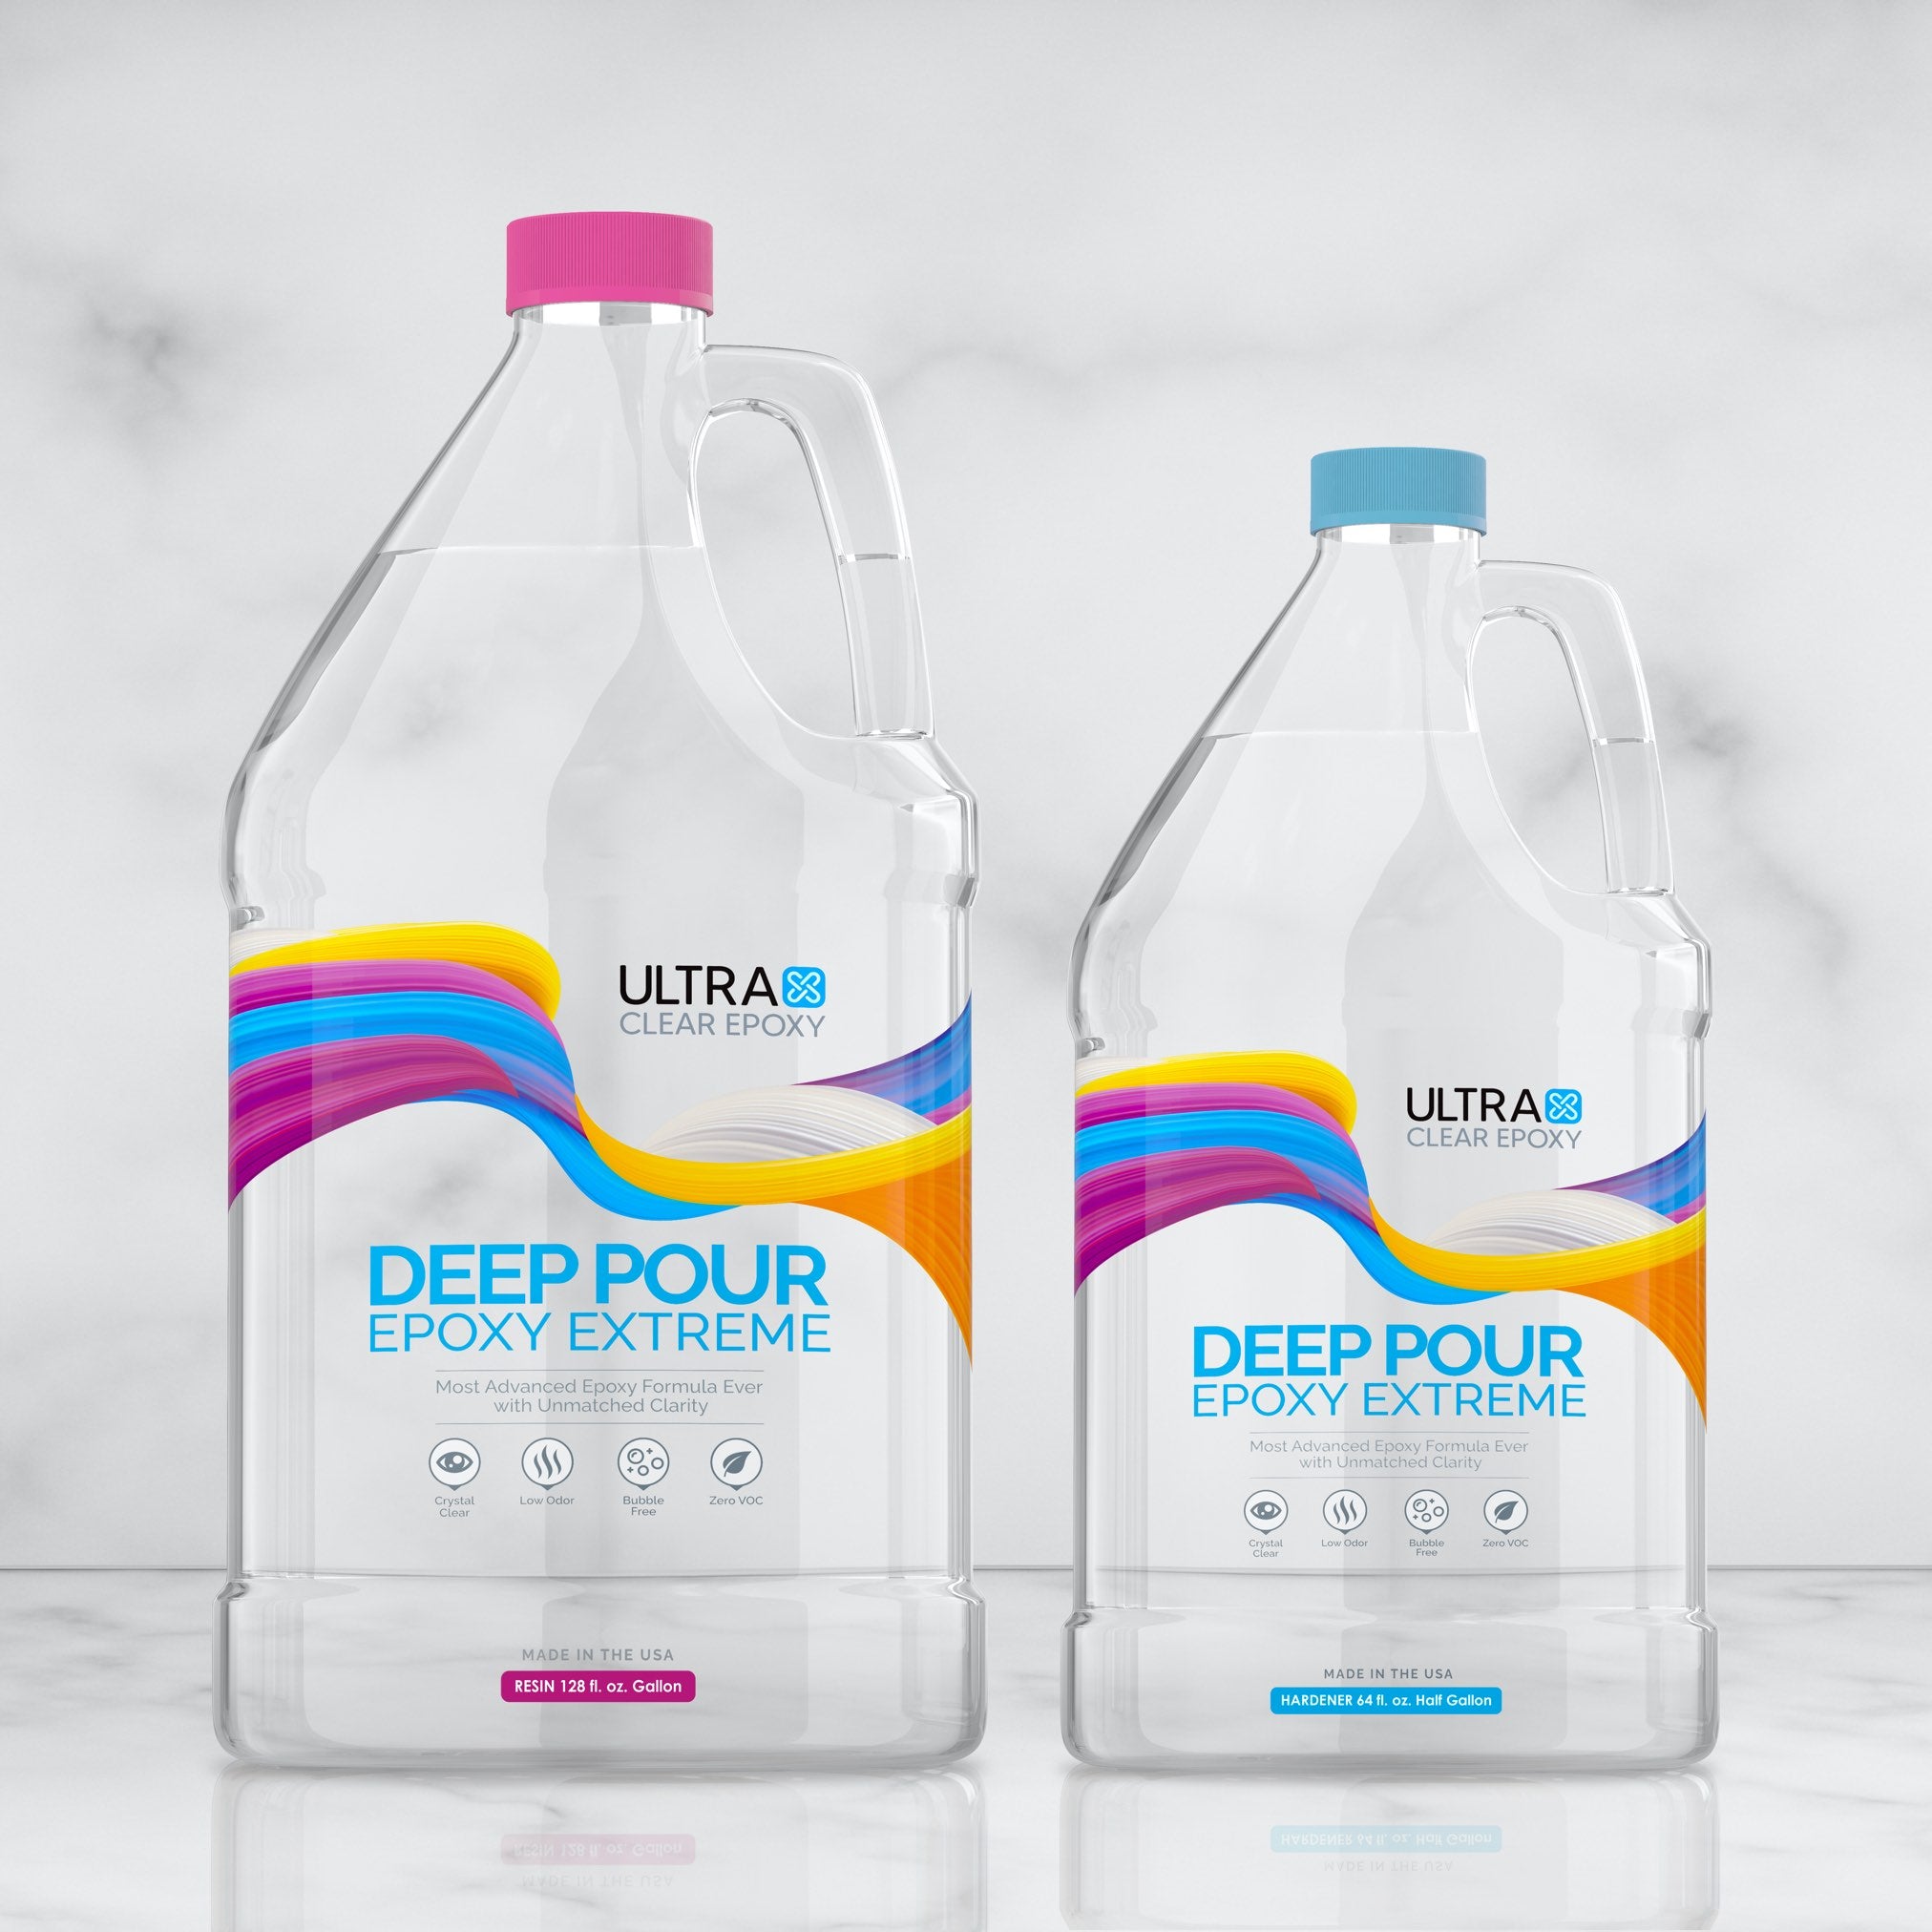
As an example, here are the mixing ratios for some of our UltraClear Epoxy products:
- UltraClear Bar & Table Top Epoxy—a mixing ratio of 1:1.
- UltraClear Art & Craft Epoxy—a mixing ratio of 1:1.
- UltraClear Deep Pour Epoxy—a mixing ratio of 2:1.
As you can see, the first two share a simple one-to-one ratio, but the deep pour epoxy needs to be handled differently, with a mixing ratio of two parts resin to one part hardener.
Our tips:
- Before starting, always confirm the correct mixing ratio for any epoxy product you use.
- Measure your epoxy components carefully by volume whenever you're about to prepare an epoxy batch.

Aspect #2: Preparing your surfaces for epoxy
One of epoxy's most admired features is its crystal-clear transparency. As such, it's important to clean and prepare your substrate material before preparing and applying any of the epoxy.
Preparing your substrate involves remove oils, dust, debris, and other unwanted substances. Depending on the type of substrate and your goals, you may be able to accomplish this with alcohol and basic household cleaners. Some materials benefit from a sanding as well, and there are also methods for cleaning silicone molds.
There are two reasons for why this is useful, one functional and one cosmetic. The functional reason is that the epoxy will bond best when there's no sediment, dirt, residue, or grime to obstruct the bonding process with the intended substrate. As for the cosmetic reason, the semi-permanent nature of an epoxy cure means you'll only be able to clear away any imperfections from the substrate before you've applied the epoxy. Once the epoxy has been applied, it's difficult to remove.
Our tips:
- Always clean your substrate surfaces or molds and let them fully dry before you apply any epoxy.
- Any residue or sediment on the substrate when the epoxy is applied will be stuck there, so look closely before you start.

Aspect #3: Be mindful of curing times and conditions
For optimal results, it's important that epoxy be allowed to cure in particular conditions. Though these conditions may vary slightly by epoxy type, there are some general guidelines that should work for almost any resin product.
Humidity and ambient temperature
Humidity and temperature are the two ambient aspects that most affect epoxy curing. For most epoxy products, the humidity needs to be below 60%. Excessive moisture in the air can cling to the epoxy, preventing it from curing evenly.
Likewise, the temperature should be kept as close as possible to 75°F for the entire curing phase. This will allow the epoxy to cure at a steady pace without being affected by moisture or excessive heat.
Temperatures that are too low may slow the curing process down, while overly high temps may hasten it to the point that imperfections develop.
Curing times vary
As for curing, this varies by the type of epoxy and the size of the project (to a lesser extent). In most cases under ideal conditions, epoxy will cure almost fully in 72 hours. Some epoxy products become usable after 24 hours of curing, but continue to cure for weeks afterward until they finally reach full hardness.
However, most epoxy products should not be used until they've had at least 72 hours of curing time under proper conditions. This will prevent accidental damage to a finish that hasn't hardened adequately.
Our tips:
- During curing, keep the humidity level of the work space below 60%.
- Maintain a temperature of 75°F (or something very close) throughout the mixing and curing phase.
- Be sure to give your epoxy a full 72 hours before using it. Maximal curing may take more than a week.

Aspect #4: Stay safe with prudent measures
Though epoxy in its uncured form is almost always very low-VOC and minimal odor, that doesn't necessarily apply to all types, and it's good to be cautious. Additionally, it's a good idea to wear gloves and a mask when working with epoxy. This will keep it off your skin and out of your lungs during the process.
Thus, when working with epoxy, make sure you work in a well-ventilated area. Your workspace should have good airflow to prevent stagnation and buildup of any vapors the epoxy releases as the exothermic reaction does its thing to harden the epoxy.
You can use disposable nitrile gloves to keep your hands free of resin contaminants and also to prevent skin oils from getting onto any surfaces. An N95 respirator is the ideal choice for masking up during the process.
Our tips:
- Make sure your workspace is well ventilated.
- Wear nitrile gloves (or better) while interacting with the epoxy project.
- Wear an N95 respirator (or better) while working.

Aspect #5: Epoxy working times
Once mixed, epoxy has a "working time" (sometimes called "pot life"). This is the minimal amount of time you have to safely apply the epoxy before the curing has likely progessed too far.
Each epoxy product has particular working time, some being much more lenient than others.
For example, here are the working times for some of our UltraClear Epoxy products:
- UltraClear Bar & Table Top Epoxy—5 minutes working time.
- UltraClear Art & Craft Epoxy—30 minutes working time.
- UltraClear Deep Pour Epoxy—20 minutes working time.
As indicated, the working times are different for each product. However, even the tightest time of 5 minutes should be more than enough to apply your epoxy batch as needed, whether you're performing a seal coat, a flood coat, or some other type of application.
Our tips:
- Confirm the working times of any epoxy products you use before you begin preparing an epoxy batch.
- If your working time is short, be sure to apply the epoxy immediately after you finish mixing. You should have more than enough time to do so as long as you're mindful.

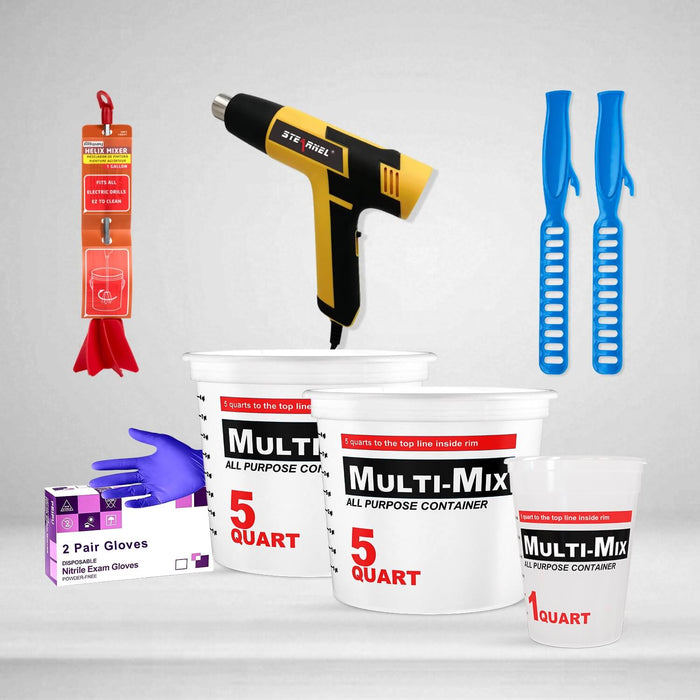
Aspect #6: Having the right tools and supplies
Working on an epoxy project involves a variety of tools and other materials, and you'll want to have them all before you begin working with the time-sensitive epoxy resin.
Typically, there are a few essentials:
- Mixing tools (e.g., stir sticks, power drill with mixing bit)
- Mixing containers (especially those with volume lines)
- Heat gun or torch to remove bubbles
Other tools and supplies may be necessary depending on the project type. The key point is to make sure you have what you'll need.
You can learn more about common epoxy tools and supplies in our guide here.
Our tips:
- Determine what tools and supplies you'll need, and be sure to have them before you begin.
- Don't be afraid to ask for advice if you're not sure what you'll need. Learn how to contact an epoxy expert at UltraClear here.

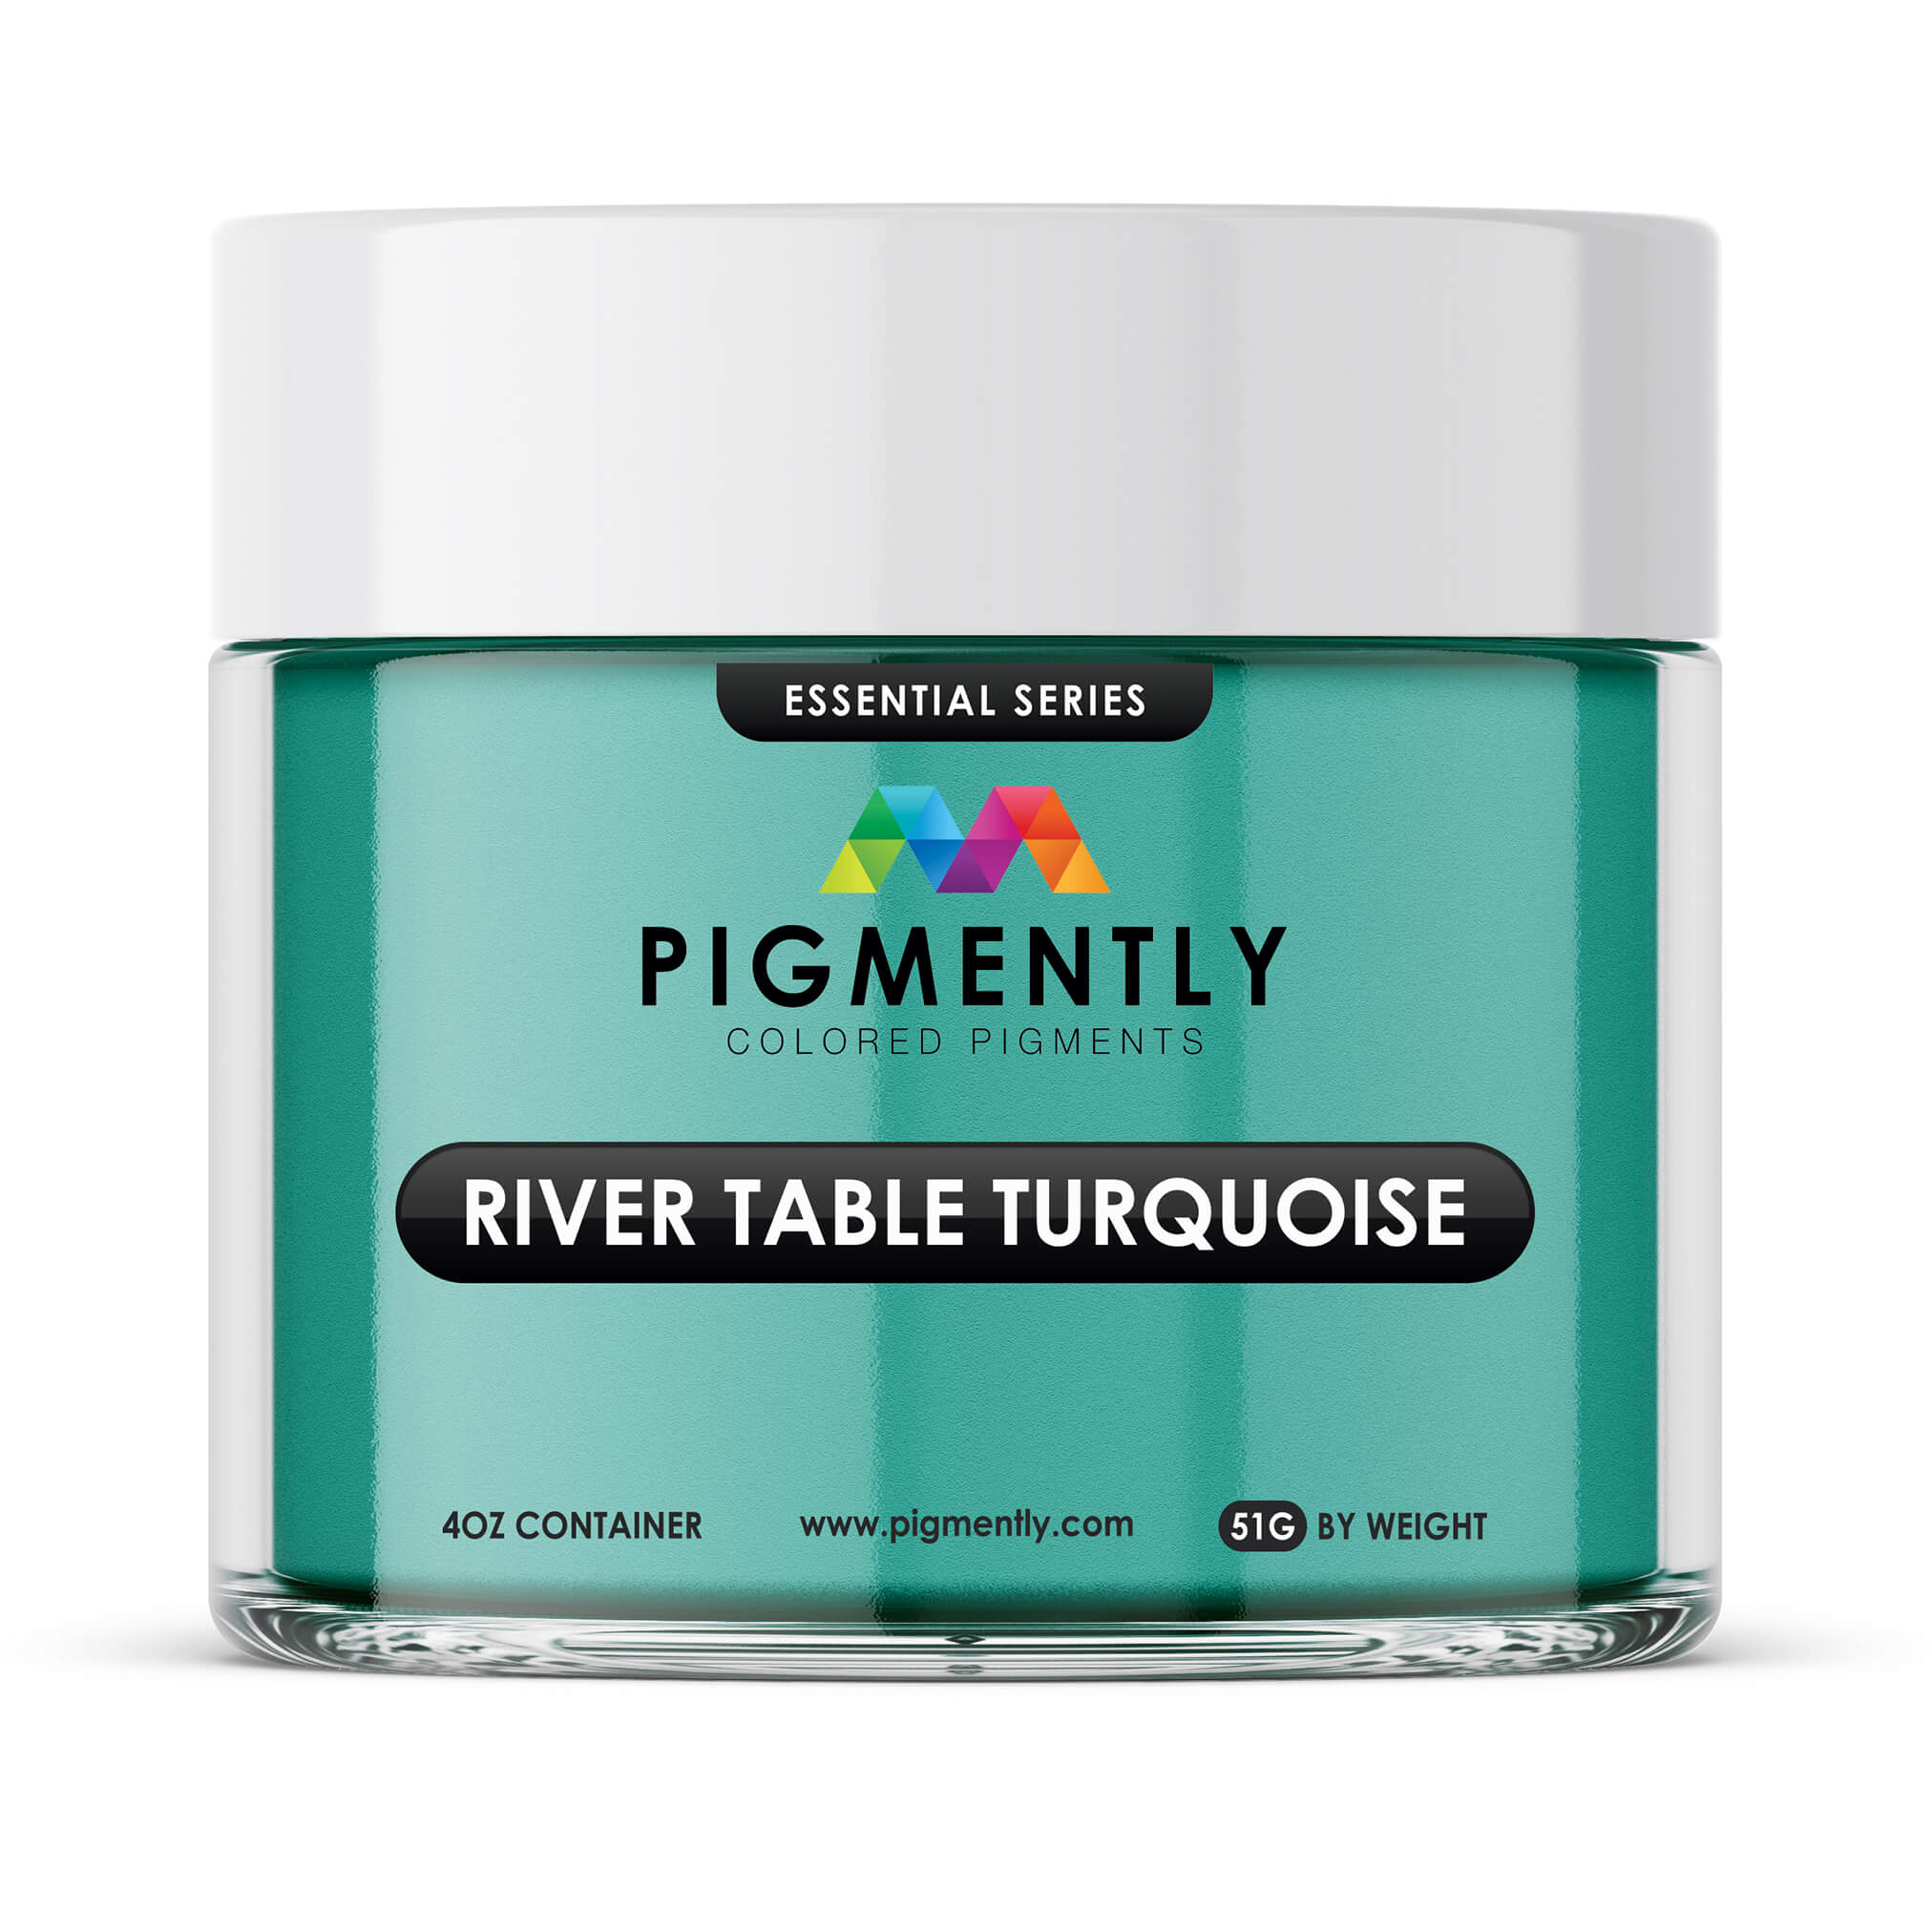
Aspect #7: Customization and playing with aesthetics
Did you know that epoxy is highly customizable? Not only can you color it with suitable pigments and dyes, but it's also quite easy to embed objects within a layer of epoxy resin to generate all sorts of interesting aesthetic designs.
These elements are entirely optional, but if you're interested in going the extra mile, take a look at our guides to those subjects, located on the following pages:
- Our guide to coloring epoxy resin—Learn about the types of colorants that work best with epoxy and how to use them.
- Our guide to embedding objects in epoxy resin—Discover how to embed objects within your epoxy finish.
Though most people think of epoxy as a protective sealant for furniture and fixtures, there's actually a surprisingly large community of resin artists as well, who indulge in the more creative side of epoxy.
Have questions? Want advice? Contact us!
If you have any questions about epoxy resin, or if you'd like assistance in planning an epoxy project, please reach out to us at UltraClear Epoxy—our epoxy experts are ready to assist!
You can contact us via phone or email here. During business hours, you can also text chat online with one of our resin specialists by clicking the Help button at the bottom of your screen.
In our online store, you'll find a variety of useful tools and supplies, ideal for resin projects, plus our award-winning UltraClear Bar & Table Top Epoxy and our UltraClear Deep Pour Epoxy.