Welcome to our Suggestion Box article for epoxy cup ideas!
When working with epoxy, part of the fun is deciding just how you want your project to look when it's done.
With epoxy cups and tumblers, there's a lot of creative potential to tap into, due to their smooth, wide surfaces that are great for showcasing different types of imagery and art.
In this article, we'll be giving you some ideas to help spark your imagination.
Epoxy cup ideas
When making epoxy cups or tumblers, many resin hobbyists begin with a list of ideas, then choose what they want to start with from that list.
Because epoxy cups don't require a lot of resin to create, you can often make several from a single purchase of epoxy.
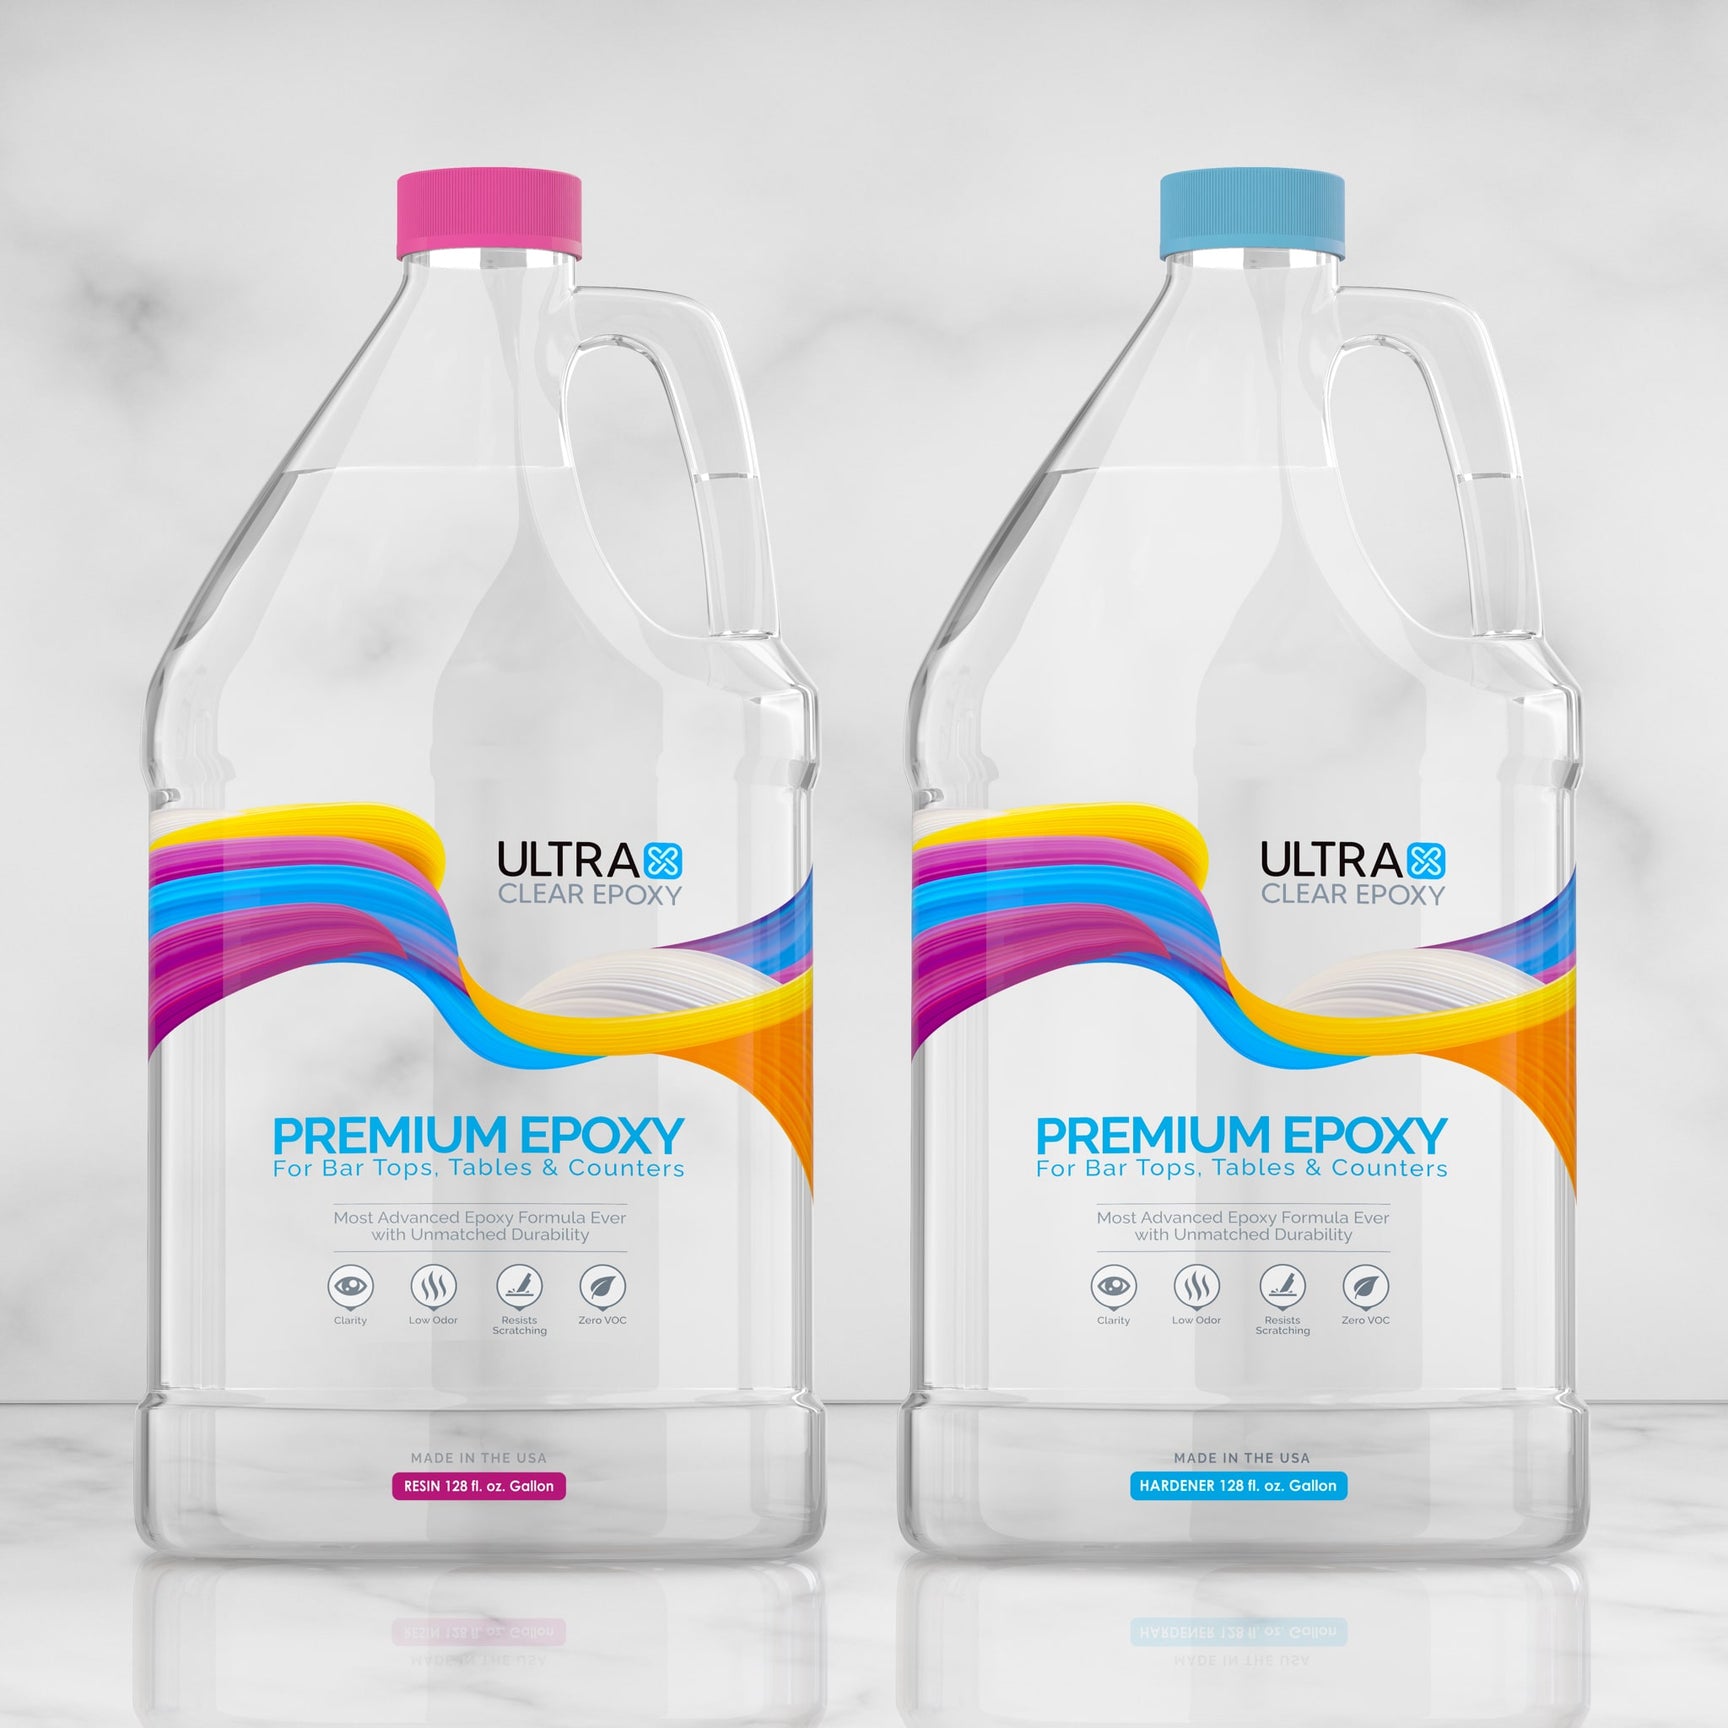
For these types of projects, we typically recommend our UltraClear Art and Craft Epoxy. Not only is it one of our strongest epoxy resins, but it's also quite viscous, allowing it to stay on the tumbler or cup surface as they rotate, so you get less wasteful dripping.
For more information about making epoxy cups, check out our Epoxy Tumbler Guide.
With the ideas below, you can mix and match. There's no need to limit yourself, as long as you're able to make something satisfying. For instance, we often see users apply Ideas #1 and #2 together, as they complement each other to stand out better.

Idea #1: Use glitter to give your epoxy cup a sparkling image.
One of the most popular epoxy cup applications is glitter! Because glitter comes in so many different colors and it attractive in how it sparkles, many resin users start there with their first epoxy cup attempts.
You can apply it in many different ways, too. Many beginners will use a single color for their first time, just to get used to the process, but you can also apply several colors in different patterns for a more evocative look.
With a little skill, some effort, and a carefully added layer of Mod Podge, you can even create your own pictures using different types of glitter.
For example, imagine making a light-blue and yellow glitter "skyline" with a red-orange sun setting over a white snow-capped mountain horizon—the possibilities are limited only by your own imagination.
Another great thing about glitter is that it's easy to acquire. You can find many different types of glitter both online and in typical hobby stores for arts and crafts.
It's a great way to start familiarizing yourself with making epoxy cups or tumblers.

Idea #2: Display some of your personality with vinyl decals.
Another thing you can do is place vinyl decals onto your cup surface to give it some unique flavor.
Vinyl decals are similar to stickers, they come in all sorts of different images and even text—in fact, it's not uncommon to use vinyl decals of different jokes or famous quotes on epoxy cups.
The nice thing about this is that these decals mesh well with all of the other ideas listed in this article. For instance, you can overlay decals onto your first epoxy layer after sealing in your glitter.
There are so many varieties of vinyl decals, and some places let you create and print your own custom decal art to use for your projects, which opens up a lot of ways to make your epoxy cups one-of-a-kind.

Idea #3: Blend your epoxy with pigments or dyes to create vivid displays.
Did you know that epoxy can be infused with special colorants?
During the mixing phase for epoxy resin, users can add epoxy pigments or resin dyes to their batch to tint the epoxy with different colors and textures.
These pigments and dyes differ in how they look as an end result.
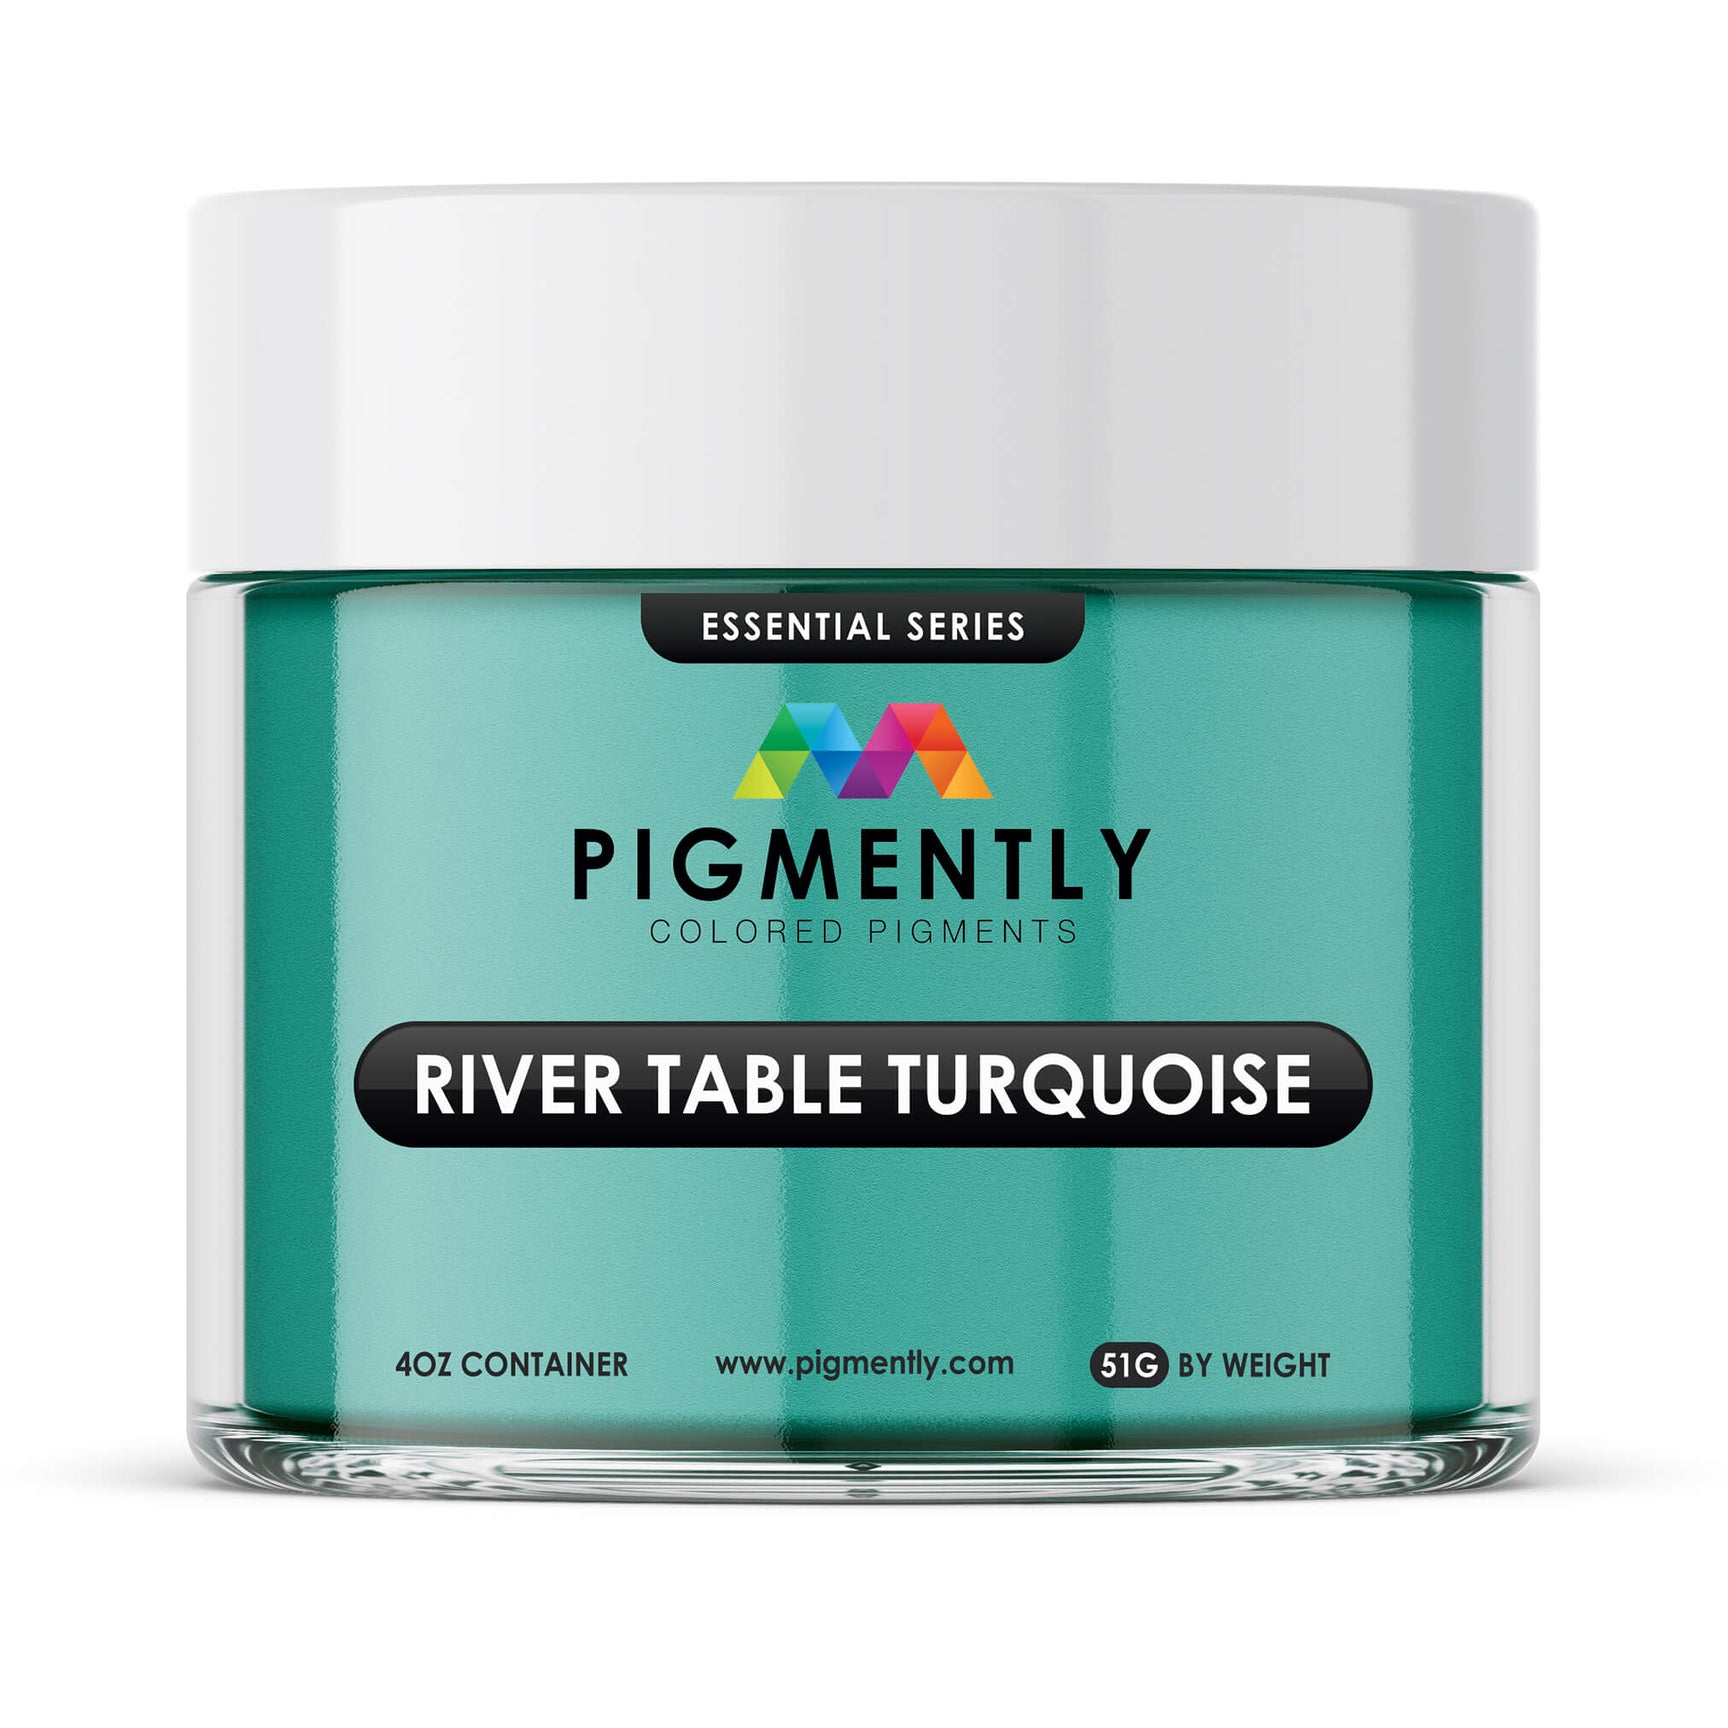
With epoxy powder pigments, you'll often end up with a shimmering or pearlescent effect, sometimes with a metallic aesthetic. There's also glow-in-the-dark versions, as well as shiny neon-bright pigments that give the epoxy a an intense vibrant appearance.
On the other hand, resin dyes are liquid colorants that will imbue the epoxy with a singular, solid tone. They come in a variety of common colors, and can be mixed lightly to create more.
Unlike powder pigments, resin dyes don't shimmer, and they aren't shiny or pearlescent, which makes them great for those who prefer subtler tones.
Both of these colorant types are quite potent, too, so a little goes a long way. At UltraClear Epoxy, we offer premium epoxy colorants by Pigmently in our store.
You can find them on the following pages:
We recommend giving both the glitter and the epoxy colorants separate tries to see which ones you end up liking more.

Idea #4: Let your epoxy cup be the canvas with acrylic paints.
Another fun technique is to paint the cup or tumbler beforehand using acrylic paints. This gives you the most control over the appearance of your tumbler and allows for a wide variety art styles.
It's also a great option for kids, who tend to enjoy painting as a way to start expressing themselves (just make sure you handle the epoxy part for them).
Once the paint has dried, you can place the cup or tumbler on a turner and apply your layer of epoxy, as explained in our Epoxy Tumbler Guide.
We like this method because painting can be such a relaxing experience. It feels nice to just take your time and see where inspiration leads you.
Quick Tips on Getting Started and Finishing Up
Creating your own works for the first time can seem tricky. Here are some tips and a basic guide to help get the best out of your efforts:
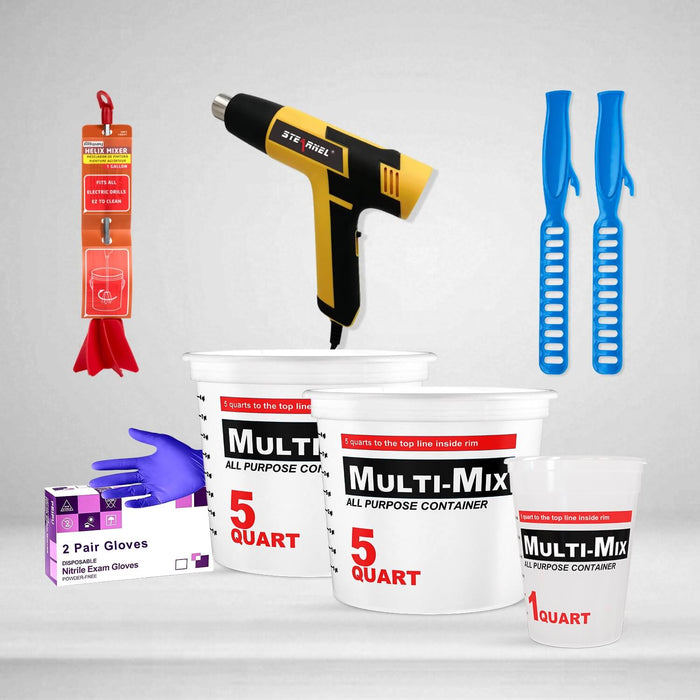
#1: Prepare Your Workspace and Materials.
Ensure your workspace is clean, dust-free, and well-ventilated. Gather all necessary materials, including your tumbler, epoxy resin, pigments, glitter, and any decorative items you plan to use.
#2: Select the Right Epoxy.
Use an epoxy resin that is food-safe once cured, especially for the parts of the tumbler that will come into contact with your lips or food. Check for FDA compliance in the product specifications.
#3: Prep the Tumbler.
Clean the tumbler thoroughly to remove any oils, dirt, or residues. Some crafters prefer to sand the surface lightly with fine-grit sandpaper to help the epoxy adhere better.
#4: Mix Epoxy Properly.
Follow the manufacturer’s instructions for mixing the resin and hardener. Be precise with the ratio to avoid curing issues. Mix slowly to reduce air bubbles.
#5: Apply Epoxy Evenly.
Use a turner or hand-rotate the tumbler to apply the epoxy evenly. Ensure the entire surface is covered, including the bottom and edges near the lip, but avoid getting epoxy inside the tumbler.
#6: Decorate Creatively.
Add glitter, colorants, or other decorations while the epoxy is still wet. You can layer colors, use stencils for designs, or embed small objects.
#7: Remove Air Bubbles.
After applying the epoxy, use a heat gun or torch lightly over the surface to pop any air bubbles. Be careful not to keep the heat in one place for too long to prevent scorching.
#8: Cure Thoroughly.
Allow the epoxy to cure as per the recommended time, usually 24-72 hours, depending on the brand and environmental conditions. Avoid touching or using the tumbler during this time.
#9: Add Multiple Coats If Necessary.
For a thicker finish or to add more layers of decoration, wait for the first layer to cure before applying additional coats. Sand lightly between layers if there are any bumps or imperfections.
#10: Finish and Cure.
Once you’ve achieved the desired look and all layers are applied, allow the tumbler to fully cure in a dust-free area.
Care and Maintenance
Inform users that epoxy tumblers should be hand-washed only and not placed in the dishwasher or microwave. Avoid prolonged exposure to heat and sunlight.
By following these tips, you can create beautiful, durable, and personalized epoxy tumblers and cups that are perfect for gifts or personal use.
Check out our complete guide to epoxy tumblers for more detailed information on each step!
Some final remarks
We hope this article has given you some good starting points as you plan your epoxy project.
Epoxy resin is a splendid way to create less conventional art.
With resin art projects, we feel that the most important aspect is to find enjoyment in it, because if you're having a good time making these projects, your skill will develop more quickly and enable you to create more intricate works.
It's a satisfying process applicable to many different types of epoxy resin endeavors.

Have questions? Want advice? Contact us!
At UltraClear Epoxy, we strive to ensure the top-notch customer support for all of our epoxy users.
Whether you're a resin beginner or an epoxy veteran, we want you to feel comfortable in purchasing our epoxy products by providing comprehensive customer service at any point.
If you have any questions or concerns about epoxy resin, or if you'd simply like assistance with planning an epoxy project, please reach out to us.
Our epoxy experts are ready to assist!
You can contact us via phone or email here.
During business hours, you can also text chat online with one of our resin specialists by clicking the Help button at the bottom right of your screen.