The epoxy river table is one of the most iconic concepts among conventional epoxy projects, due in no small part due to the beauty of the titular river vein, which appears to "flow" between the table top's substrate material. Additionally, the river table concept is highly customizable, allowing for a wide range of different looks through choice of substrate's material and shape, which in turn determine the form of the river vein(s).
However, the art of actually achieving clean, blemish-free river veins requires understanding of the process and careful application. In this article, we'll explain how to produce a perfect river vein in your epoxy river table project through a comprehensive step-by-step guide.

What is a river table?
A river table is type of table furniture in which the table top portion is constructed through the use of epoxy and pieces of a substrate material.
Deciding on a substrate
The substrate can be made with almost any solid material that epoxy can bond to effectively, though some materials are far more suitable than others.
For the majority of river tables, wood is used for the substrate, and most varieties will work here. Additionally, many users opt for live edge wood, meaning that the natural edge of the wood has not been altered, instead retaining its original appearance.
One vein or multiple
Though the iconic river table has one thick, wide vein of epoxy, your substrate choice makes multiple river veins possible as well, whether flowing parallel to each other or even in different directions. This is simply determined by the shape of the wood pieces used and how many gaps there are for the epoxy to fill in.
The majority of river table creators take two large pieces of live edge wood and align them roughly parallel to allow the epoxy vein to flow between, generating the river. But with 3 or more piece, you can open up more spaces for the epoxy to flow into.
UltraClear Epoxy: The ideal choice for river table creation
For any epoxy project, your choice of epoxy makes a big difference. Clarity, strength, and ease of use all vary greatly among the numerous brands available these days. And when it comes to picking an epoxy, there's no better choice than UltraClear.
Because getting a clean finish that is free from imperfections is so essential to achieving the ideal river vein, it's extra important to make sure you avoid subpar epoxy brands and use a high-quality resin from the start.

Two types of epoxy for river table projects
At UltraClear, we have two types of epoxy ideal for river tables, depending on project needs and creator goals.
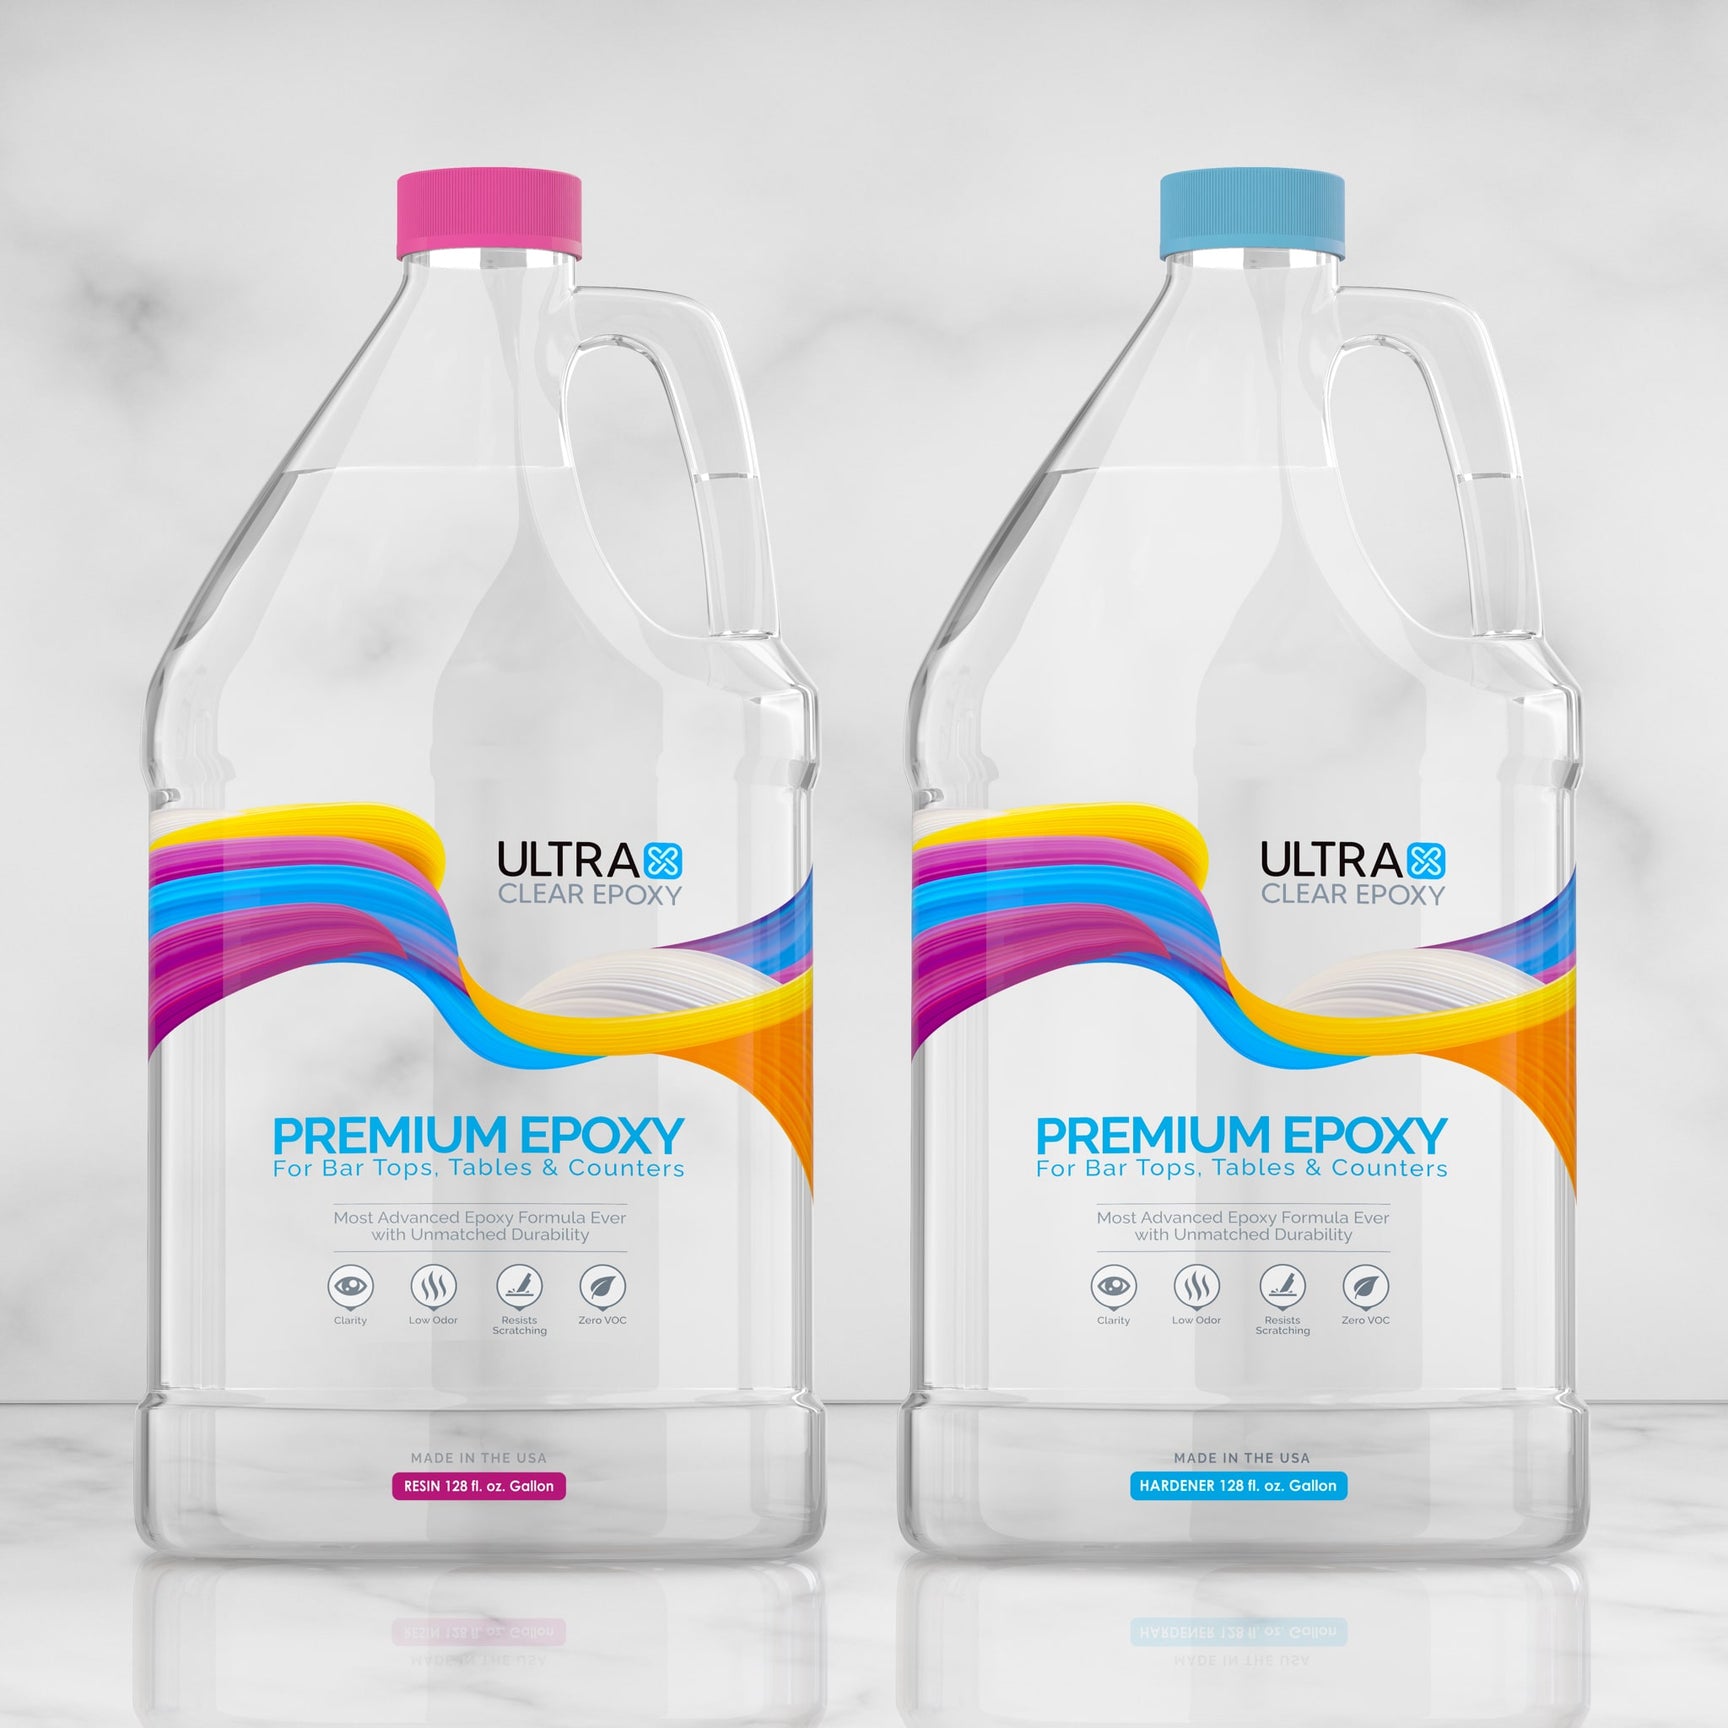
UltraClear Bar & Table Top Epoxy
First up is our UltraClear Bar & Table Top Epoxy. This is the classic type of epoxy resin, used on countertops, bar tops, table tops, and so much more to provide a strong, crystal-clear finish.
This type of epoxy can be used for generating shallow river veins as well as a full topcoating over the entire project afterward. However, there are limitations to how deep a layer you can apply with Bar & Table Top Epoxy while avoiding certain issues (such as air bubbles). So, for deeper river veins, another epoxy type is often needed.
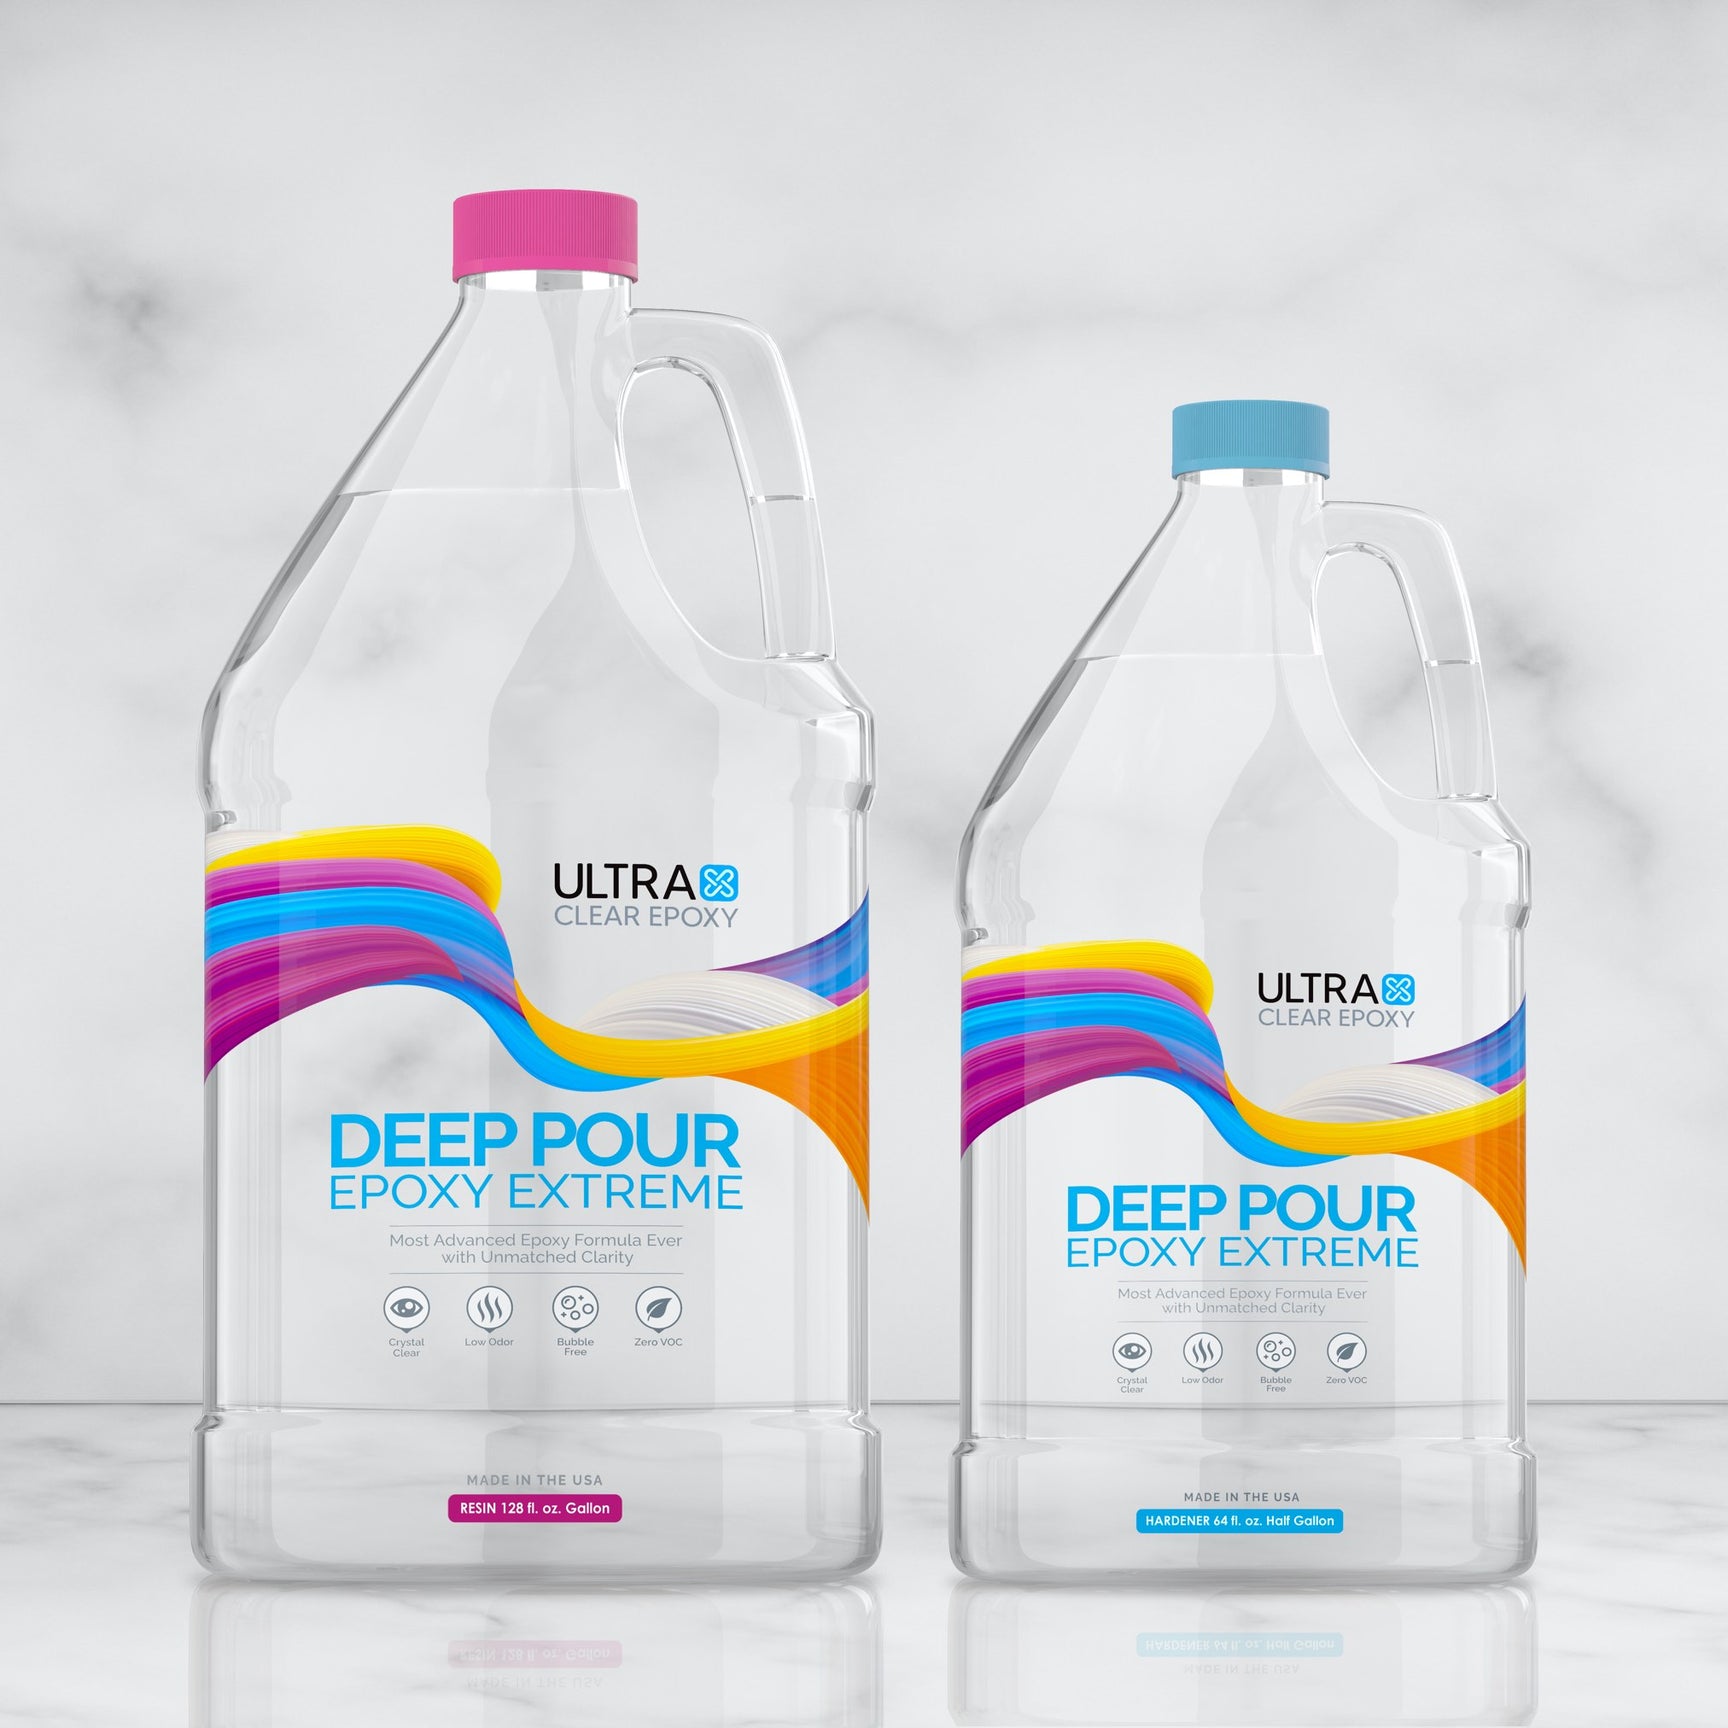
UltraClear Deep Pour Epoxy
Our UltraClear Deep Pour Epoxy is the go-to choice for producing deep, exquisite river veins. This epoxy has low viscosity, allowing it to be poured in thick layers without concern for air bubbles and other blemishes forming.
Both Deep Pour Epoxy and the Bar Top Epoxy are highly receptive to epoxy colorants. This means that you can easily tint your river vein to give it vivid shades of color that complement the aesthetic you're working toward.
Both types of UltraClear Epoxy can be found on the following pages:
A step-by-step guide to achieving a perfect river vein.
Getting that perfect river vein to show off in your home or business involves careful planning, careful application, and a little attention to detail. Below is a step-by-step guide to ensure you get a flawless river vein. We'll use wood as the substrate, since it's by far the most common but plenty of other materials are viable.

Step #1: Choose and prepare the wood.
Start by choosing two (or more) slabs of wood that fit well together with a gap in between to create the river effect. Live edge slabs are popular for this because their natural edges create a more organic river flow.
Sand the wooden surfaces to ensure they are smooth and free from any debris. It’s important that the wood is clean and fully dried to prevent moisture from affecting the epoxy during curing.
Step #2: Seal the wood.
Apply a seal coat of epoxy to the wood surfaces. This initial thin layer of epoxy will seal the pores and prevent air bubbles during the main pour.
Learn how to apply a seal coat in our complete guide here.
Step #3: Construct a mold to contain the epoxy until it cures.
Build a mold around your wood setup using a sturdy, non-stick material like HDPE or melamine. Ensure the mold is well-sealed with silicone or sheathing tape to prevent any epoxy leaks.
Step #4: Mix an epoxy batch; add color as desired.
Choose a high-quality epoxy resin that’s suitable for deep pours, like a specific deep pour epoxy. Mix the epoxy according to the manufacturer's instructions, carefully measuring the resin and hardener.
New to epoxy? Read about 5 slip-ups to avoid during mixing and get a perfect blend!
Adding color and other effects
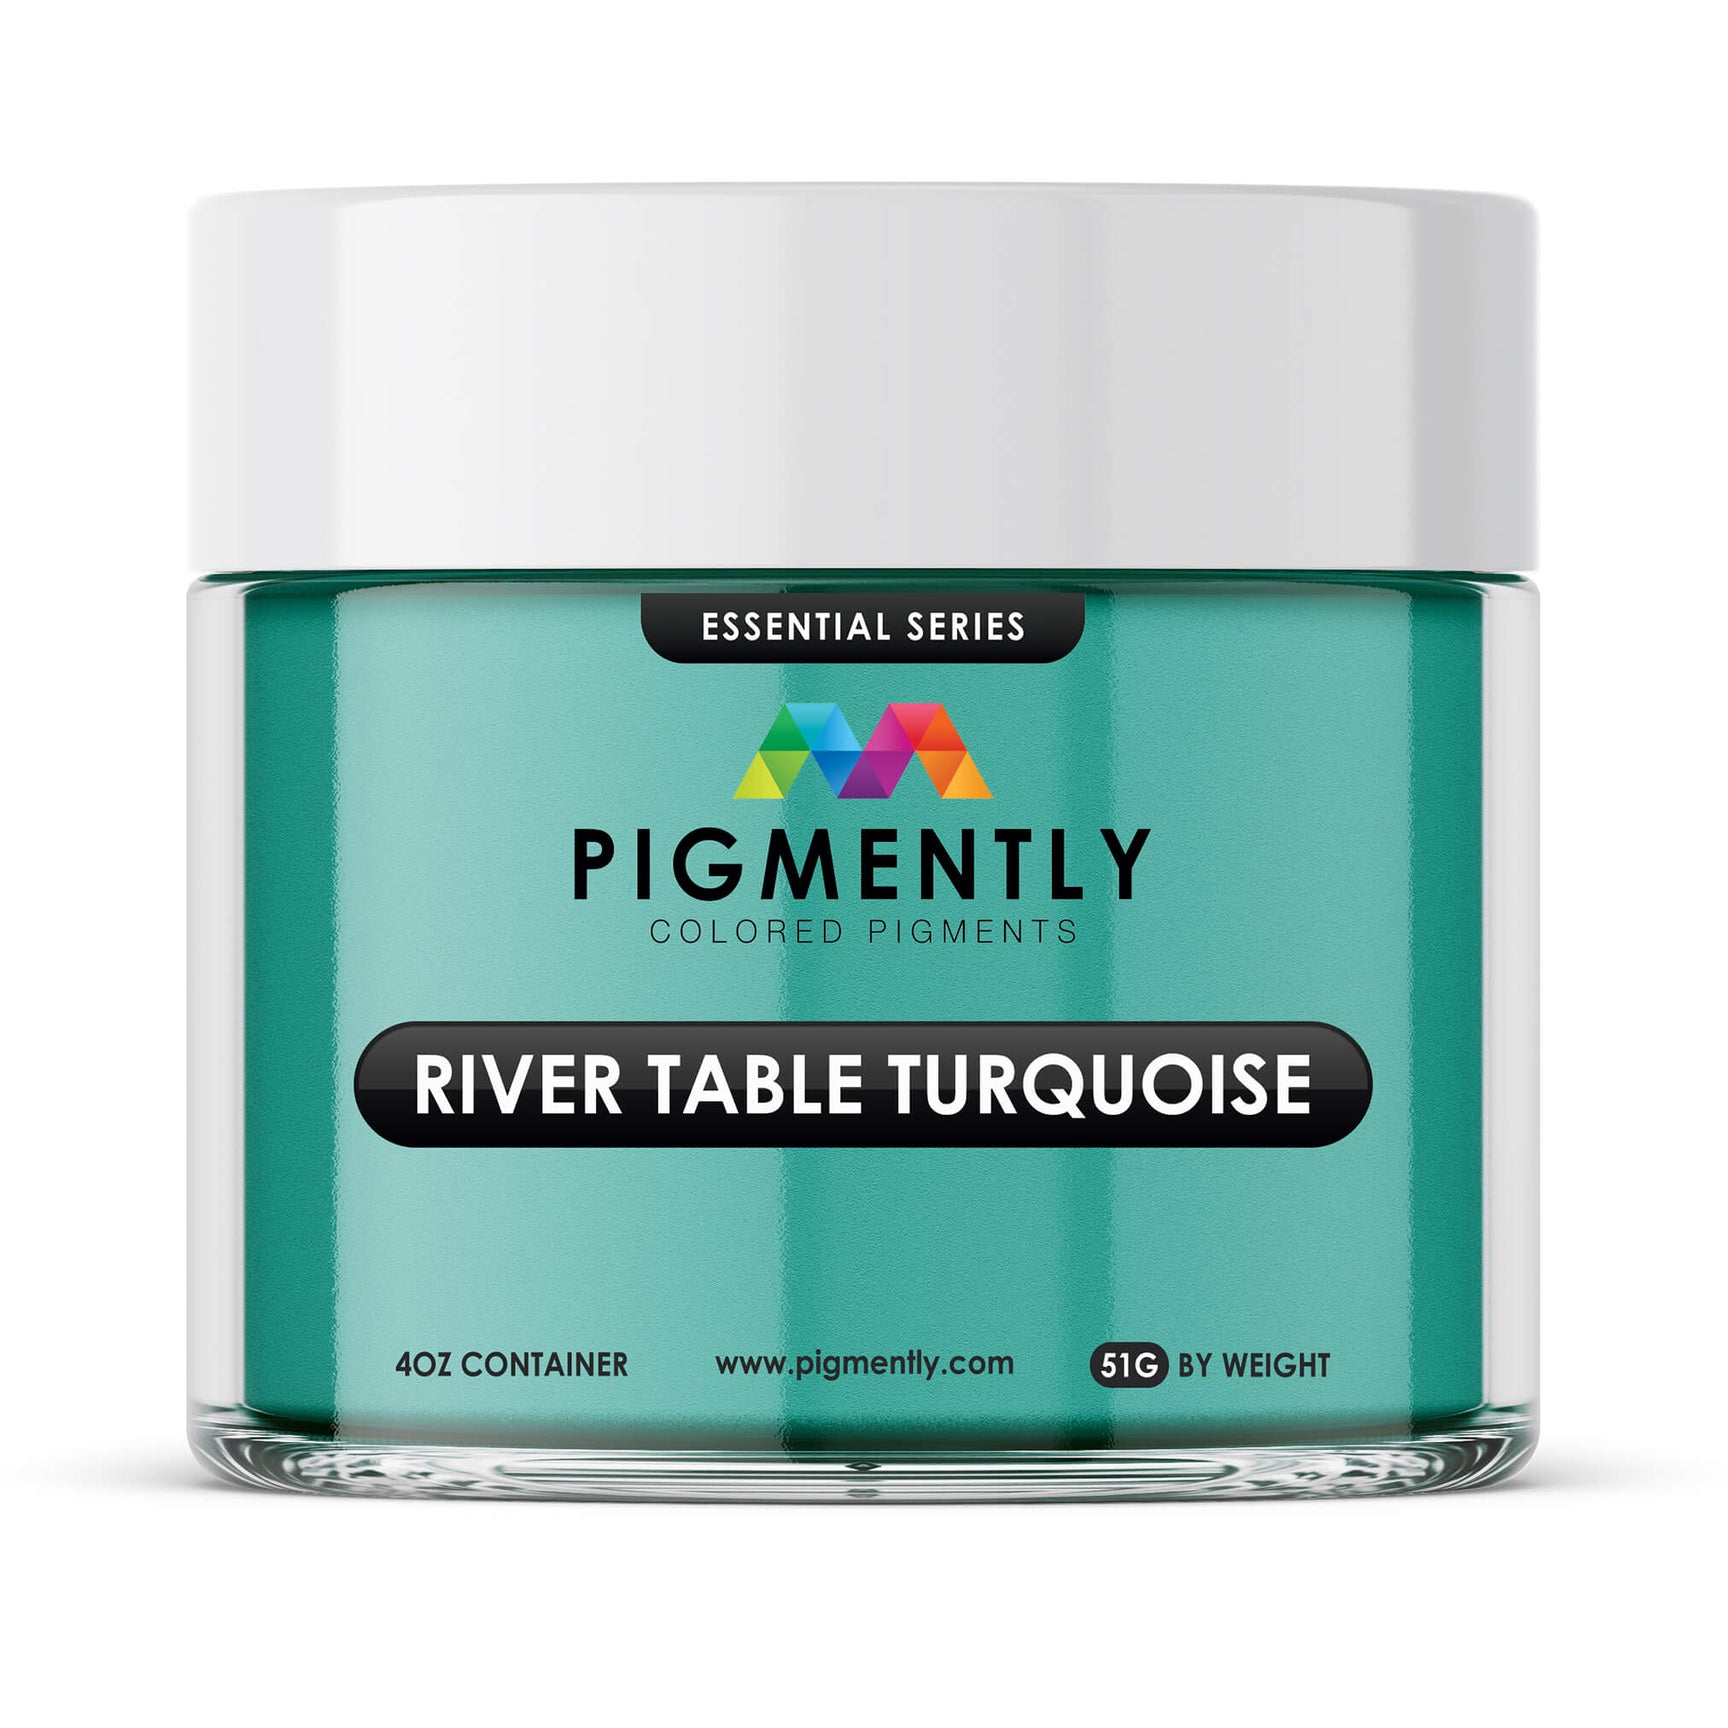
If desired, add pigments, dyes, or effects to the mixed epoxy. For a river table, translucent blue or green tints are popular choices to mimic water, but you can get creative with any colors or effects you like.
Consider using mica powder pigments to color the epoxy. Learn more here!

Step #5: Pour the epoxy river into your mold.
Slowly pour the epoxy into the river section between the wood slabs.
Pour in multiple layers if necessary, especially if using standard epoxy rather than a deep pour type. Allow each layer to partially cure before adding the next to prevent excessive heat buildup and potential cracking plus other blemishes.
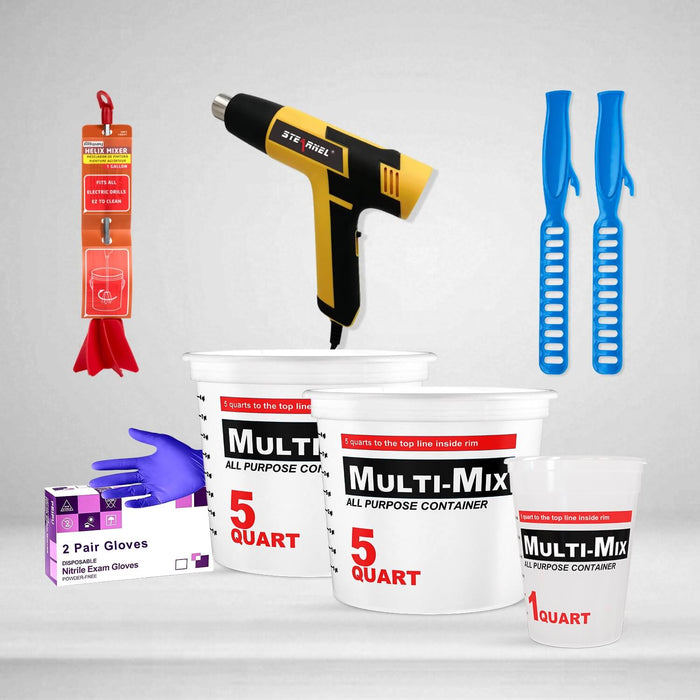
Step #6: Remove any air bubbles.
Use a heat gun or torch to carefully remove any air bubbles that rise to the surface after each pour. Keep the tool moving to avoid overheating any area.
Click here for more details on how to use a heat gun to remove air bubbles.
Step #7: Monitor the environment as the epoxy cures.
Allow the epoxy to cure according to the recommended time of your chosen brand, keeping it at a stable temperature (ideally 75°F) and humidity level (60% or less).
Avoid moving the table during this time as this can disrupt the epoxy.
See answers to common questions about epoxy curing and bonding here.

Step #8: Sand and clean, then add a topcoat if desired.
Once the epoxy is fully cured, remove the table from the mold and sand the surface to your desired finish. Apply a final top coat of epoxy or a finishing oil or varnish to protect the wood and enhance the appearance.
Not sure when/if you should sand? Get more information from our article on the subject.
Step #9: Assemble the rest of the table.
Polish the epoxy to a high gloss to enhance the depth and clarity of the river. Finally, attach legs or a base to complete your table.
And that's it! By following each of these steps in the proper order, you'll be able to make an epoxy river table of your own.

Have questions? Want advice? Contact us!
If you have any questions about crafting river tables, or if you'd like assistance in planning an epoxy project, please reach out to us at UltraClear Epoxy—our epoxy experts are ready to assist!
You can contact us via phone or email here. During business hours, you can also text chat online with one of our resin specialists by clicking the Help button at the bottom of your screen.
In our online store, you'll find a variety of useful tools and supplies, ideal for resin projects, plus our award-winning UltraClear Bar & Table Top Epoxy and our UltraClear Deep Pour Epoxy.