When it comes to planning an epoxy project, there's a number of aspects to consider. And among those aspects is deciding the ways in which you'll personalize your epoxy project.
Naturally, though, it first helps to know what your options are, and many users simply aren't aware of the ways in which an epoxy project can be customized. Epoxy's ability to conform to bond with nearly any surface and conform to almost any shape allows for a high level of customization in many ways.
In this article, we'll cover a variety of ways to customize an epoxy finish through different methods, allowing you to imbue it with your own creative inclinations.
Customizing your epoxy finish: A beginner's guide
There are several common methods used to personalize an epoxy finish. These vary from exceptionally easy to a somewhat more involved, but all of them are feasible even for a novice, as long as the user is careful to follow instructions.
Here's a list of the methods we'll be discussing in this article:
- Coloring—Add color to the epoxy resin before it cures.
- Embedding—Sealing small objects within the epoxy finish.
- Layering—Applying multiple layers of epoxy to add depth and visual texture.
- Texturing—Changing the epoxy from its normally smooth surface to something with physical texture.
- Sanding—Using abrasive techniques to alter the high-gloss finish to a more "frosted" or matte appearance.
Let's take a look at each of these, one by one.

Method #1: Infusing your epoxy with colorants
Giving color to epoxy is a time-honored tradition among its users. Though epoxy is iconic for its crystal-clear appearance, it's also admired for its receptiveness to certain types of colorants.
In most cases, colorants are added during the mixing process, allowing the user to blend it into the resin batch prior to application. However, in some situations a different approach may be warranted.
There are three types of colorants we'll discuss here, each of which imbues the epoxy resin with a distinct look:
- Epoxy Powder Pigments
- Epoxy Resin Dyes
- Alcohol Inks

Colorant Type #1: Epoxy Powder Pigments
Epoxy powder pigments are made from minerals that have been mined and ground into a powder form. Typically these pigments are actually a mixture of several (or more) powdered minerals combined to generate striking effects. They're added to an epoxy batch during mixing.
What are epoxy powder pigments made of?
Most epoxy pigments are made from a mica-powder base. Mica minerals are well known for their gentle sheen that bestows a soft shimmer when blended into epoxy. But mica minerals, though existing in a sizable range of colors, fall short of the full spectrum. For this reason, it's common for additives to be used in the creation of mica powder pigments. These additives are usually other minerals; however, in cases where the original mineral is toxic or rare, nearly identical synthetic variants may be used instead, as is the case with lapis lazuli.
How do epoxy powder pigments affect the look of epoxy?
Aside from the color, epoxy powder pigments generally give the epoxy a multi-toned appearance, with subtly different shades of whichever color was chosen. On top of that, the epoxy will become more opaque than with other colorants in the same amount. This makes powder pigments a great choice when you don't want the substrate material to be visible and instead prefer the epoxy itself to be the main attraction.
Epoxy pigments based on mica will have a shimmering effect. This causes them to gently sparkle in direct lighting.
Where do you get epoxy powder pigments?
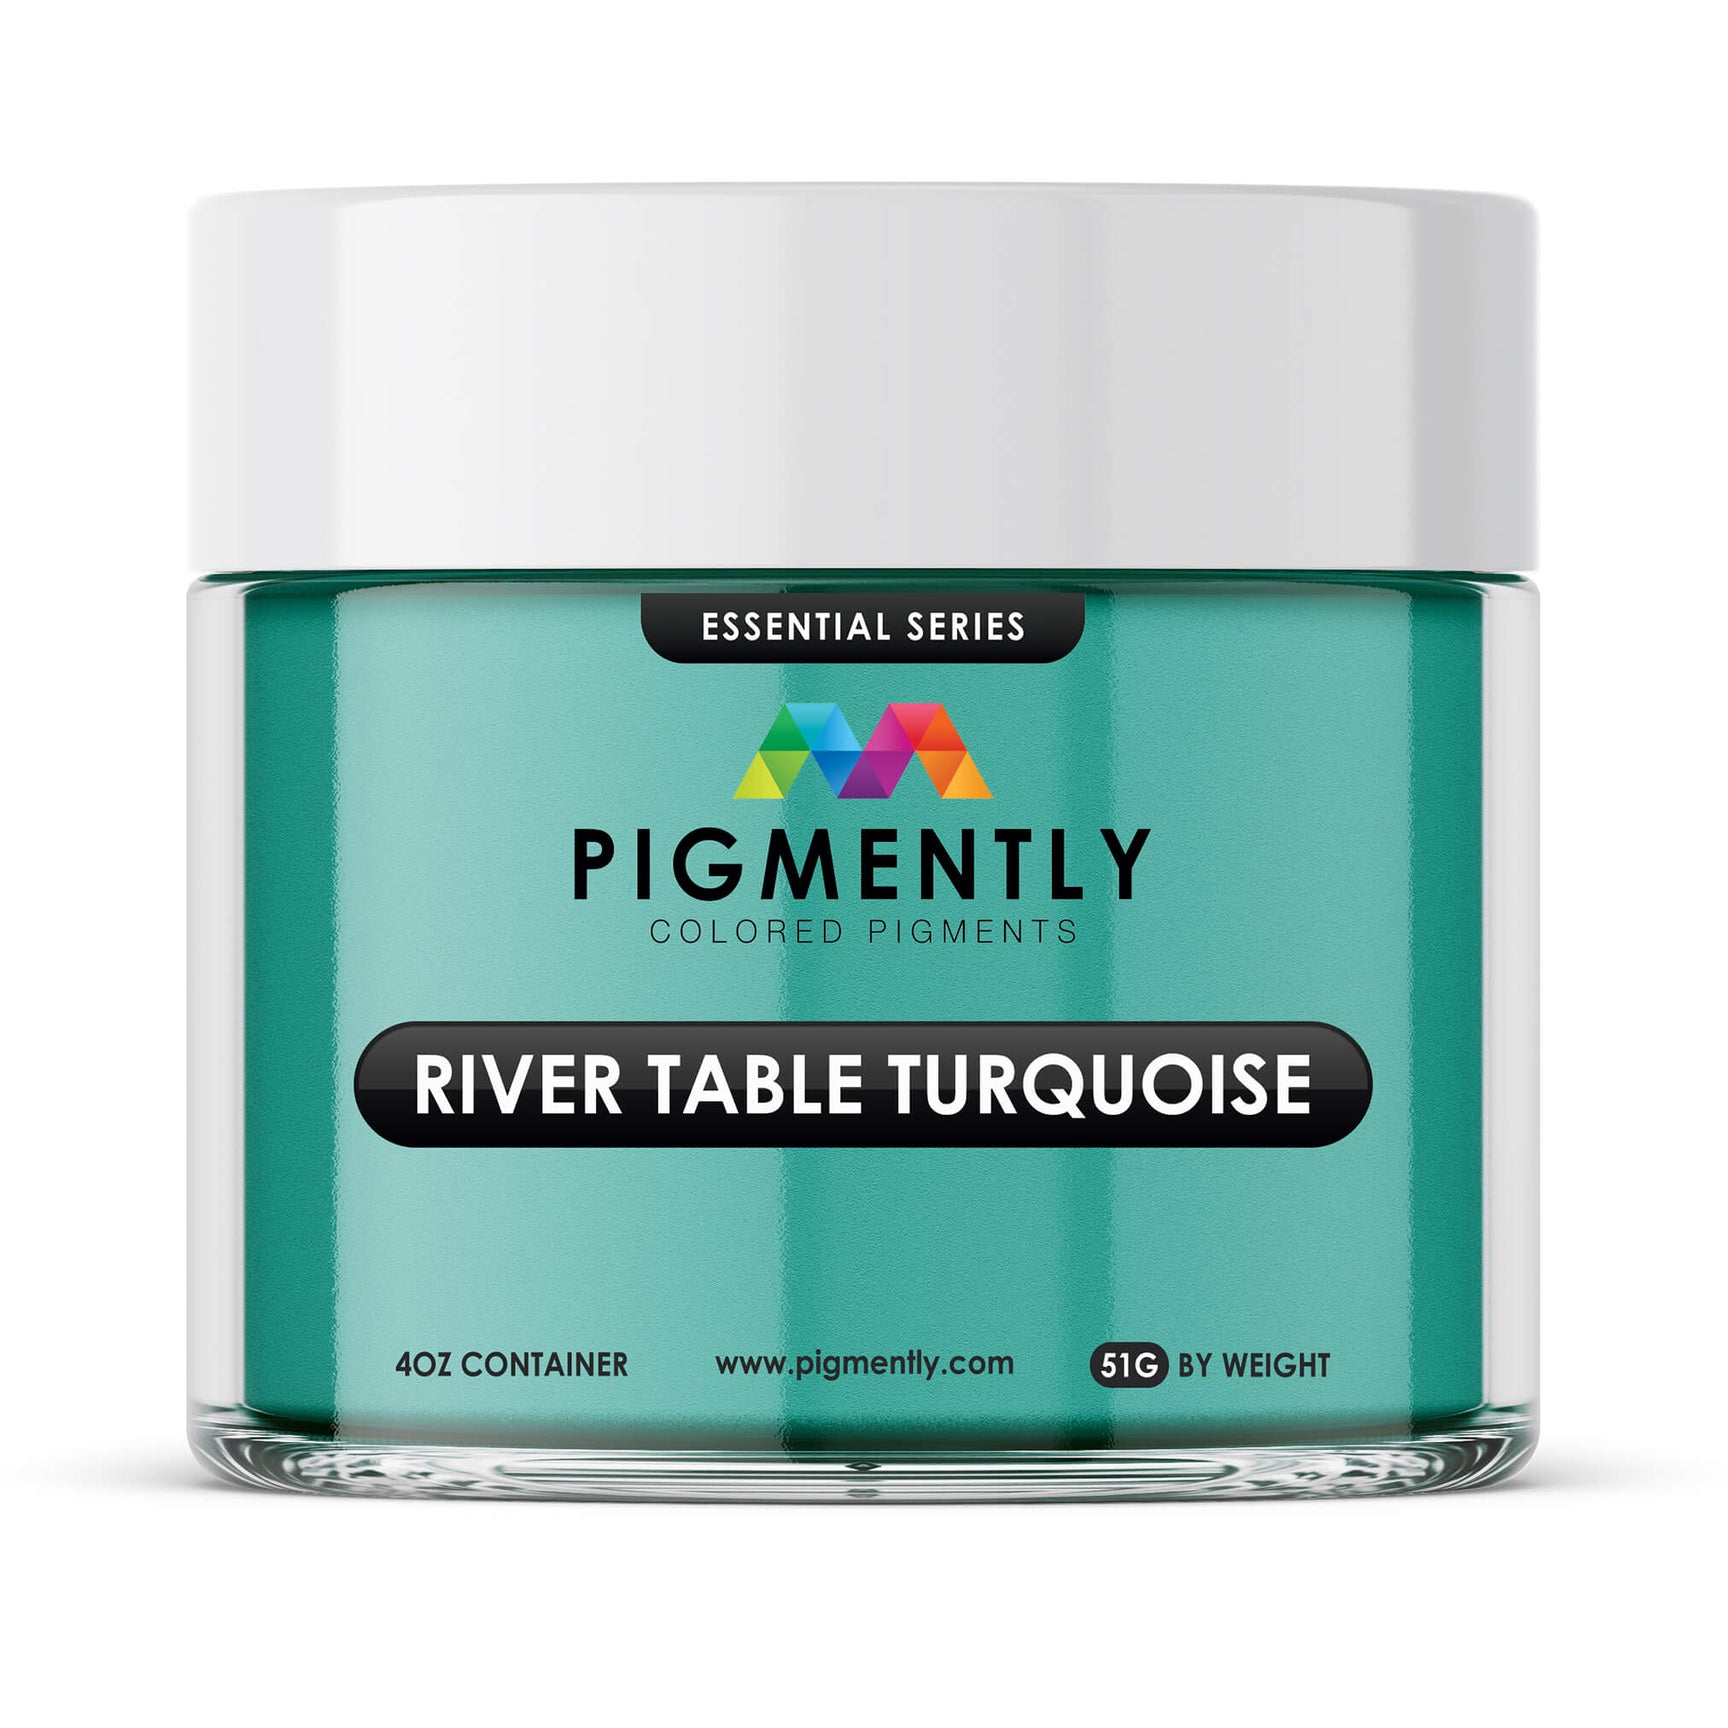
We offer the full collection of Pigmently Epoxy Pigments in our store.

Colorant Type #2: Epoxy Resin Dyes
Unlike powder pigments, epoxy resin dyes are almost entirely synthetic and exist in liquid form. They're still meant to be added to the epoxy during mixing, and will disperse evenly throughout the batch when adequately stirred.
How do resin dyes affect the look of epoxy?
Resin dyes provide epoxy with a consistent, singular tone throughout the batch they're applied to. They tend to be much more translucent than epoxy powders, though with enough added, they too can reach high opacity.
Generally, resin dyes are also very potent. This means that a surprisingly small amount is enough to reach most users' goals. With less, the finish will look lighter in color and remain mostly transparent. With more, the color gradually deepens while also shifting to more opaque (i.e., something that can't be seen through).
Where do you get resin dyes?
We offer the full collection of Pigmently Resin Dyes in our store.

Colorant Type #3: Alcohol Inks
Alcohol inks are a lesser used type of colorant, due to the way they disperse within epoxy resin. Instead of an even distribution throughout, alcohol inks tend to form unusual shapes and patterns within the epoxy.
More often, they're used for eye-catching resin art rather than for conventional projects like table tops or bar tops.
Where do you get alcohol inks?
Though we don't offer them in our store, alcohol inks can usually be found in arts-and-crafts stores as well as in supermarkets and hobby stores.

Method #2: Embedding objects within your epoxy
Sealing small items within an epoxy finish is a popular way to personalize your epoxy project in more distinctive ways.
What can you embed in epoxy?
Most items that can fit are viable for epoxy resin. Examples are:
- Pennies, bottle caps, wine corks, etc.
- Paper mementos such as tickets, photos, writings, etc.
- Small figurines, toys, and other iconography
- Dried, clean natural items, including rocks, pebbles, seashells, etc.
- Certain dehydrated plants and produce, such as dried flowers and fruits
There are some things that cannot be safely put into resin, however:
- Anything with moisture, including liquids, flowers, fruits, vegetables, etc., that haven't been dehydrated properly.
How do you embed items in epoxy?
There are multiple methods for embedding objects in epoxy. The most common of these involves adhering the objects to the project substrate surface, typically using an ordinary glue (not super glue or hot glue) that turns clear when dry. Once dried, the epoxy can be applied to the project.
Learn more about embedding objects in our guide here.
Where can you get items to embed into epoxy?
Anywhere, really. With few exceptions, any objects you can acquire are viable for epoxy embedments as long as they fit within your project.

Method #3: Applying your epoxy in layers
Epoxy can also be applied in layers. Depending on the type of the epoxy, these layers can range from 1/8 inches deep (with our UltraClear Bar & Table Top Epoxy) to a full 2 inch thickness (using our UltraClear Deep Pour Epoxy).
Each layer can be customized individually. For instance, a user can make one layer blue and another clear or orange. Doing things this way allows for a great sense of depth and texture to be showcased.
Learn more about epoxy layer thickness here.
How do you apply epoxy in multiple layers?
Applying epoxy in multiple layers involves starting with an initial layer, then letting it partially cure before applying the next. Though it's possible to add new layers on top of cured epoxy, this is more involved and requires light sanding to prime the hardened epoxy for a fresh coating.
Note: The layers of epoxy don't have to be on top one of another. Many users divide the epoxy area into sections, then pour different batches into the spaces before adding a final top coat—typically clear—to bind them all together at the end.
For more information on this, check out our multiple layers guide.

Method #4: Texturing your epoxy finish
Texturing allows you to change not only the aesthetic of the epoxy but also the tactile feel of it, producing surfaces that feature interesting Giving your epoxy texture can be done in a variety of ways, but should be approached carefully to avoid accidentally creating blemishes where none would have been.
Techniques for texturing include:
-
Swirling: This involves using a stick or a similar tool to swirl different colors of epoxy together before it sets. This technique creates a marble-like effect, with intricate patterns that can mimic natural stone or artistic designs.
-
Brushing: Applying epoxy with a brush can create striations or other textured effects. Different brush types and strokes can vary the texture from subtle to dramatic.
-
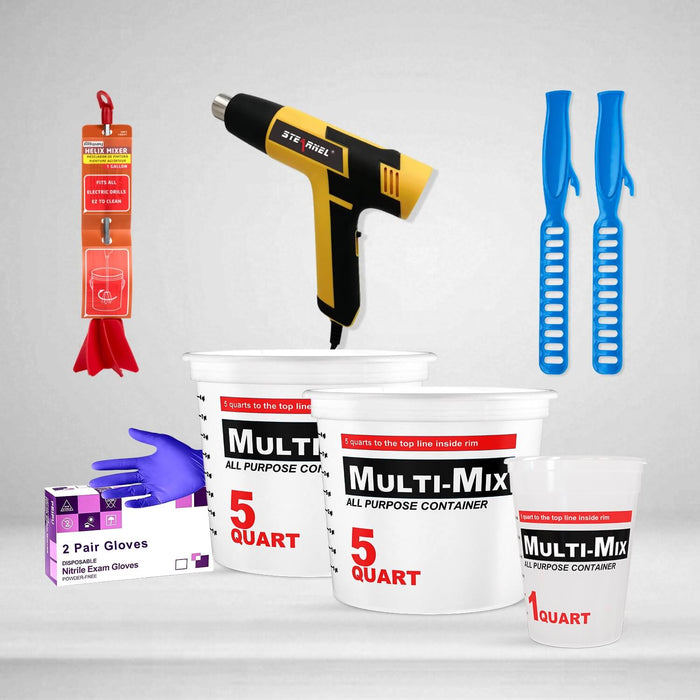
Using a Heat Gun or Torch: A heat gun or torch can be used to move the epoxy around after it’s been poured. The heat not only helps to remove air bubbles but also encourages the epoxy to flow and blend, creating lacing or cellular effects. This is also the method used to create resin waves in ocean art.
-
Dropping: Adding drops of a different colored epoxy into a base layer and allowing them to spread naturally or assisting with a tool or heat can create unique textural effects. This is particularly common with the alcohol inks option mentioned earlier.
-
Leafing and Foiling: Applying sheets of metal leaf or foil within or on top of the epoxy can not only add color and sheen but also a textured feel if the leaf is applied in a non-uniform manner.
-
Sanding Techniques: After the epoxy has cured, sanding it down in certain areas more than others can create a wavy, textured surface. Higher grit sandpaper can be used to smooth the surface selectively. Sanding in general can also be used simply to apply a matte-like finish to the cured epoxy coating.

UltraClear Epoxy: Resin Products of Unmatched Quality
As with any material, epoxy resin has both pros and cons. But no other sealant has so few weaknesses, and that's what puts epoxy above all other options when it comes to being a finish for high-traffic fixtures and furniture such as countertops, table tops, and bar tops. And among epoxy resin products, there are none that match the quality of UltraClear.
You can find our UltraClear Epoxy products on the following pages:
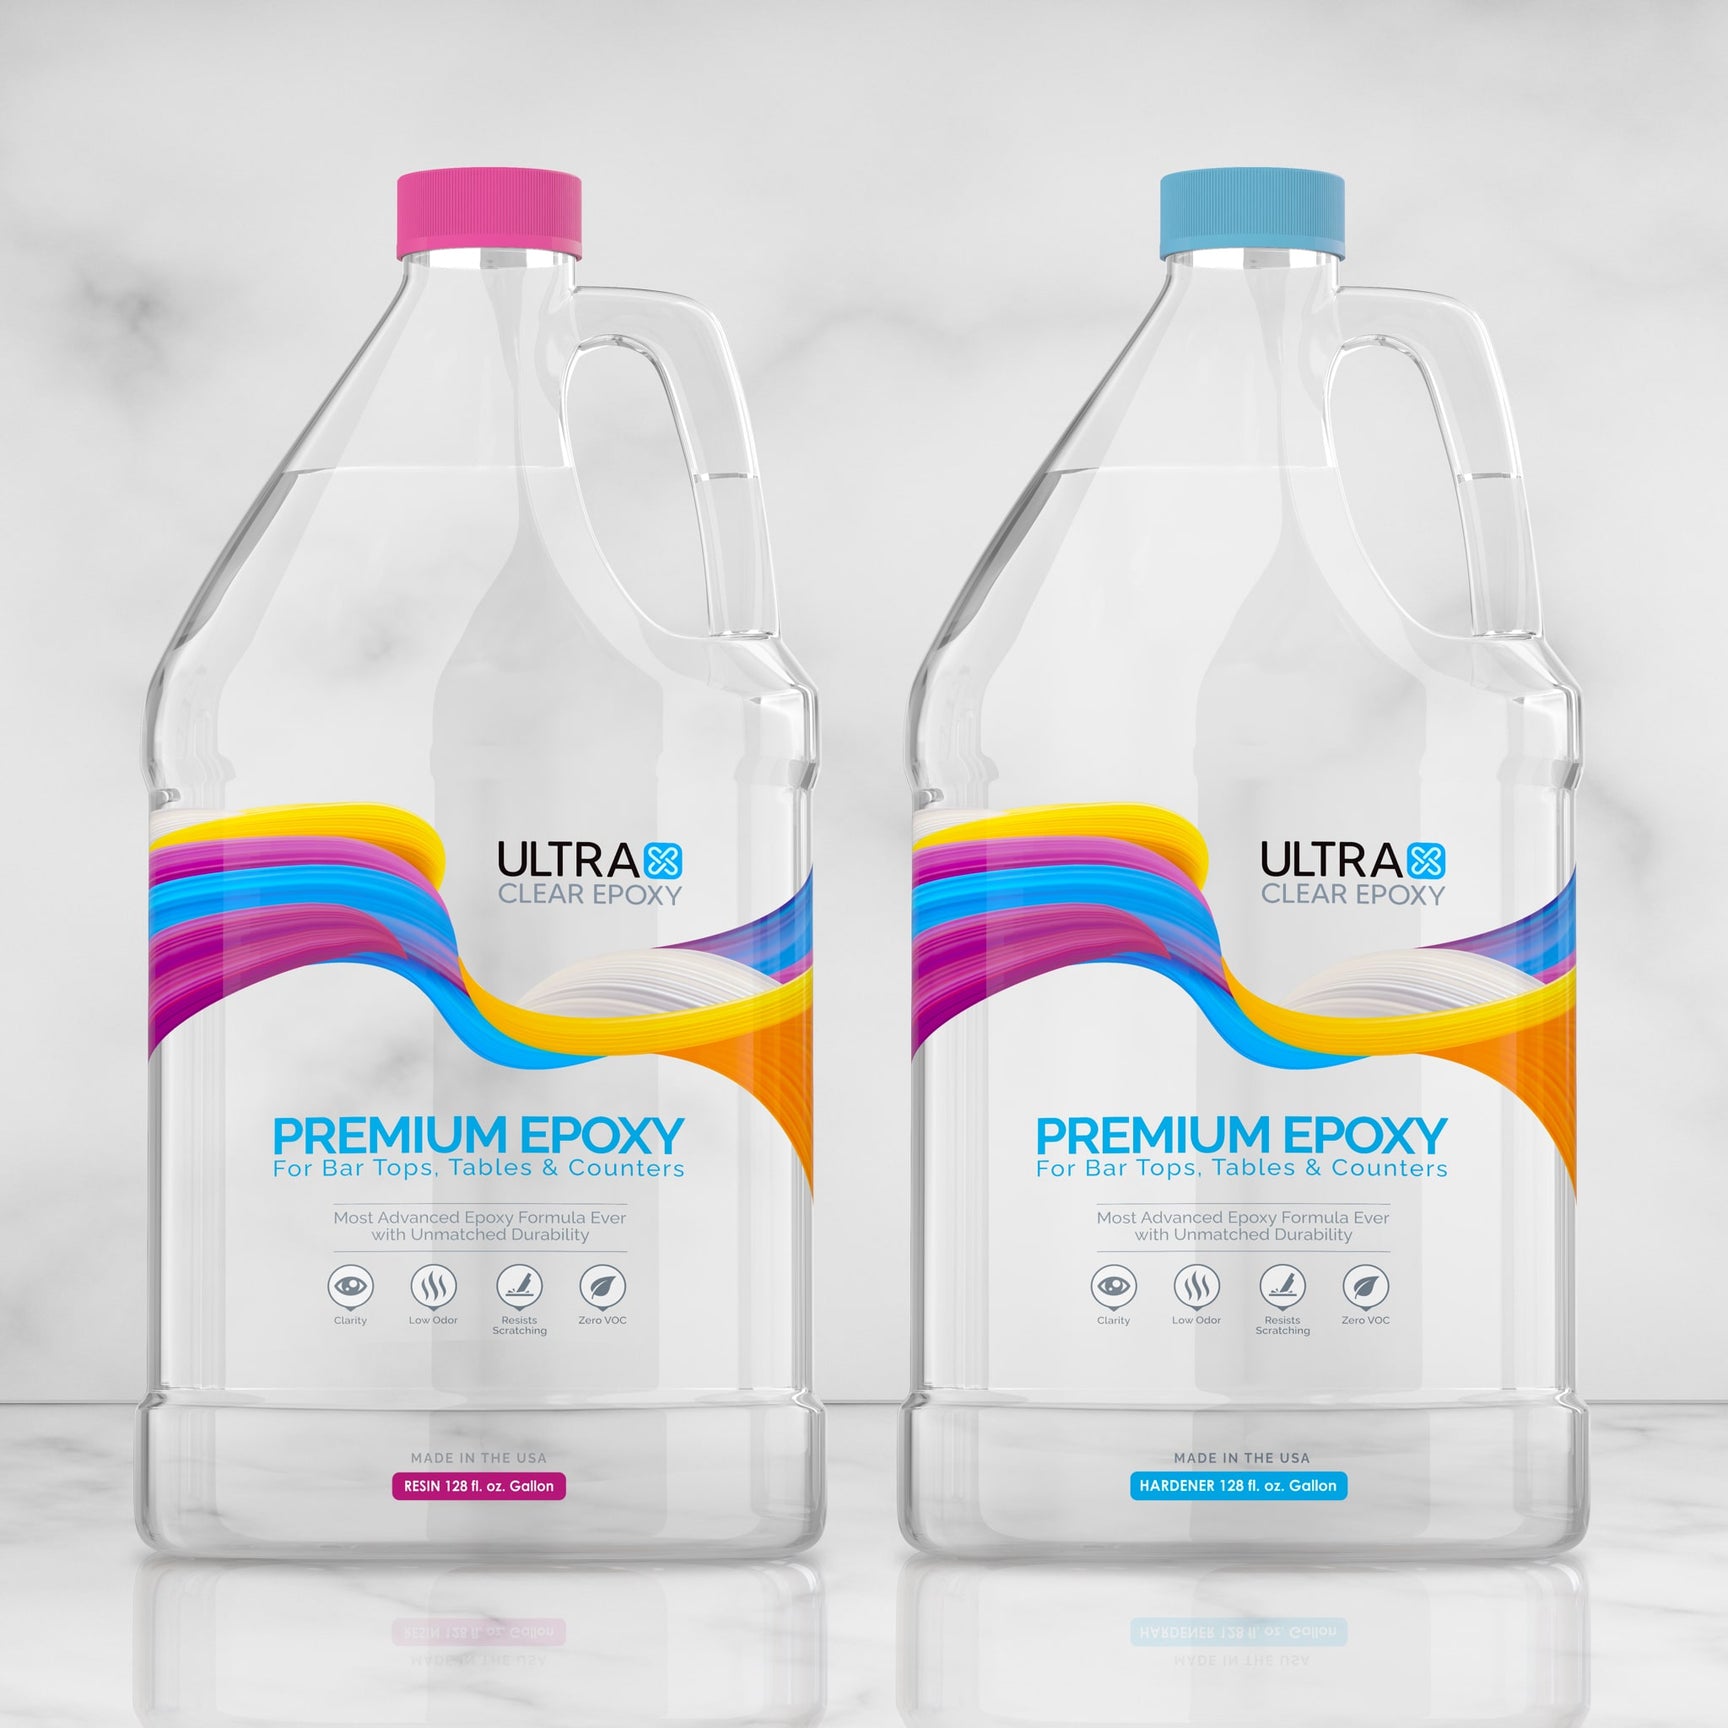
- UltraClear Bar & Table Top Epoxy: The classic choice for bar tops, countertops, and table tops. Rock-solid, waterproof, and crystal-clear.
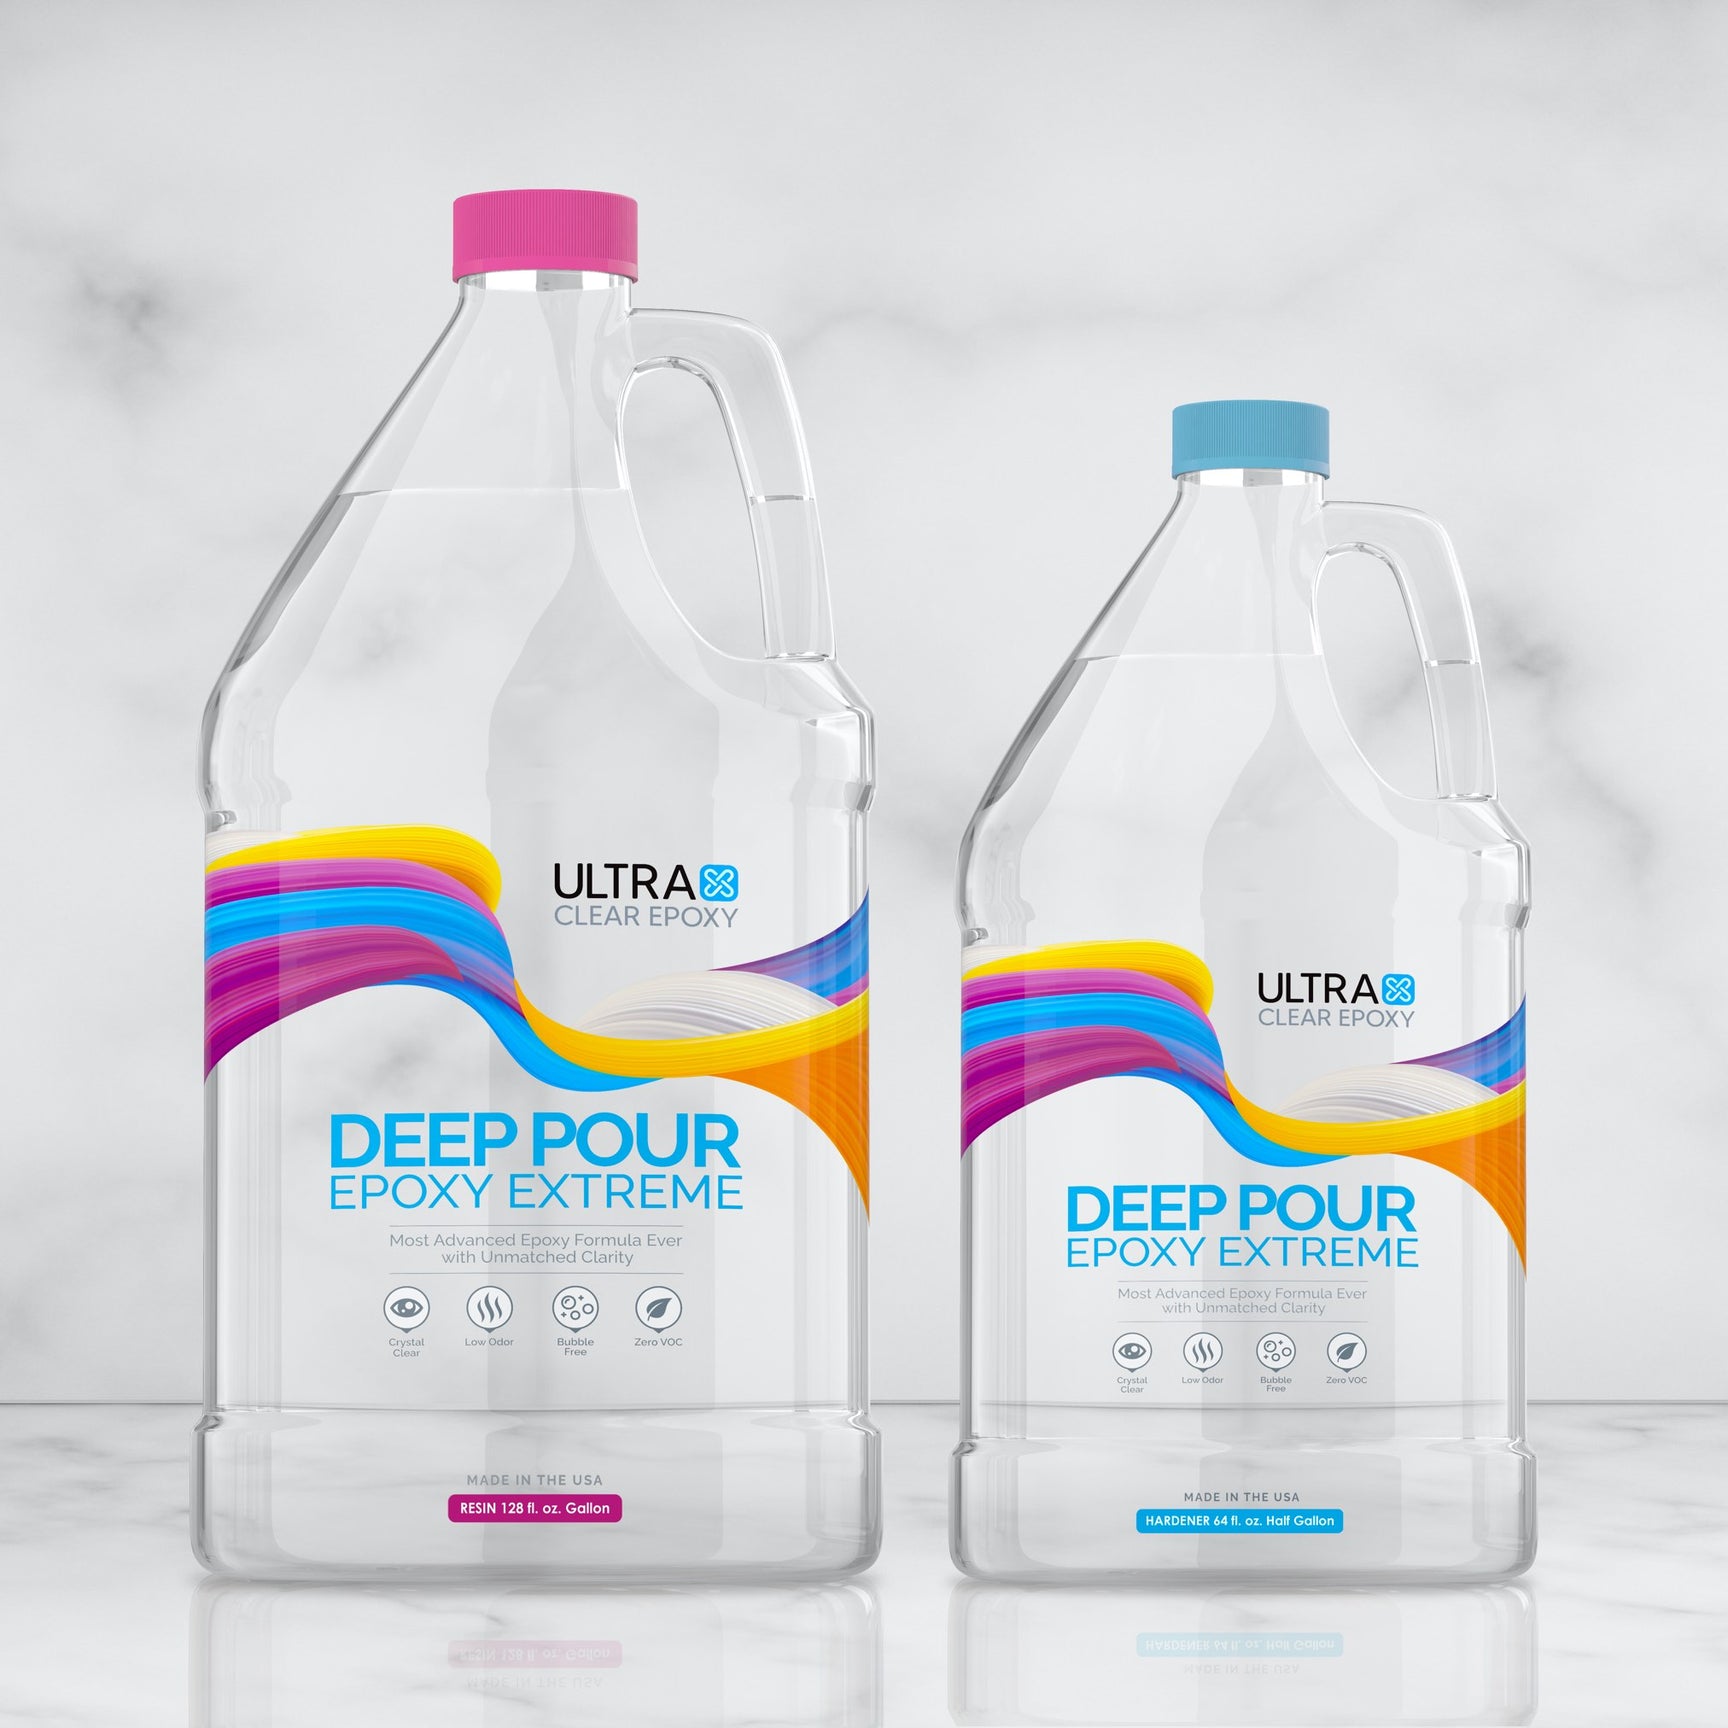
- UltraClear Deep Pour Epoxy: Our deep pour casting resin. Ideal for thick layers, such as those needed for river tables.
- UltraClear Art & Craft Epoxy: Our arts and crafts resin, designed for smaller artistic endeavors which typically involve resin molds and require a bit more fluidity than bar top epoxy.
With high chemical and physical resistance, UltraClear resins can withstand and endure many forms of wear and tear without breaking a sweat or showcasing any cosmetic damage.
Plus, in addition to its ease of application, they also require little upkeep to maintain its pristine appearance. With a high-quality epoxy finish, you can expect a minimum lifespan of 7 years, with no need for reapplication. Beyond that, it's a breeze to renew that coating, requiring only a light sanding and a fresh layer of epoxy.