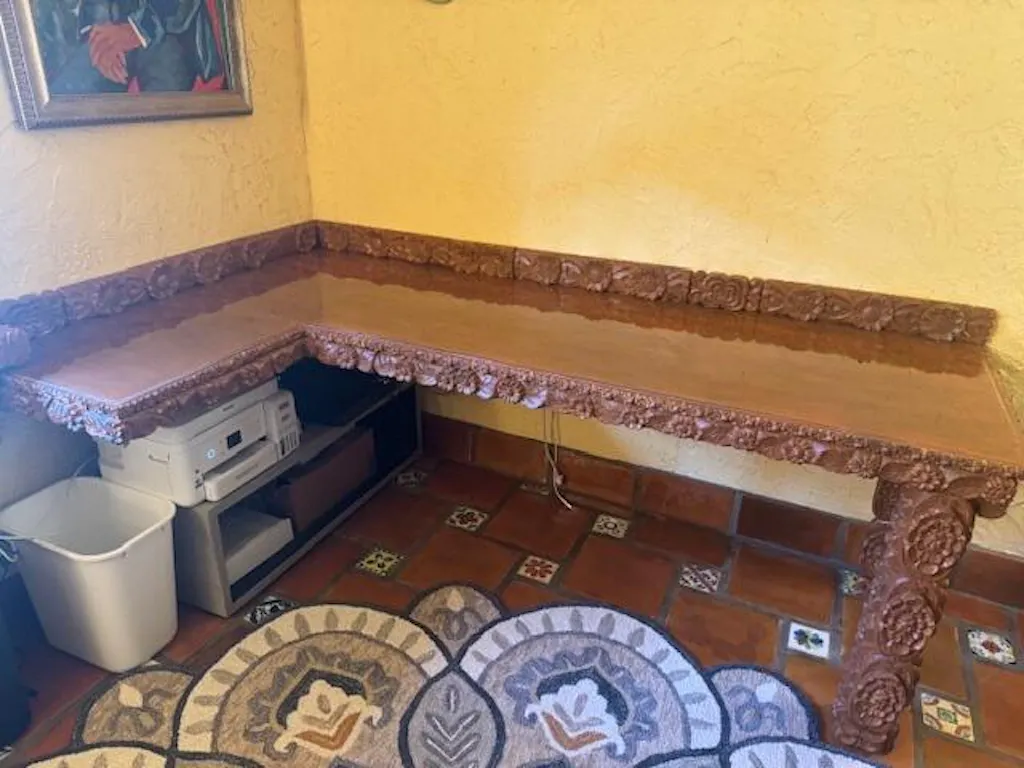
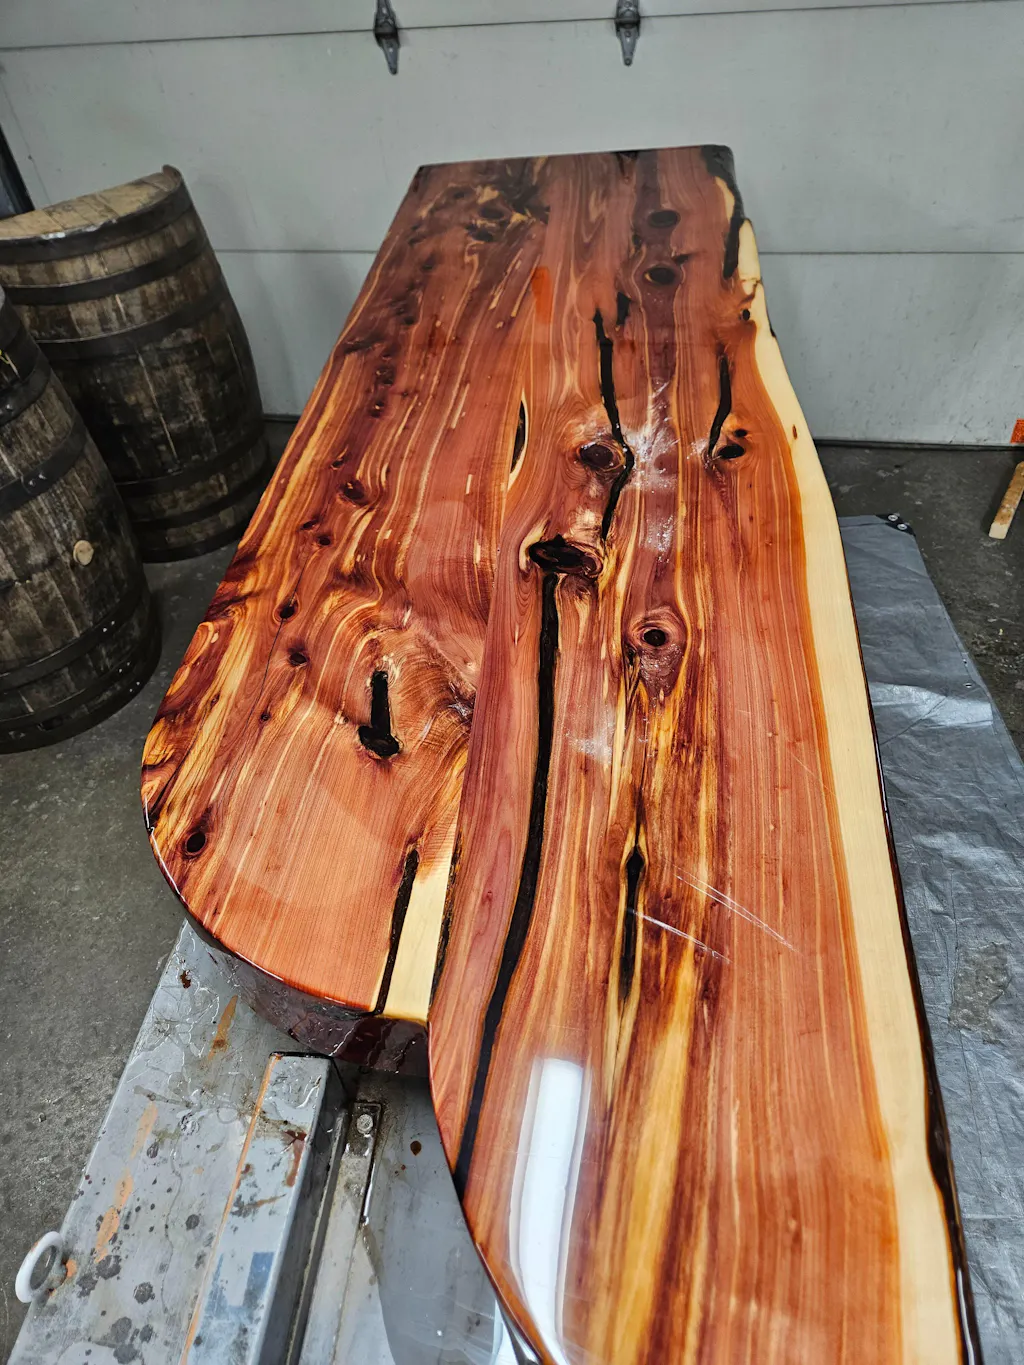
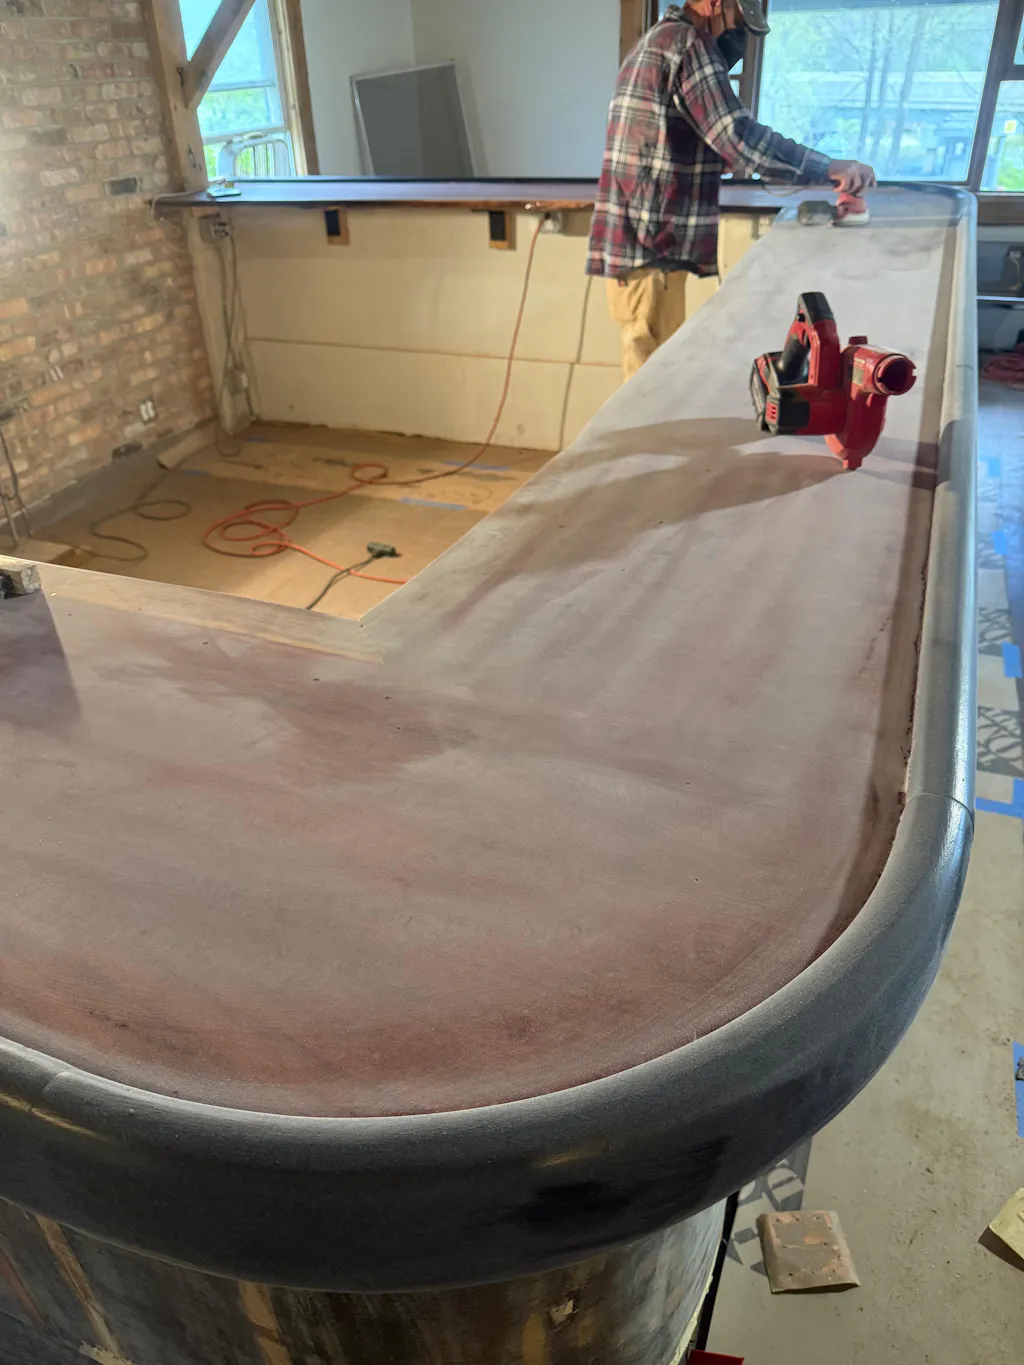
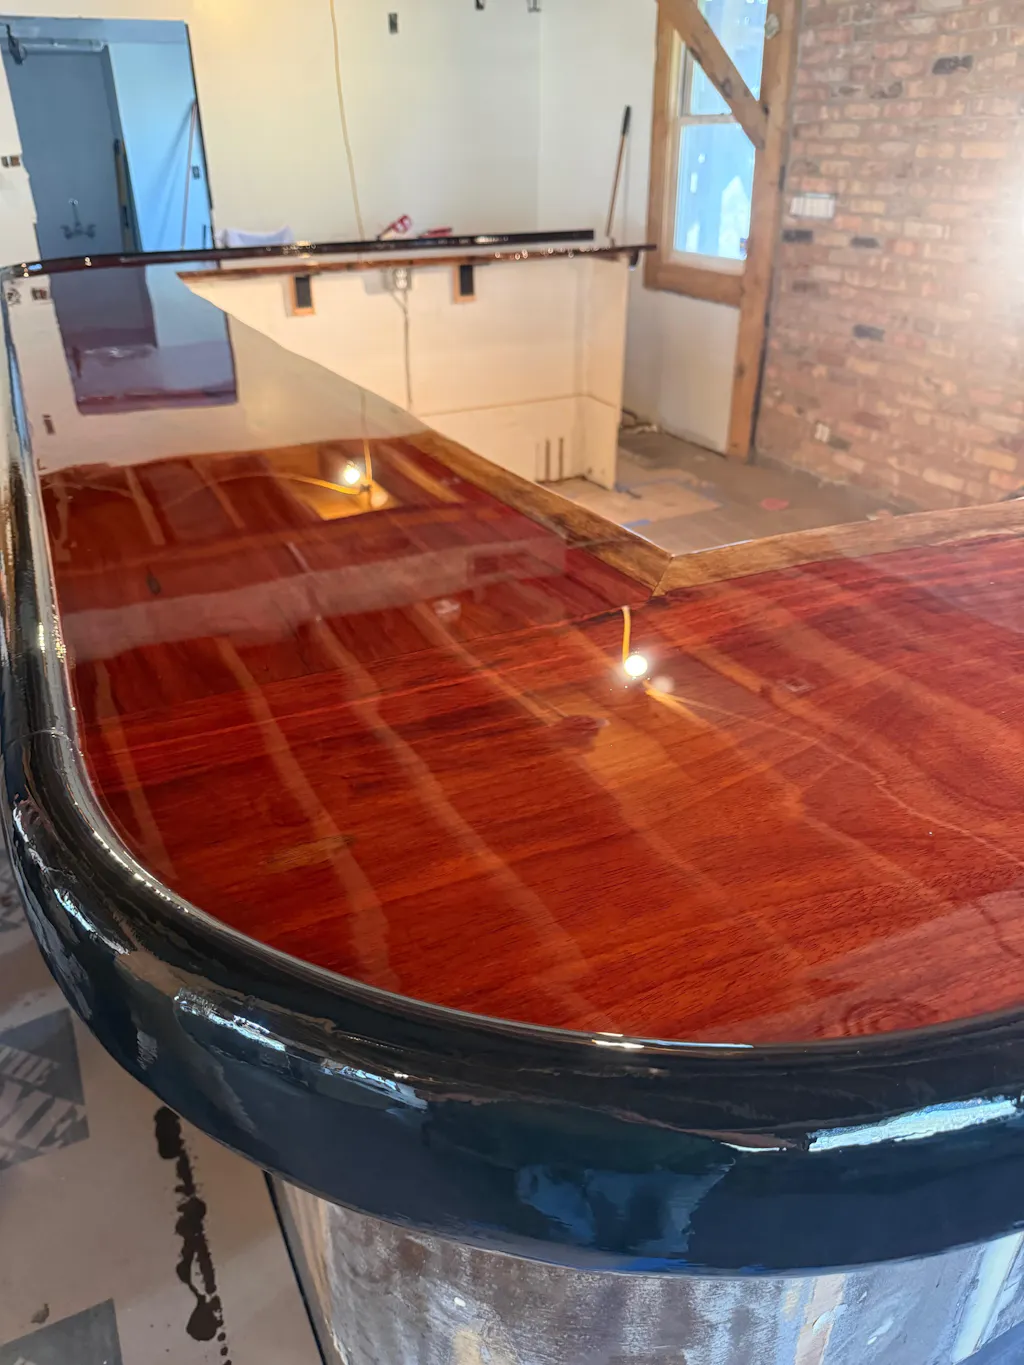
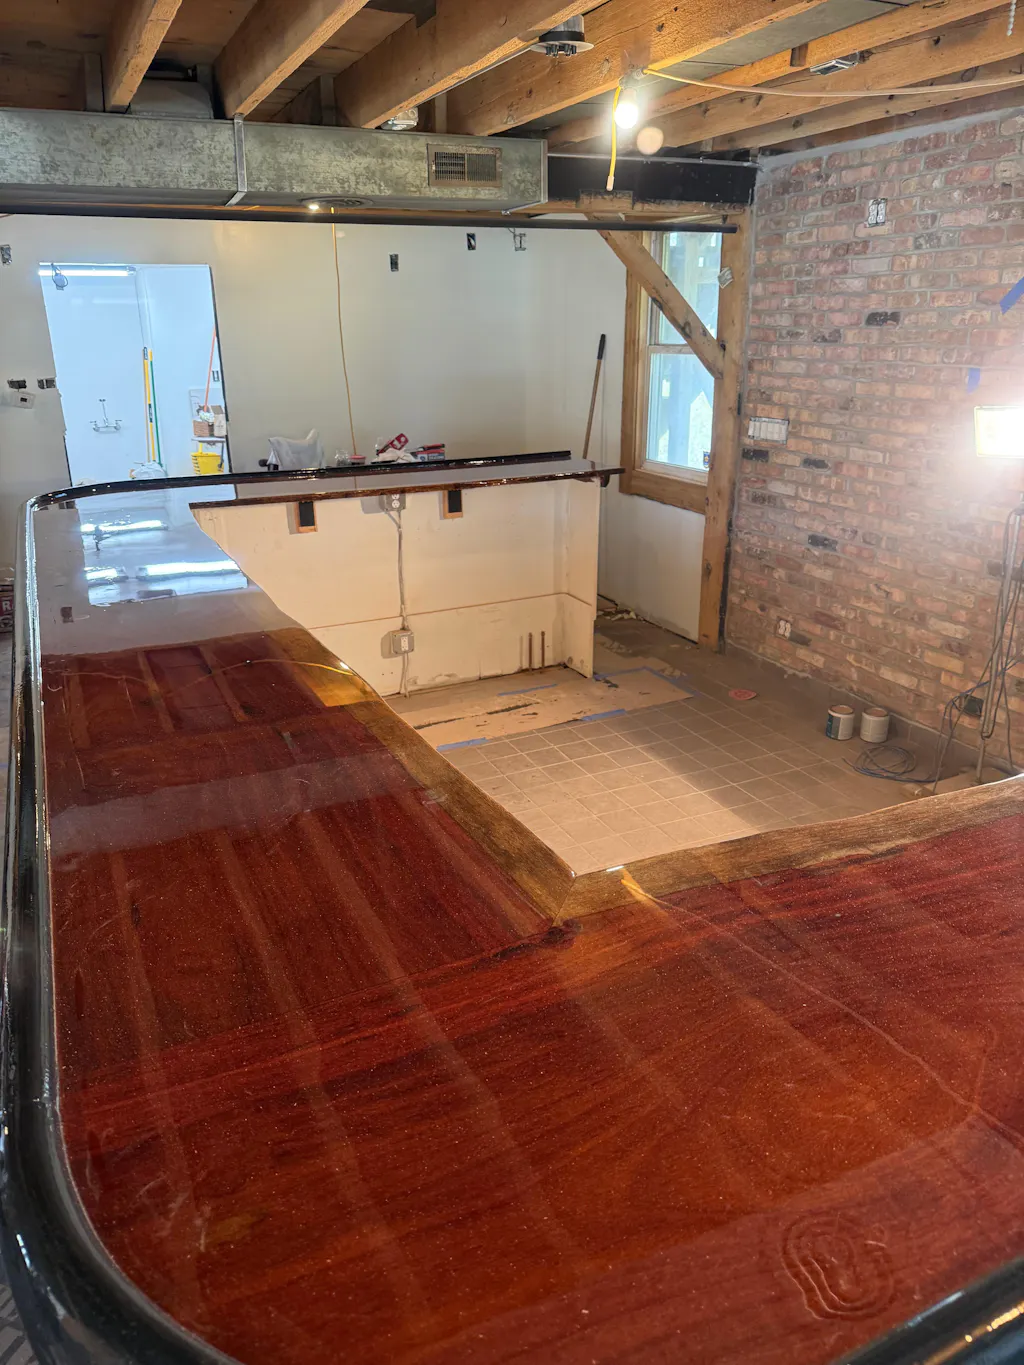
Great product easy to use. This Larch stereo bench is my first swing at it, came out great.
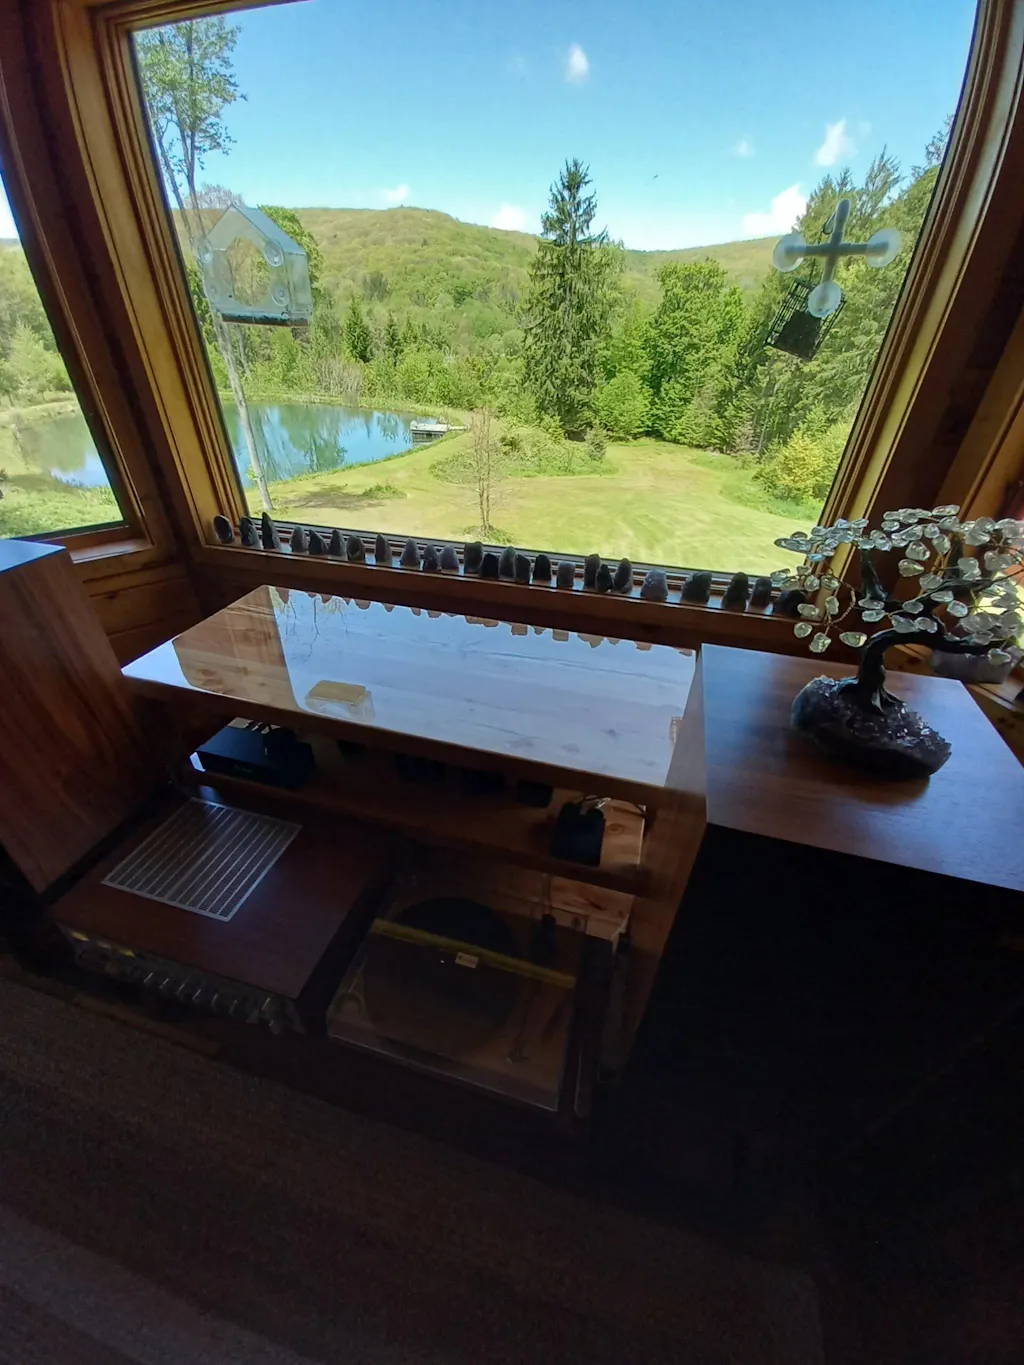
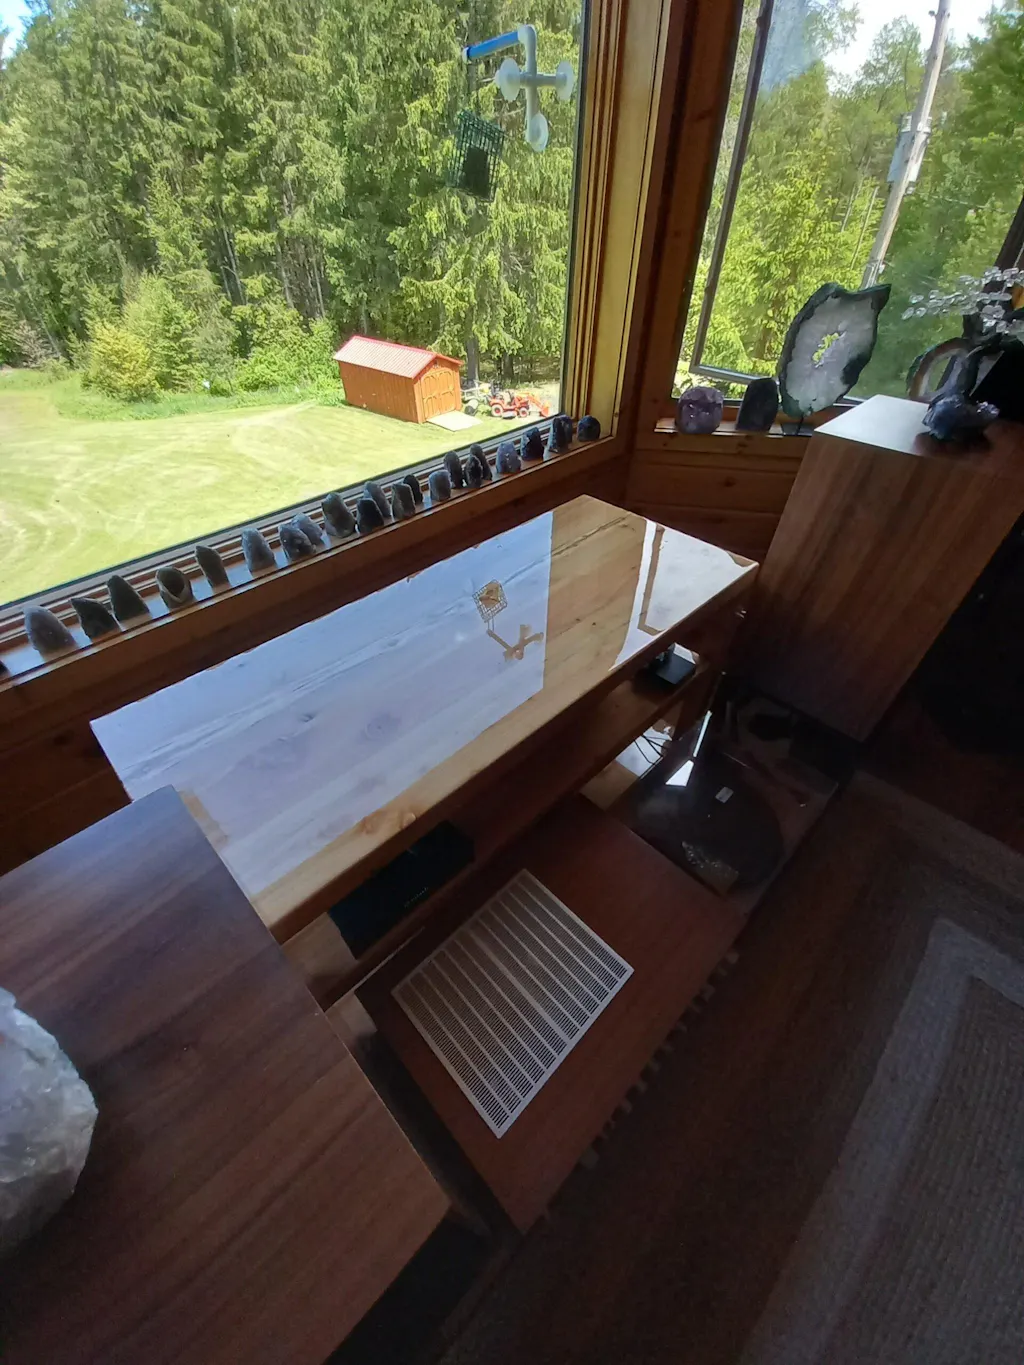
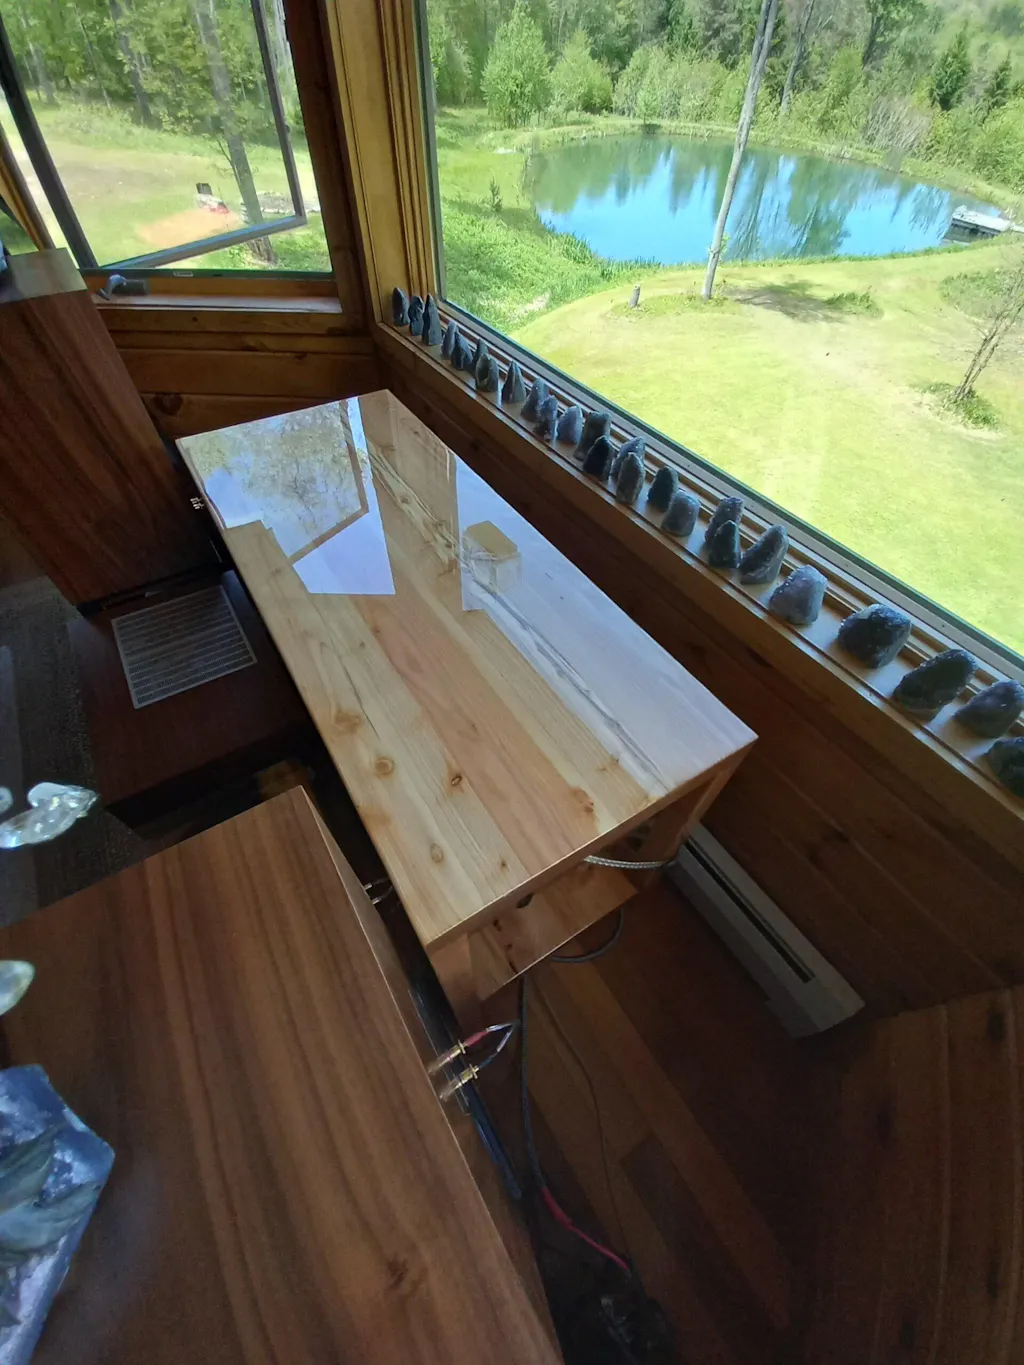
I’ve used this product a couple times. Both times I’ve found it to be true that if you mix it too quick, it will 100% cloud up on you. Then it’s garbage. I’ve had to throw away $100 worth both times. Just from mixing with drill. Instead I have to use the drill, but go incredibly slow. Other than that, awesome product.
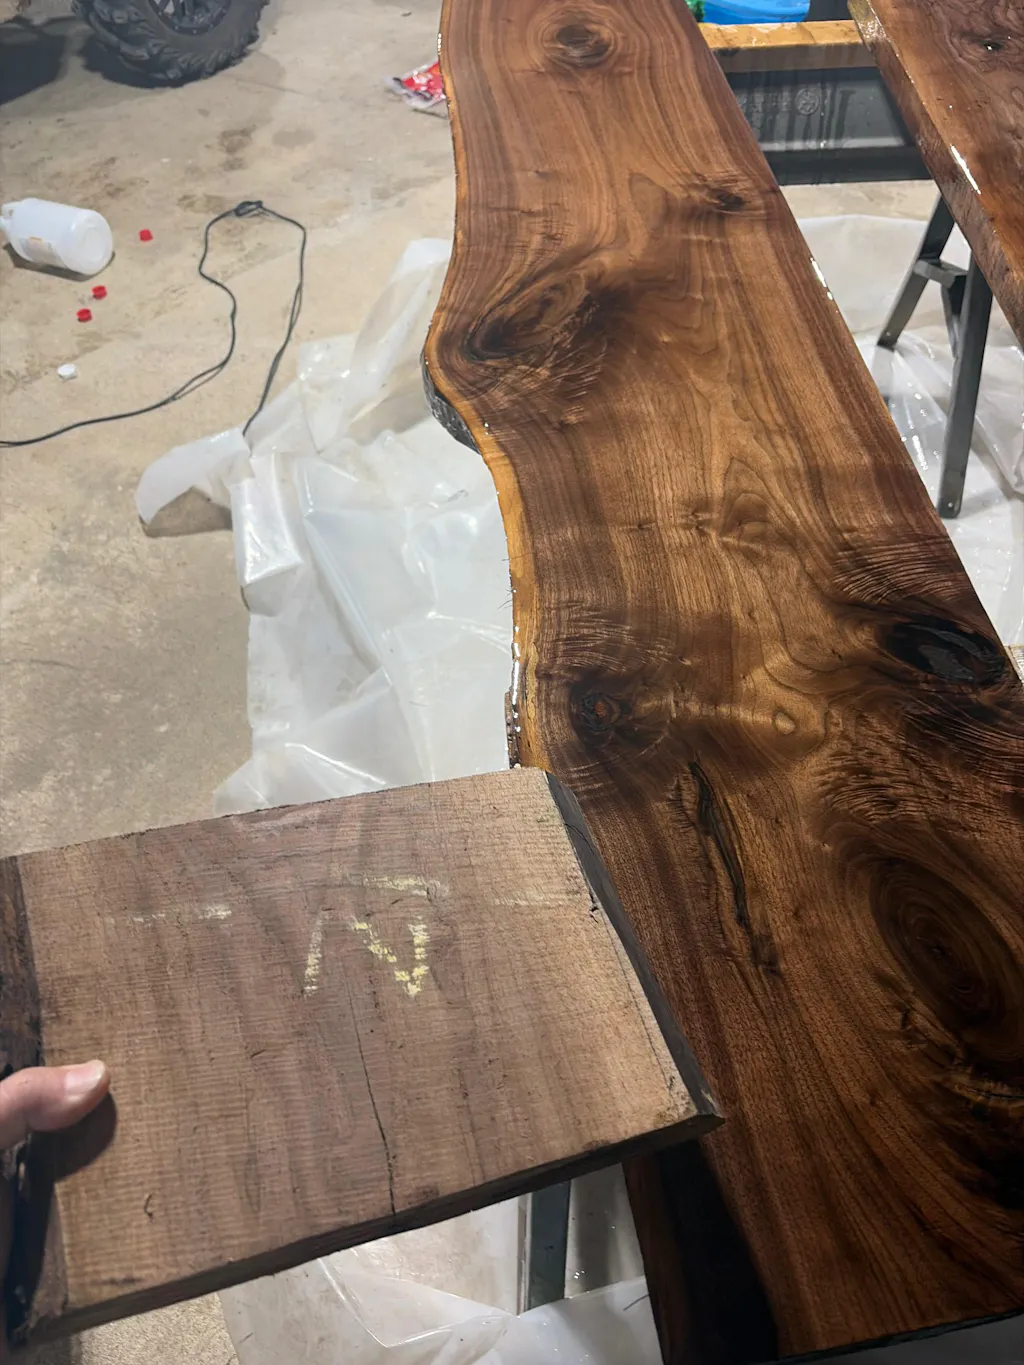
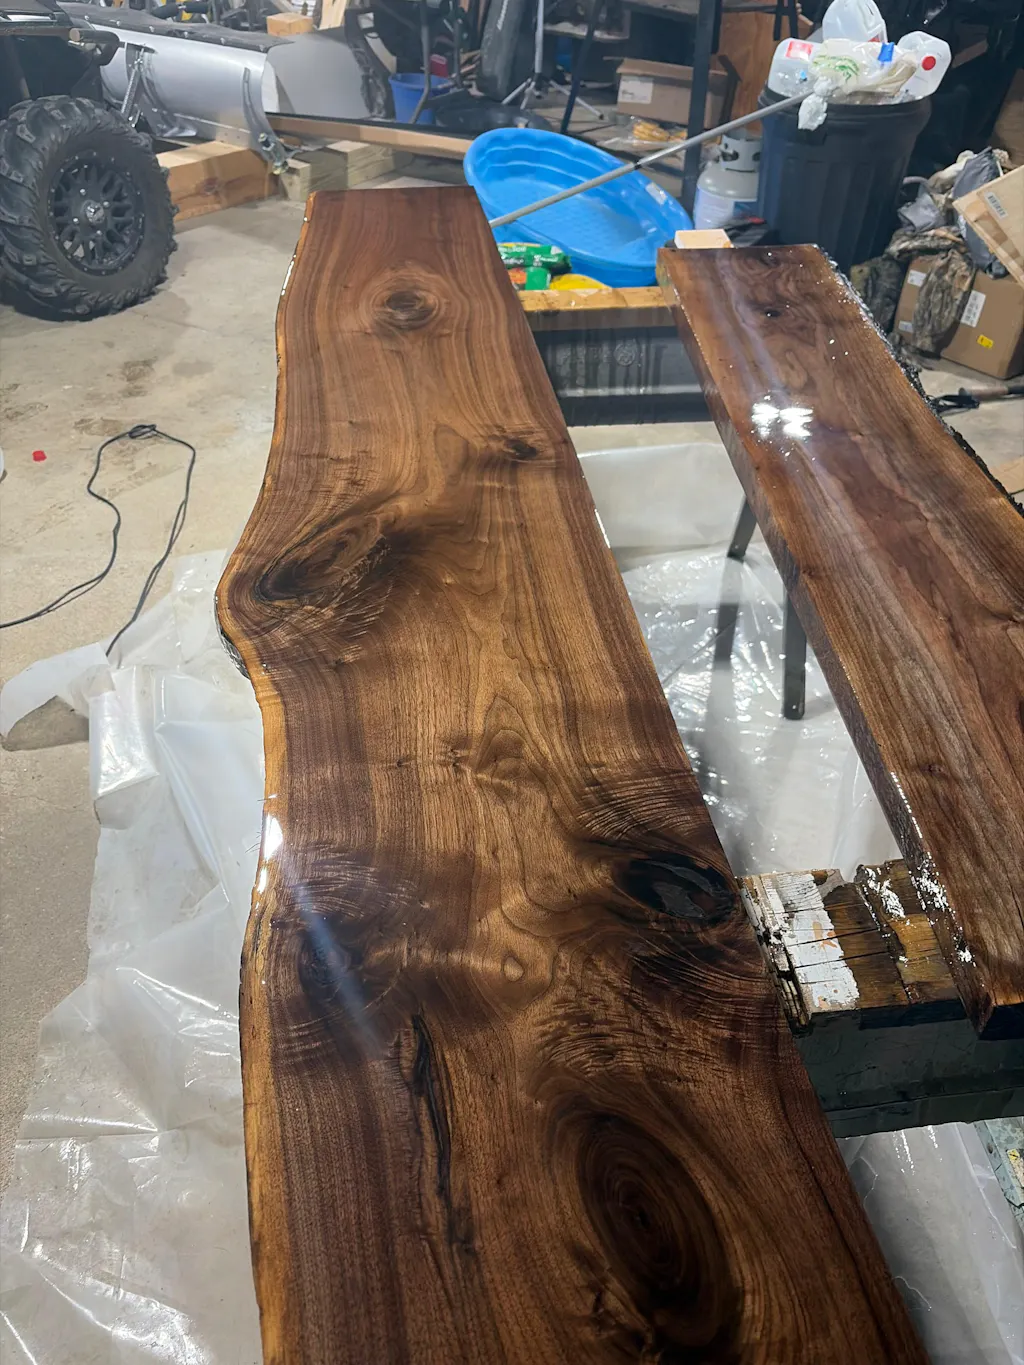
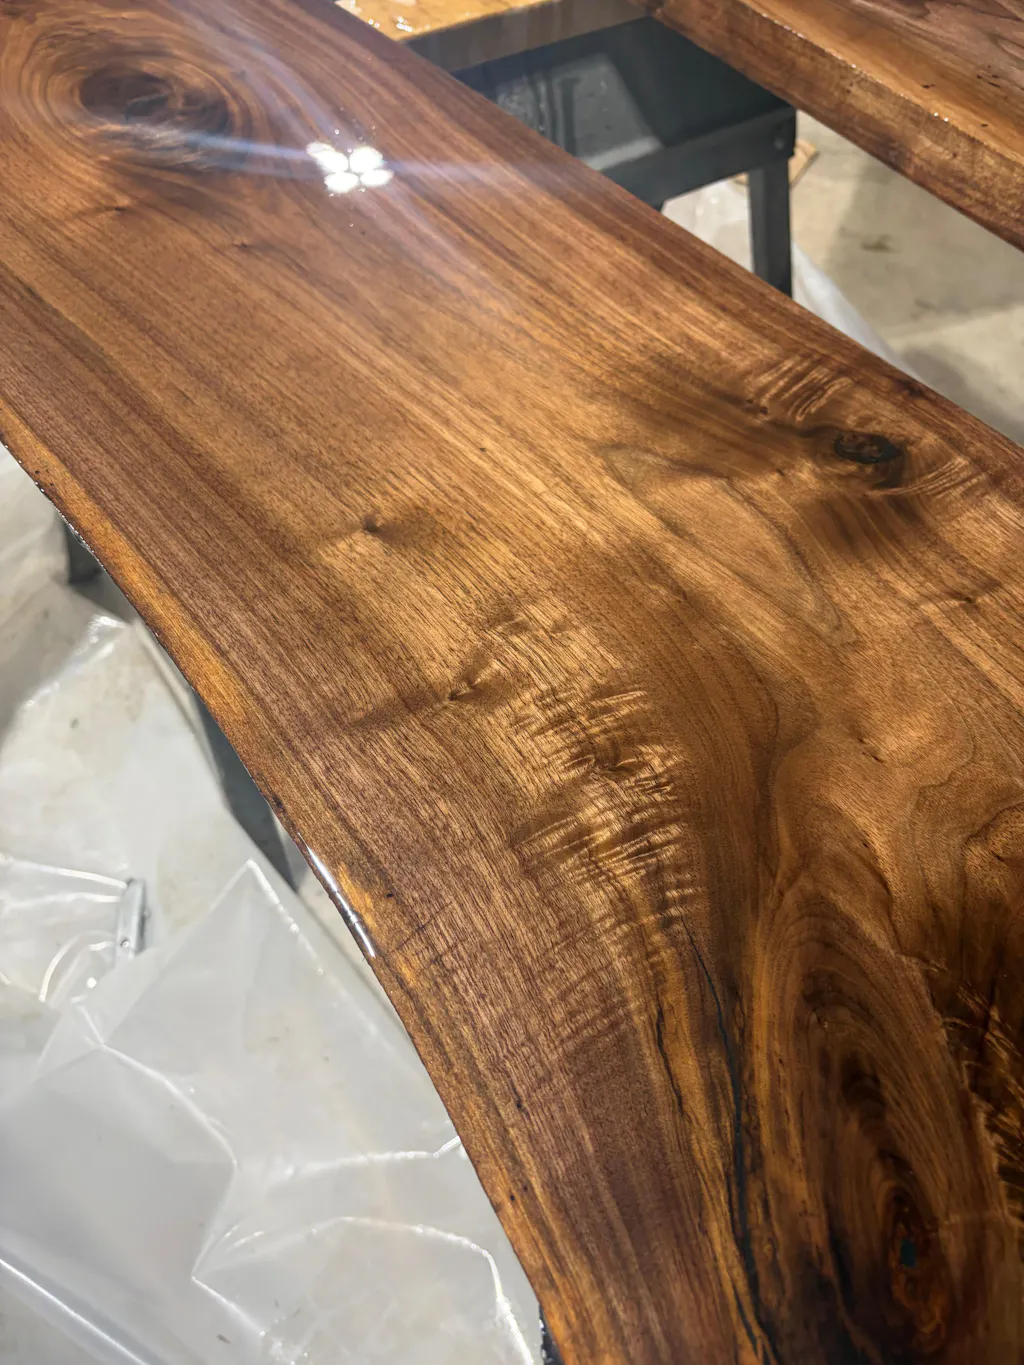
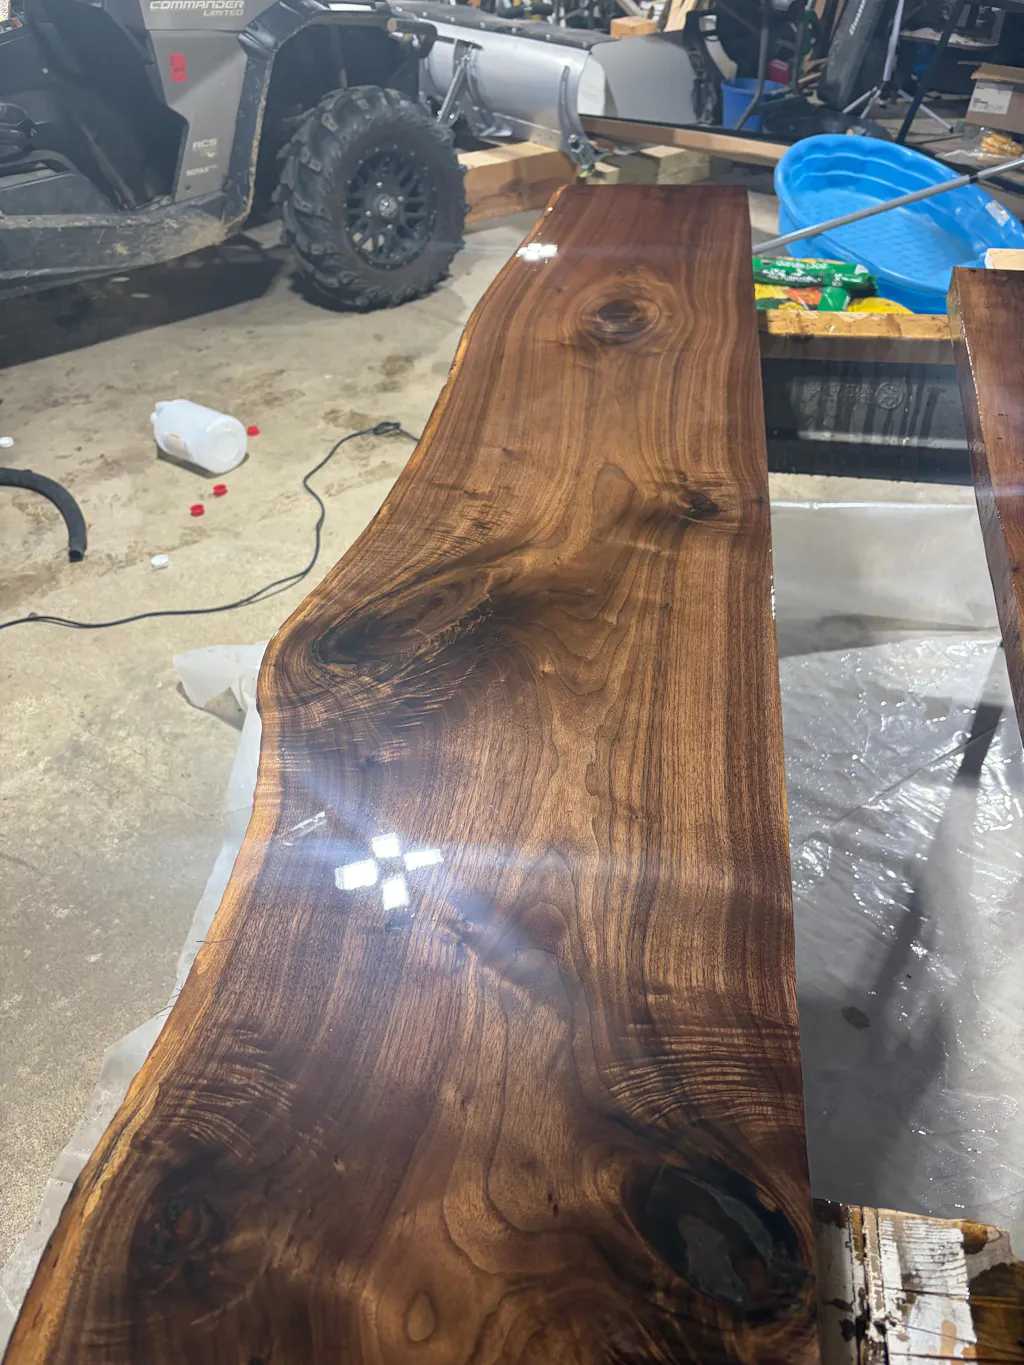
Or promises that were kept on time delivery and the finished product was absolutely beautiful
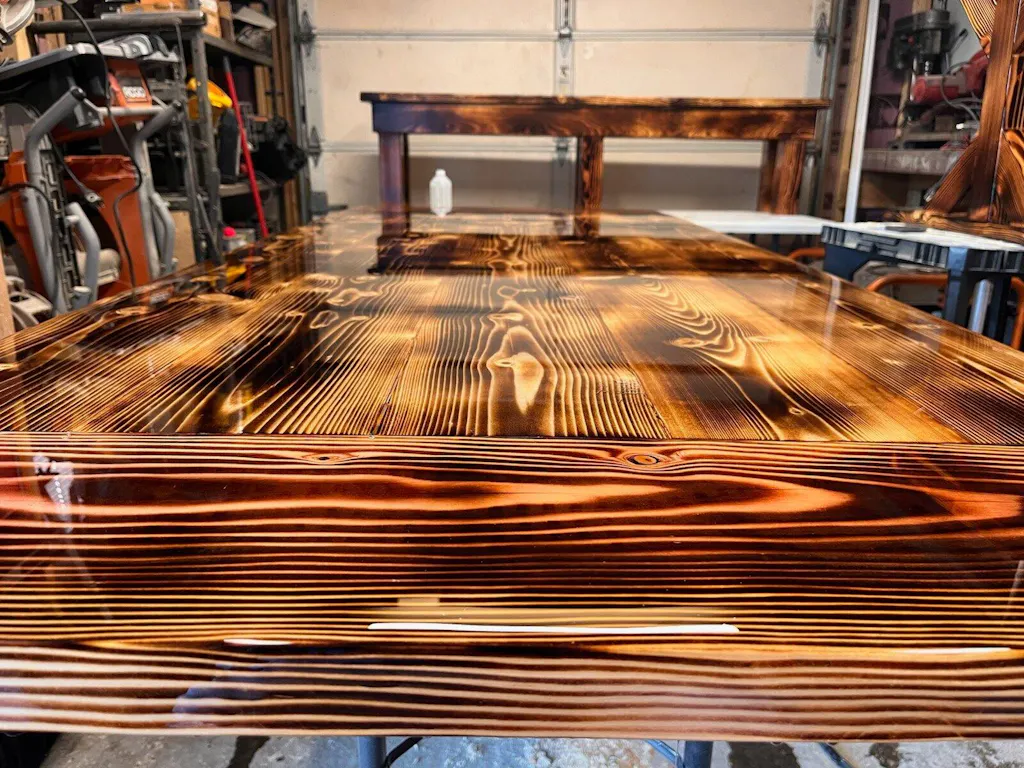
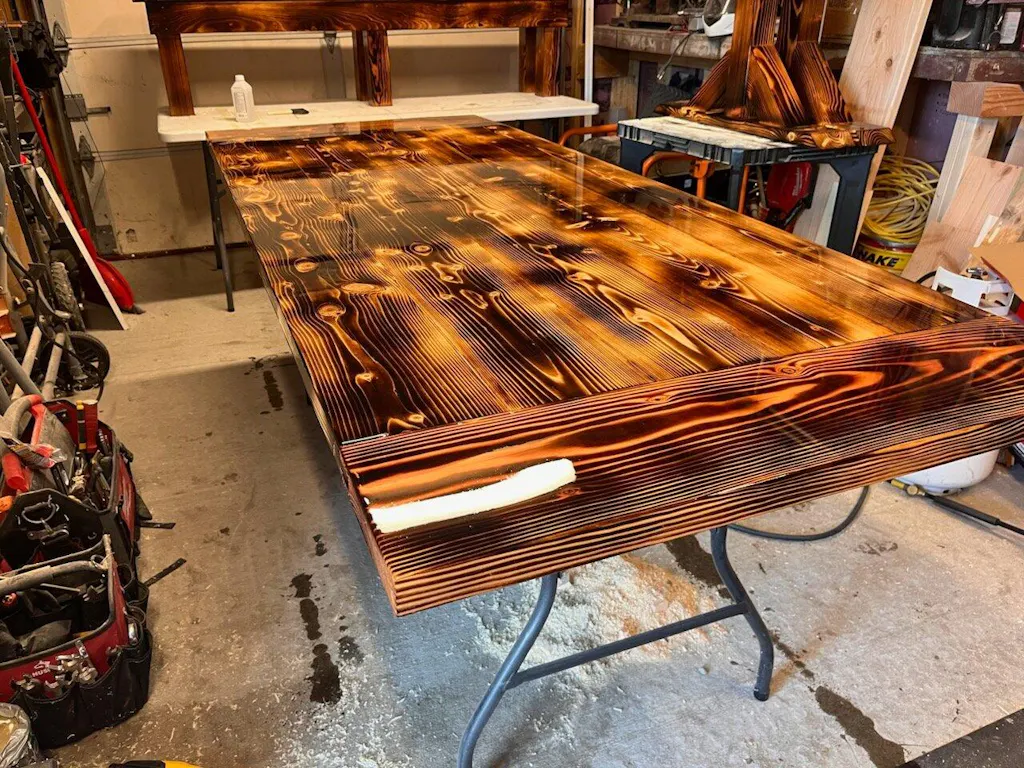
Glass like finish, used a seal coat first due to the knotty pine i used for my table. Continued with a deep pour which left it looking better than if I had a piece of glass on there. Haven't assembled the table yet but I will share photos of the top
I needed to restore the small circular red safety indicator on a stainless steel pistol, as previous attempts using red enamel paint didn't prove durable with the use of common gun cleaning solvents. I haven't actually completed the required work, but a trial run using this dye with JB Weld ClearWeld epoxy indicates that it will likely work great as long as I use a sufficient amount of dye to achieve the desired degree of solid coloration (i.e. minimal translucency).
Perfect glass finish on this 14 foot river table. Love it!
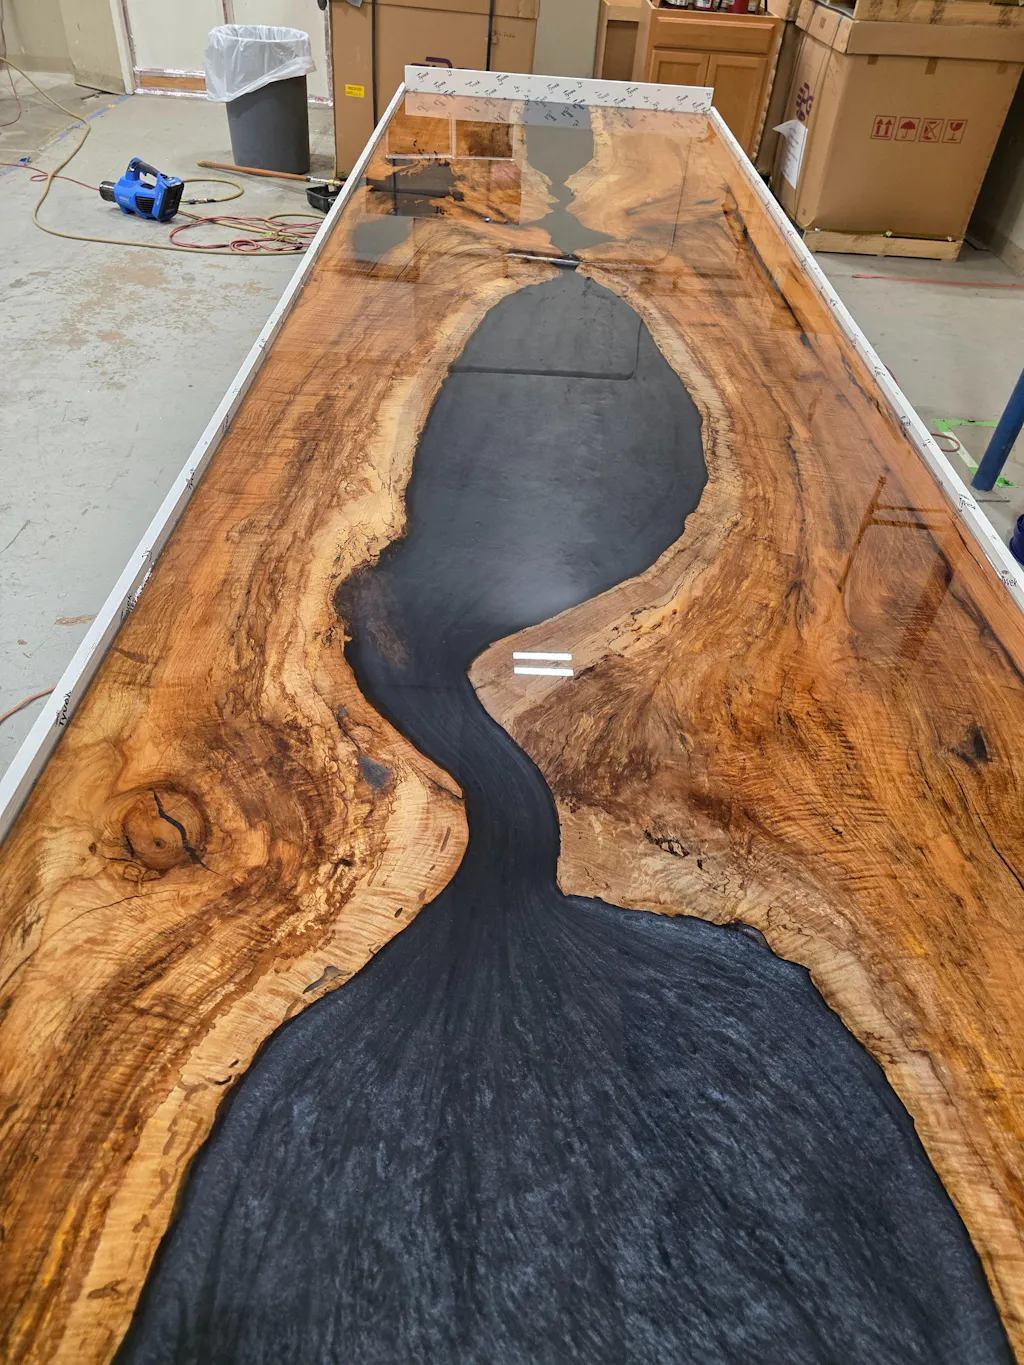
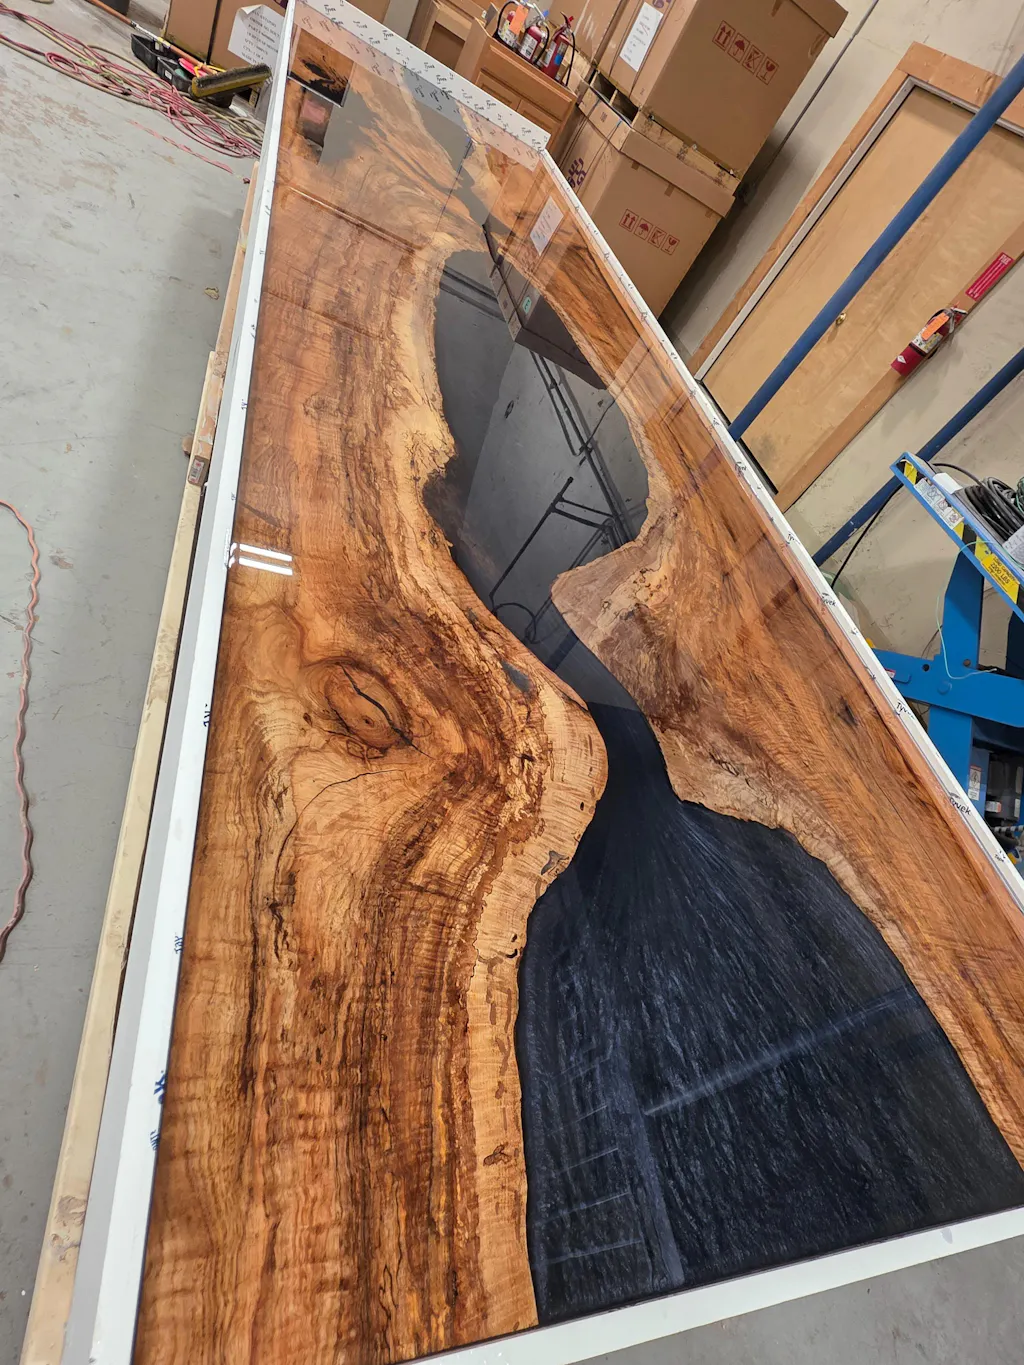
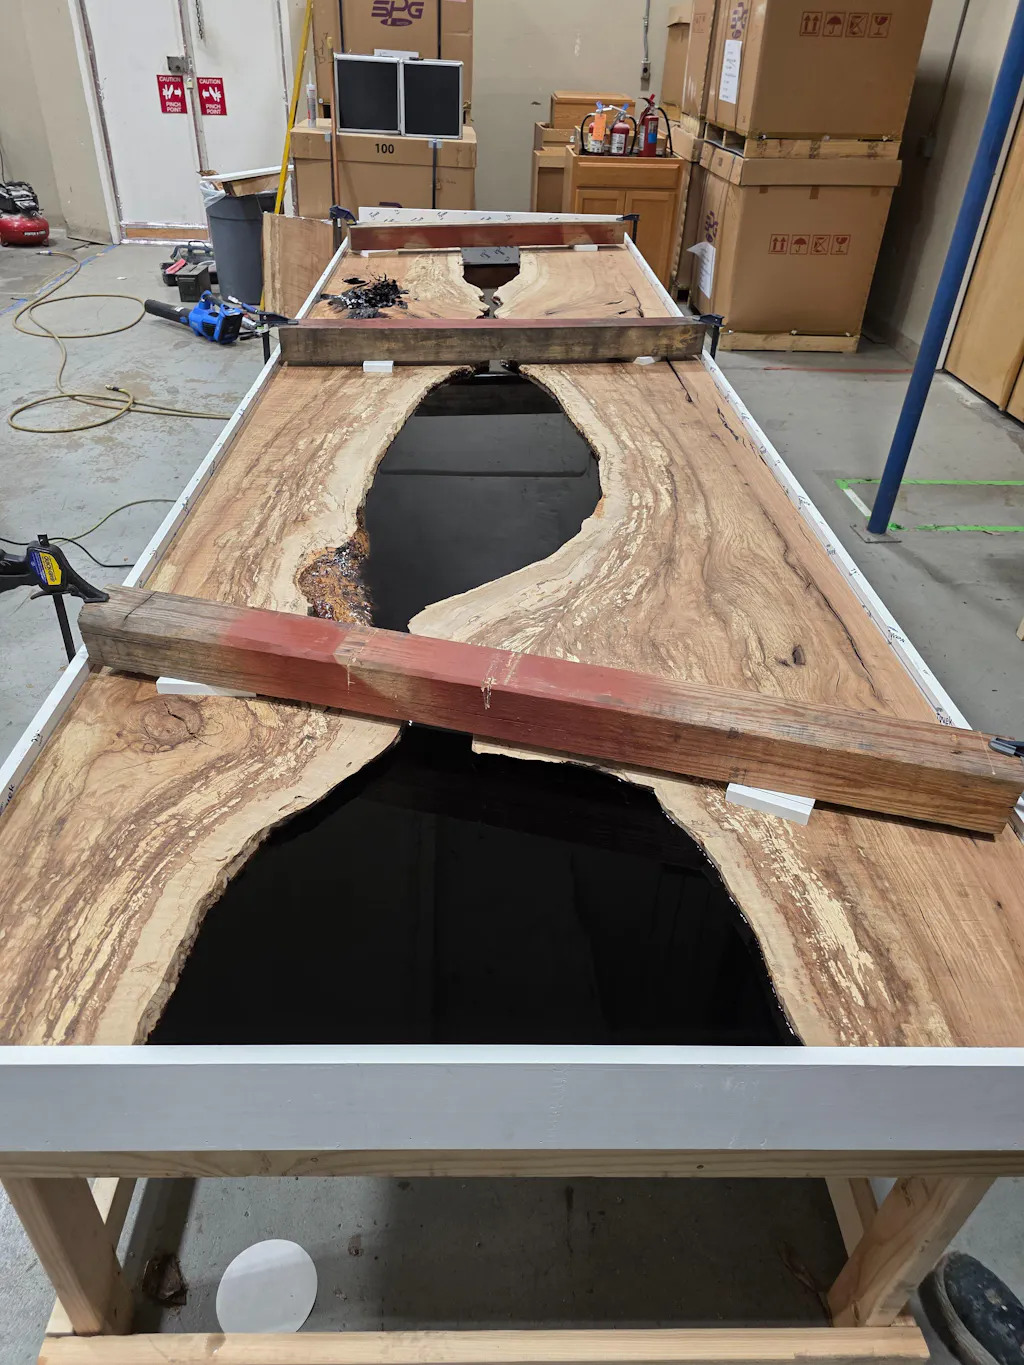
Epoxy flowed nice and leveled very well. I battled some bubbles, but learned later the cedar wood i used wasn't kiln dried, so I think that was alot of my issue. All in all, I would recommend this product. Maybe a pamphlet with some tips would be helpful to us first timers. Just a suggestion
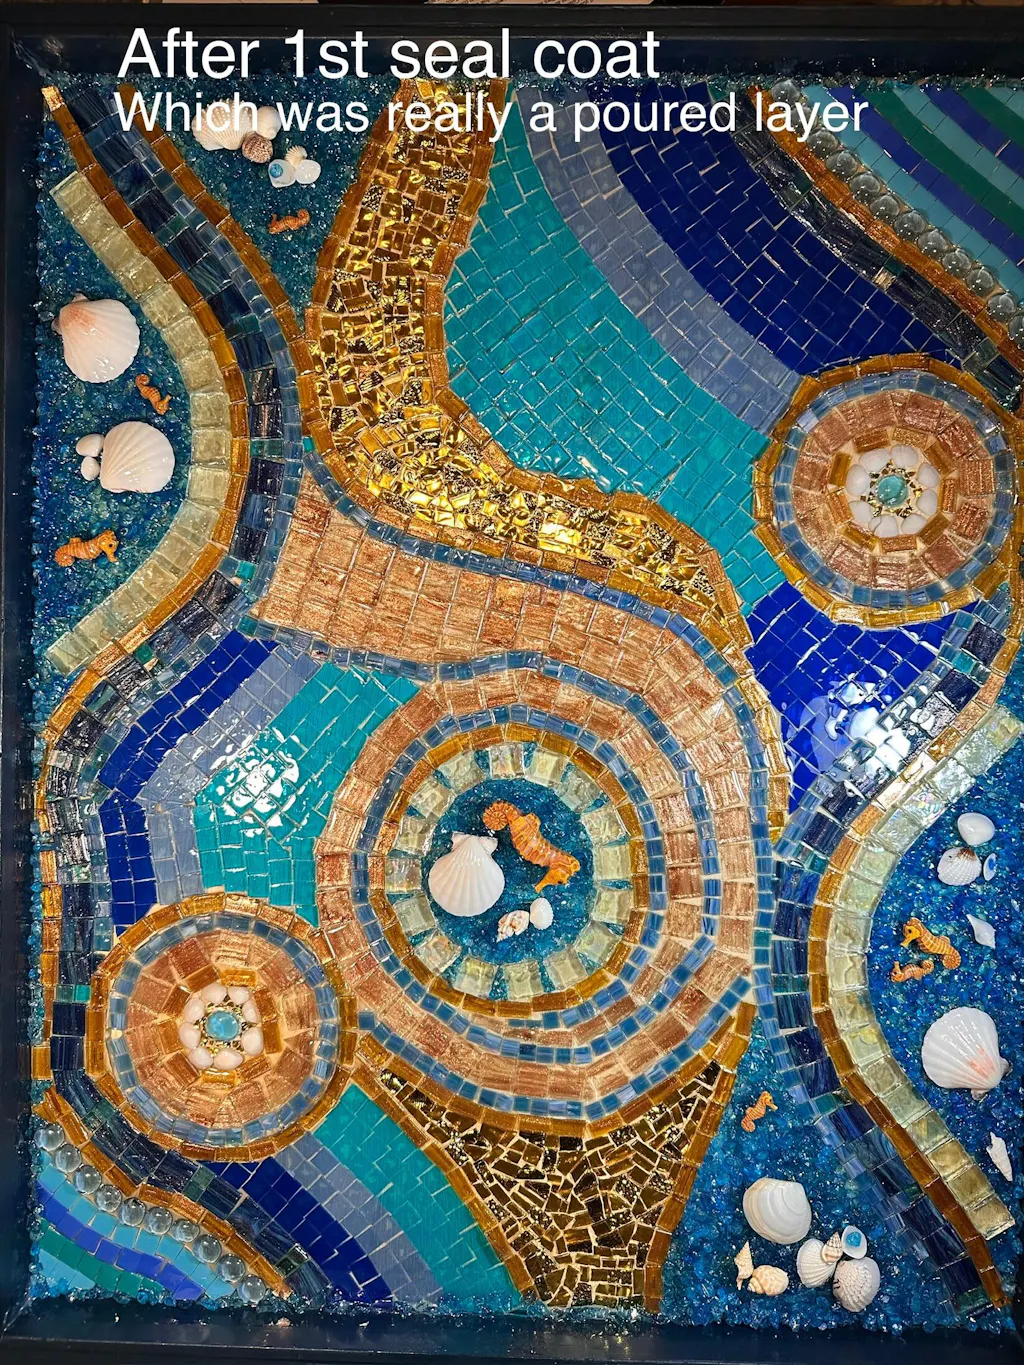
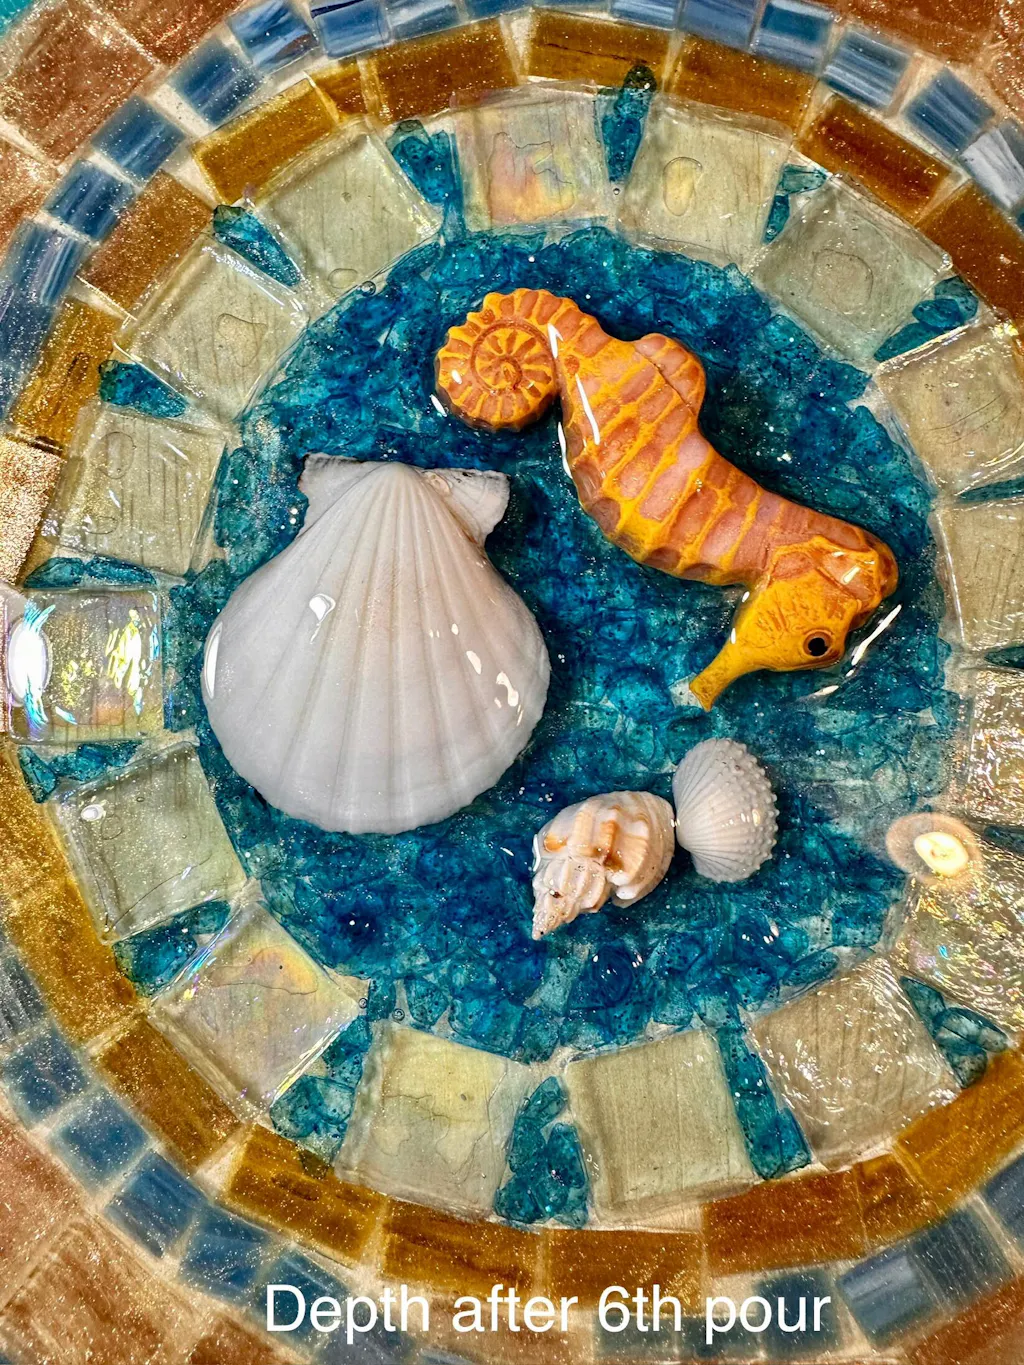
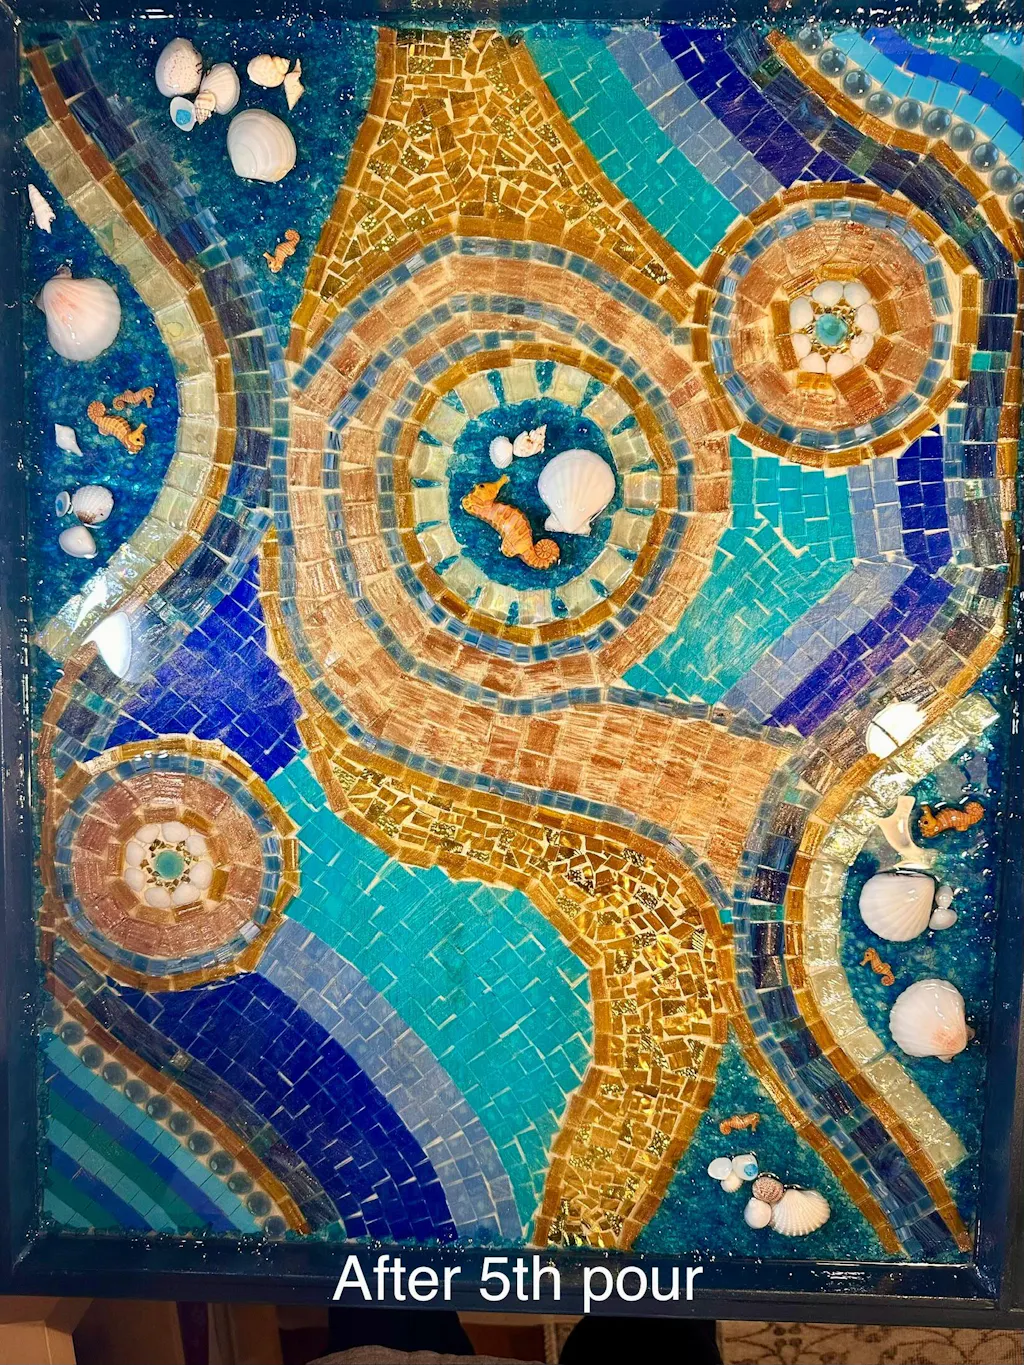
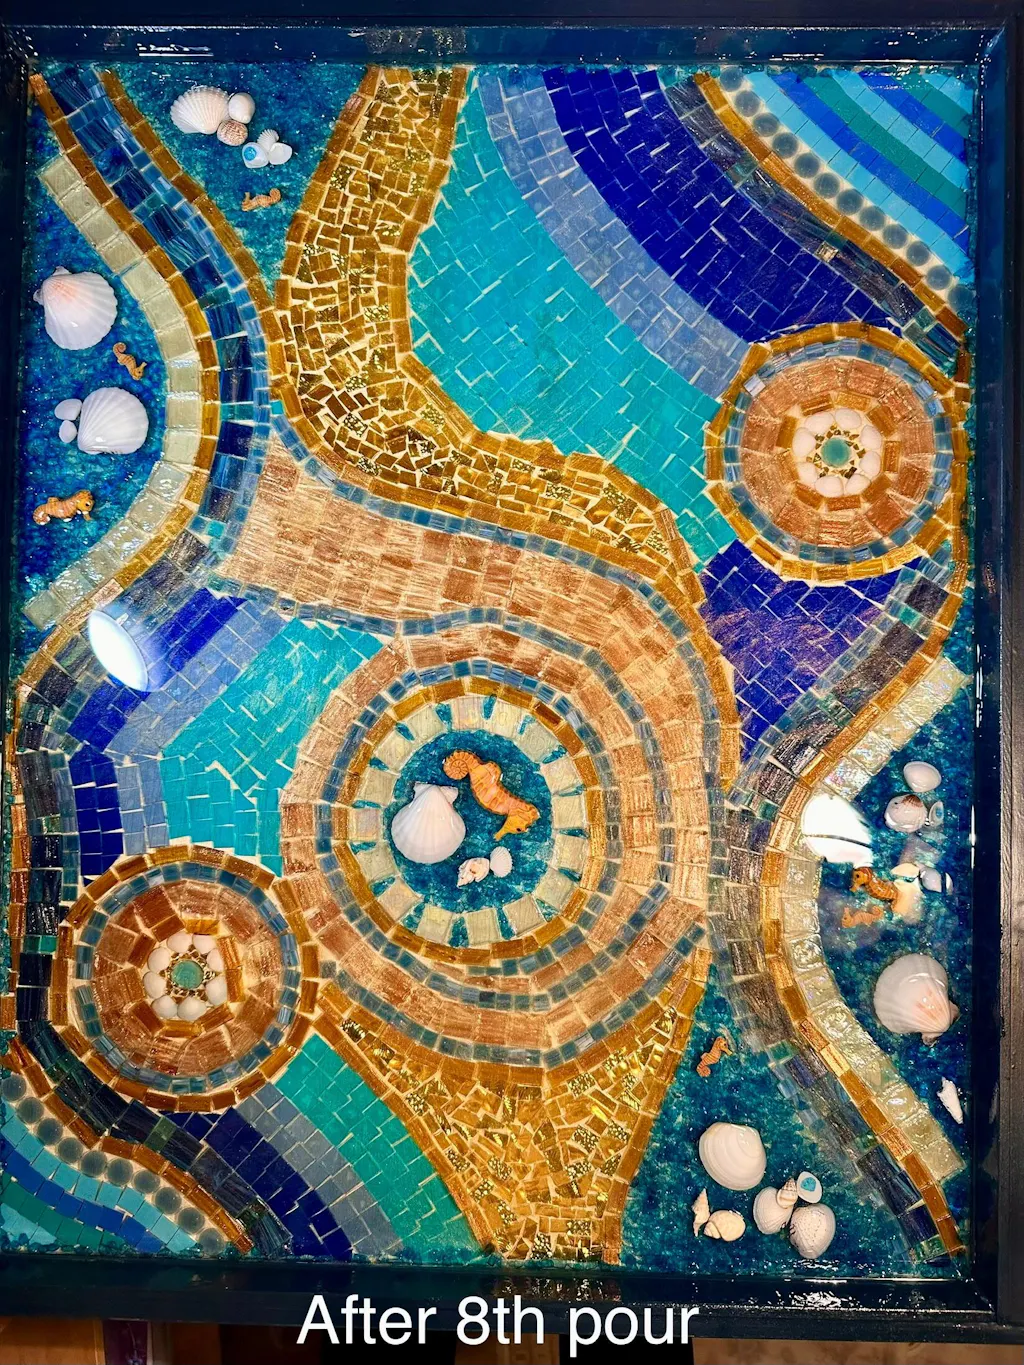
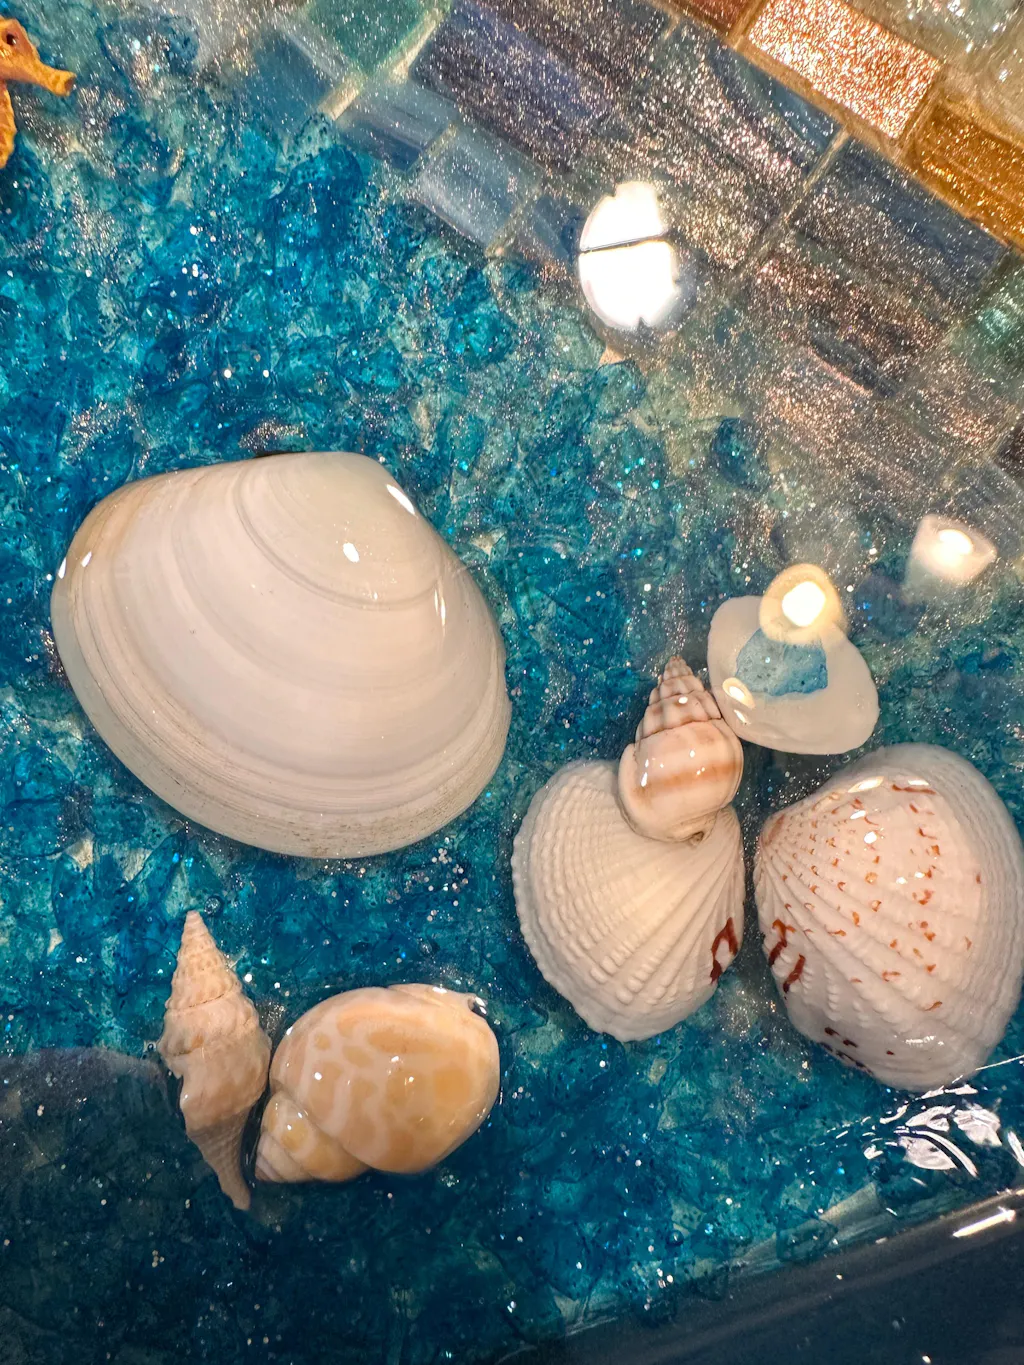
I started out to make a tray to go on my stove like a noodle board. It would be a mosaic, water theme. When I wanted to use crushed glass with my glass tiles I couldn’t grout that so had to switch my thinking. I read & read & decided I’d try epoxy resin, something I’d never done. I hadn’t glued the tiles down & they stuck to the paintbrush for seal coat so I just poured my first layer. I followed the directions and think my layers were about 1/8”, there are no amount charts for fully enclosed items. Pouring then spreading with my gloved hand, the epoxy went in all the spaces & I’m so impressed. It self leveled so well & is clearer than glass. I’d have to touch areas to make sure there was resin there, it was so clear. It was fun watching the tiny bubbles sparkle when the heat gun hit them. I originally wanted to cover all items but due to the weight of glass tiles, wood & epoxy I stopped at 8 pours over 3 days, with 5 to 9 hours between pours. I will be displaying it as art since it’s too heavy now to use as a tray on the stove! I will never use another brand of epoxy and can’t wait to make more things! Also I sent questions via email with customer service. Got real answers to my exact questions the very next day. It’s not often to have a person on the CS end, that’s important.
Ultra Clear Epoxy is a standout company that I’ve recommended & will always use.
Your epoxy is the best! First attempt at “Oreo” cutting/charcuterie board and it was Phenomenal!
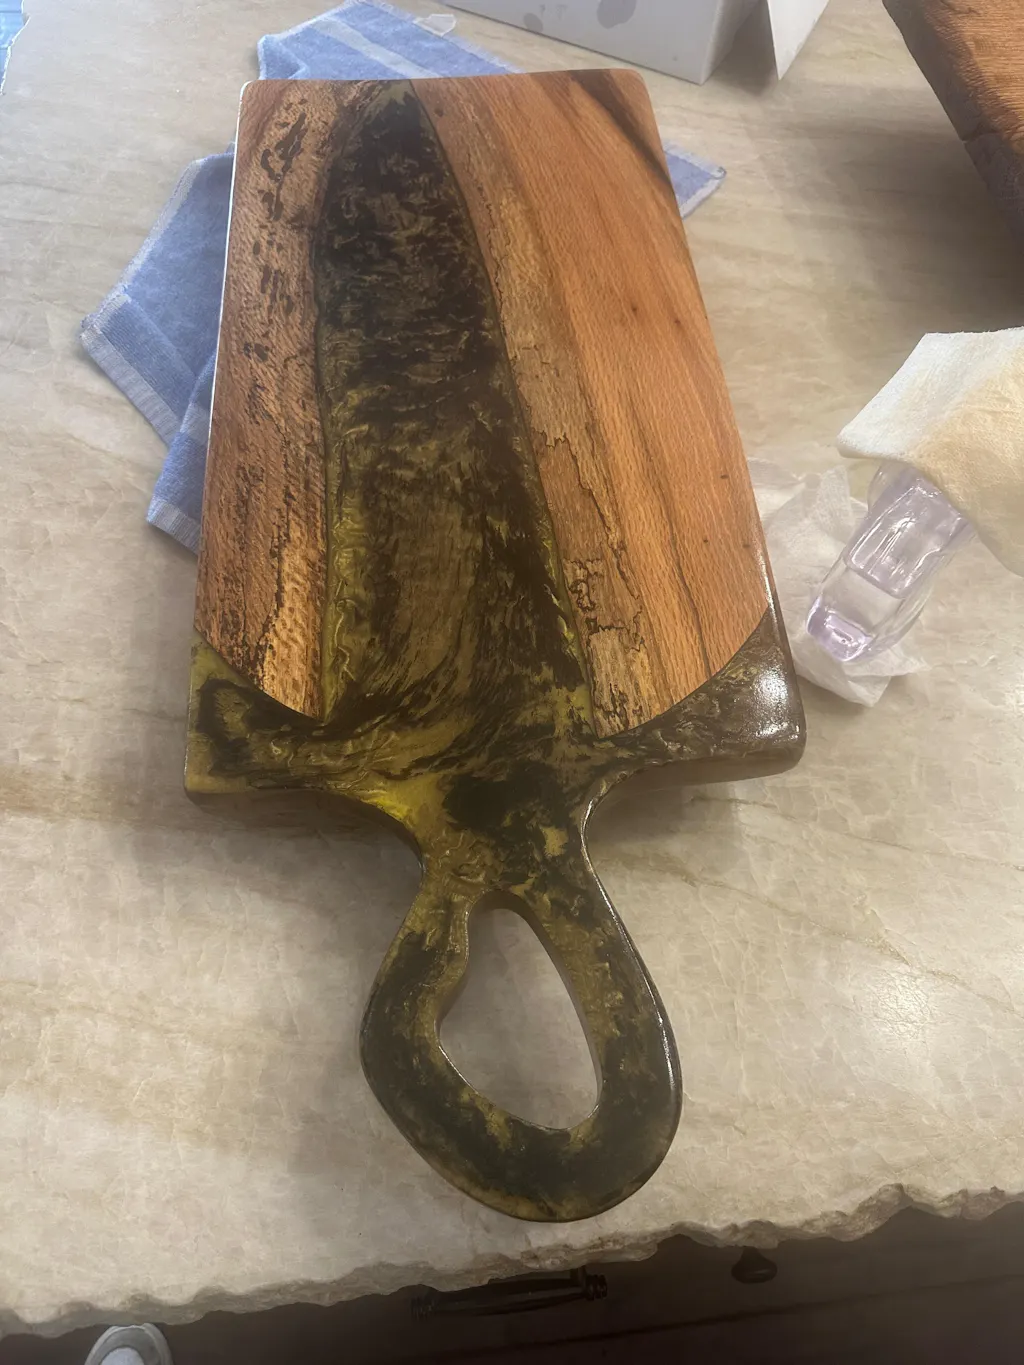
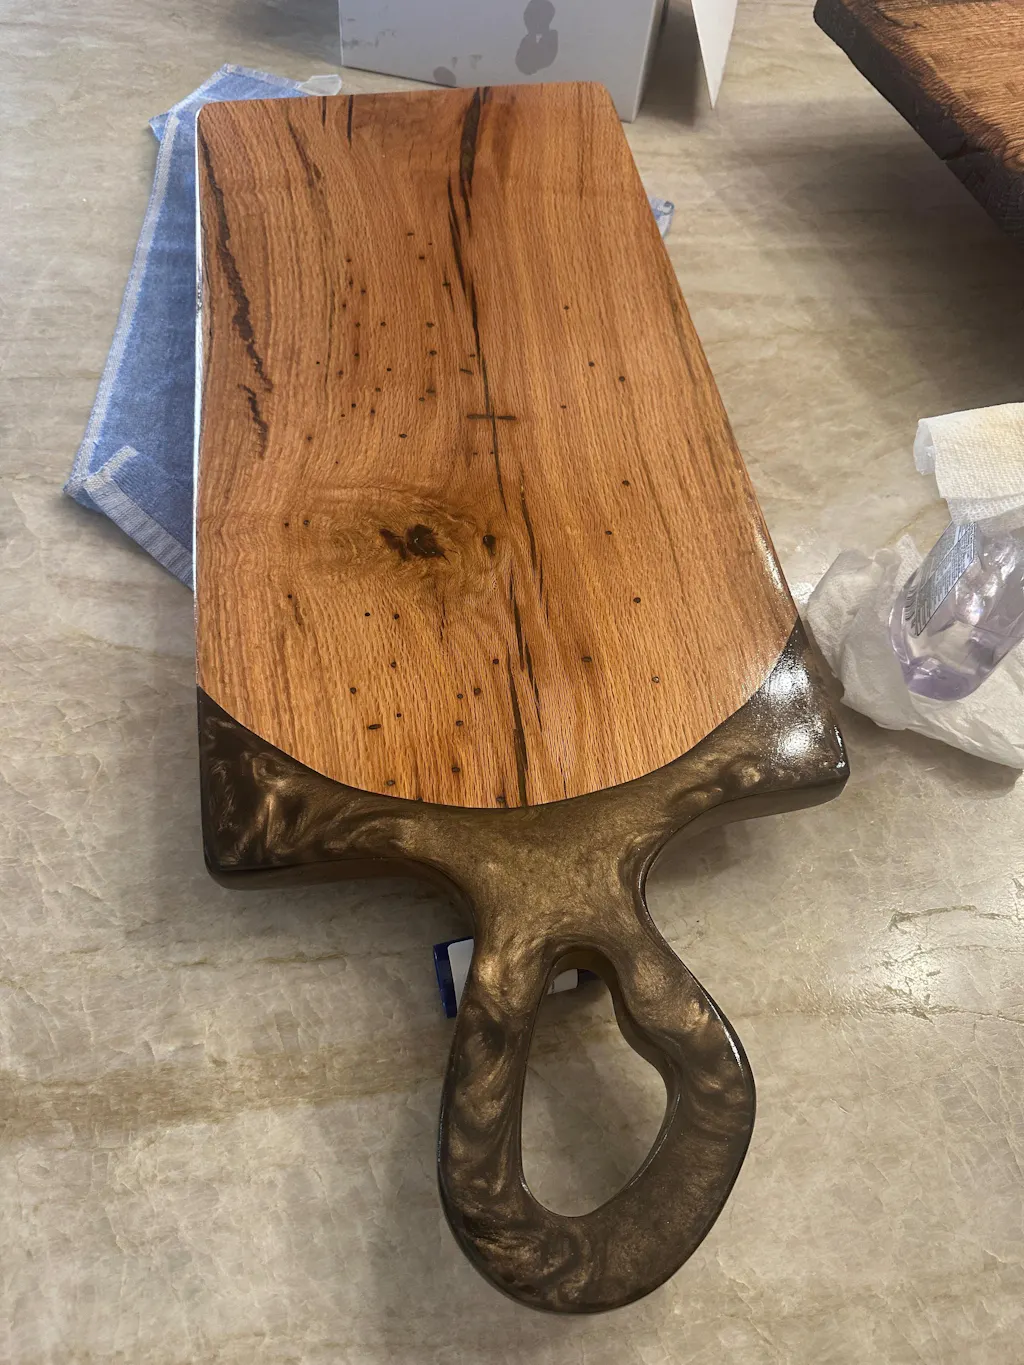
This product is amazing and so simple to use. Very impressed with how beautiful it ends up! I will use this on the next product for sure!!
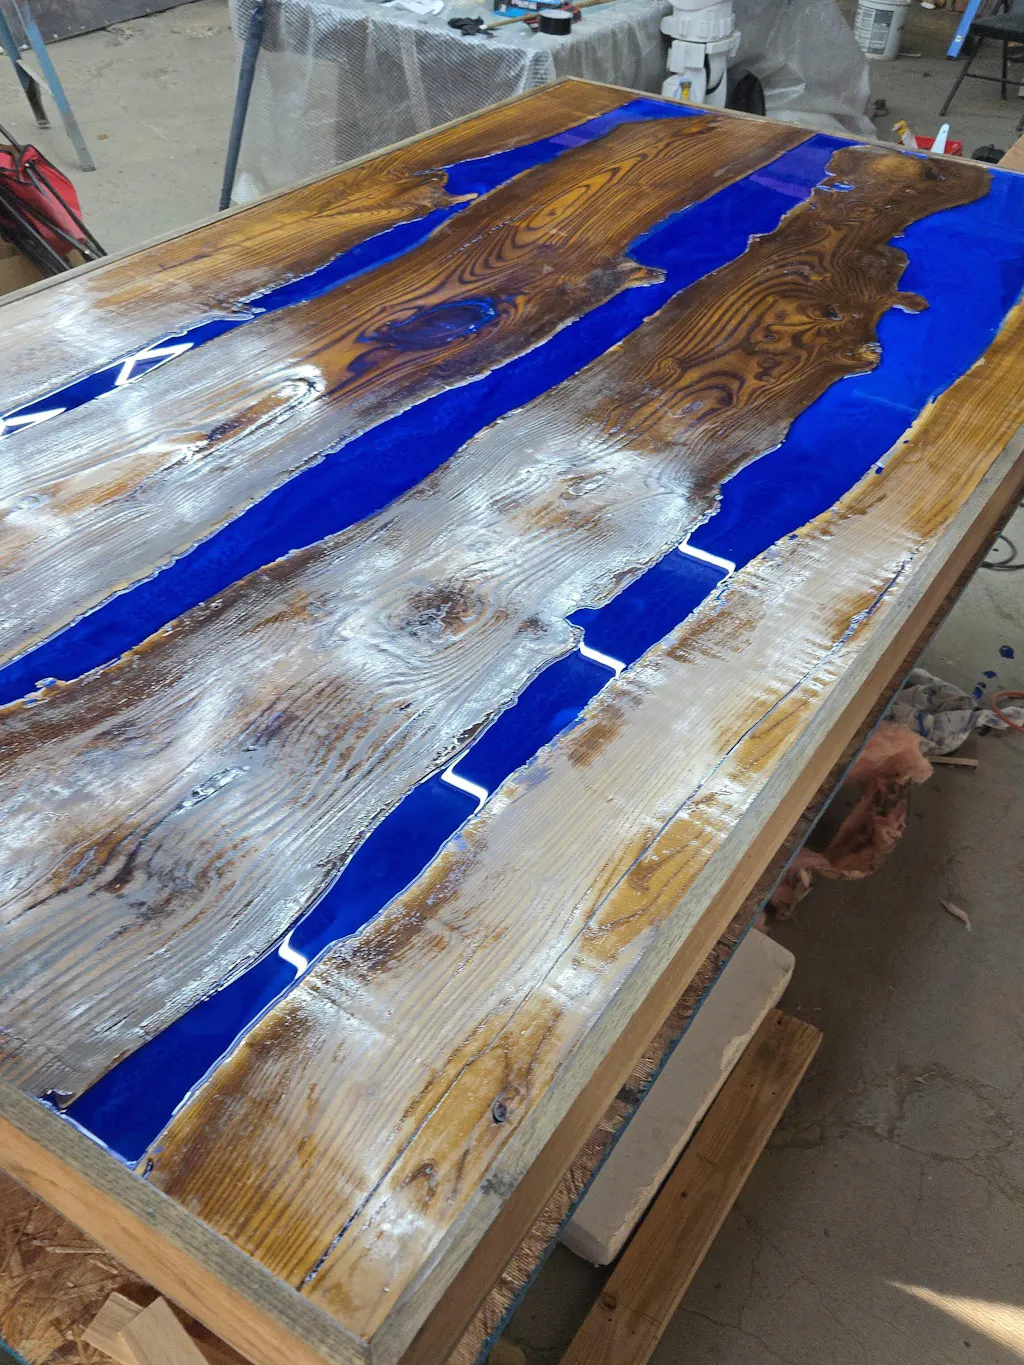
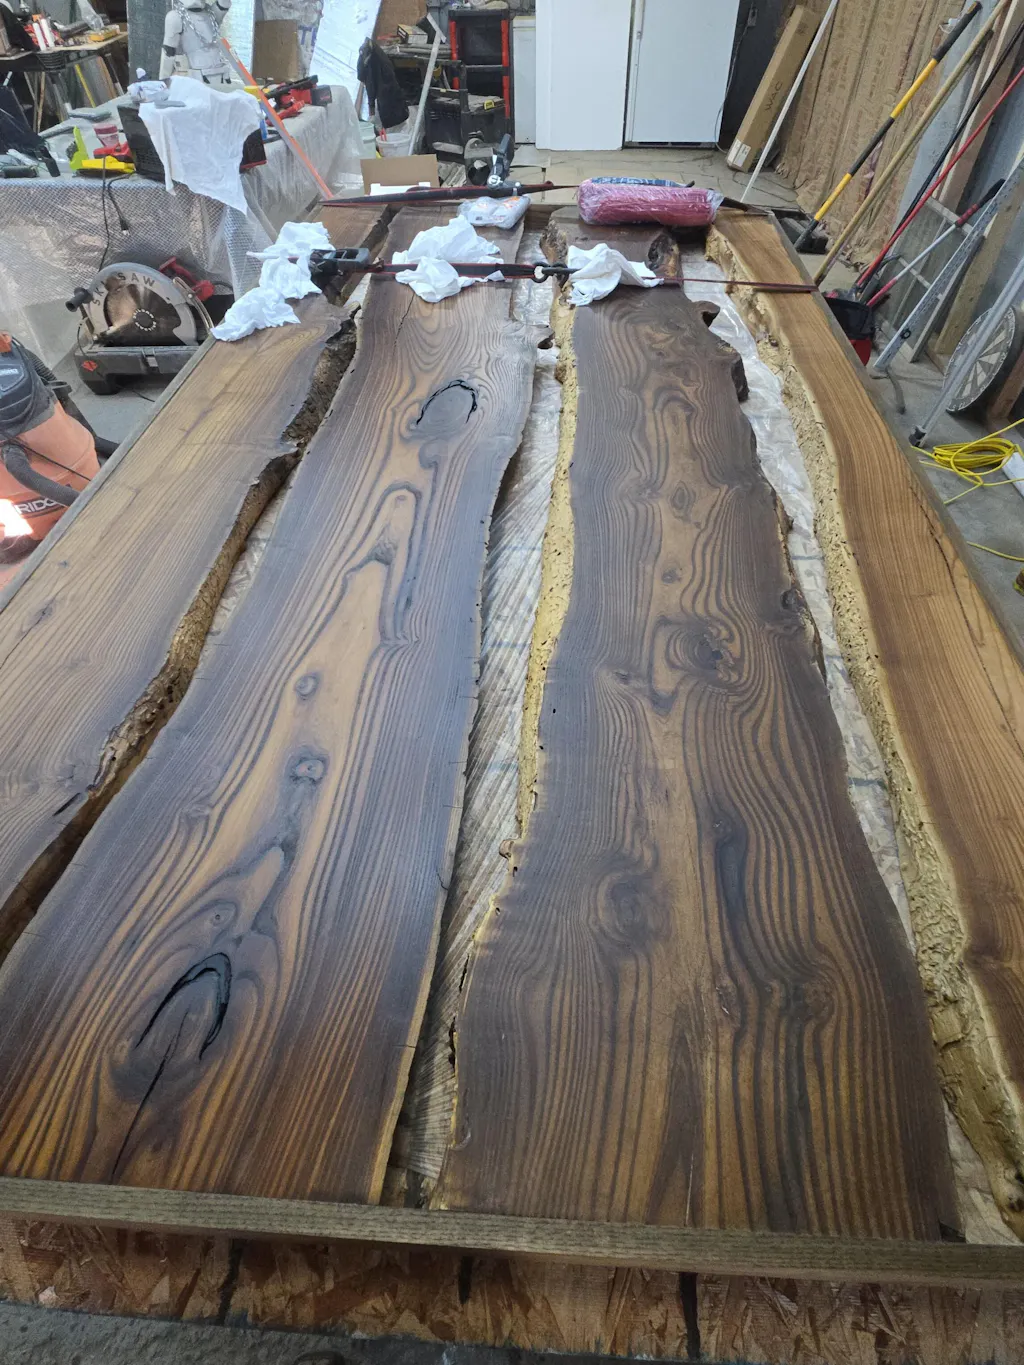
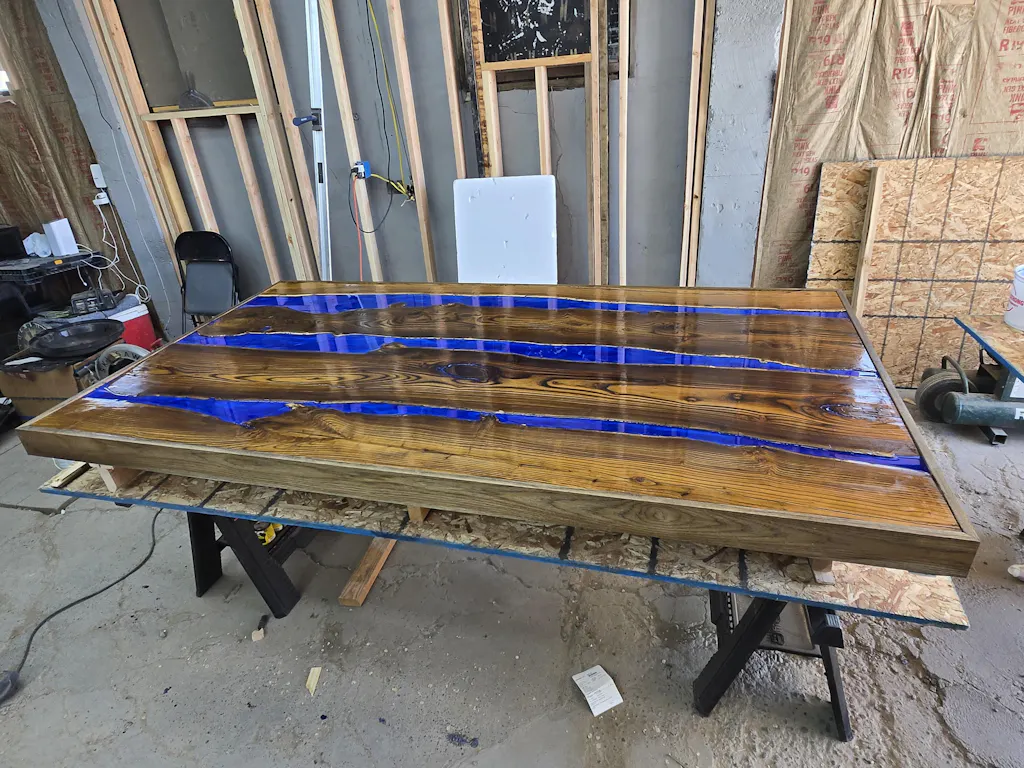
Color is brilliant. Separation is nice not one big blob of color that runs together.
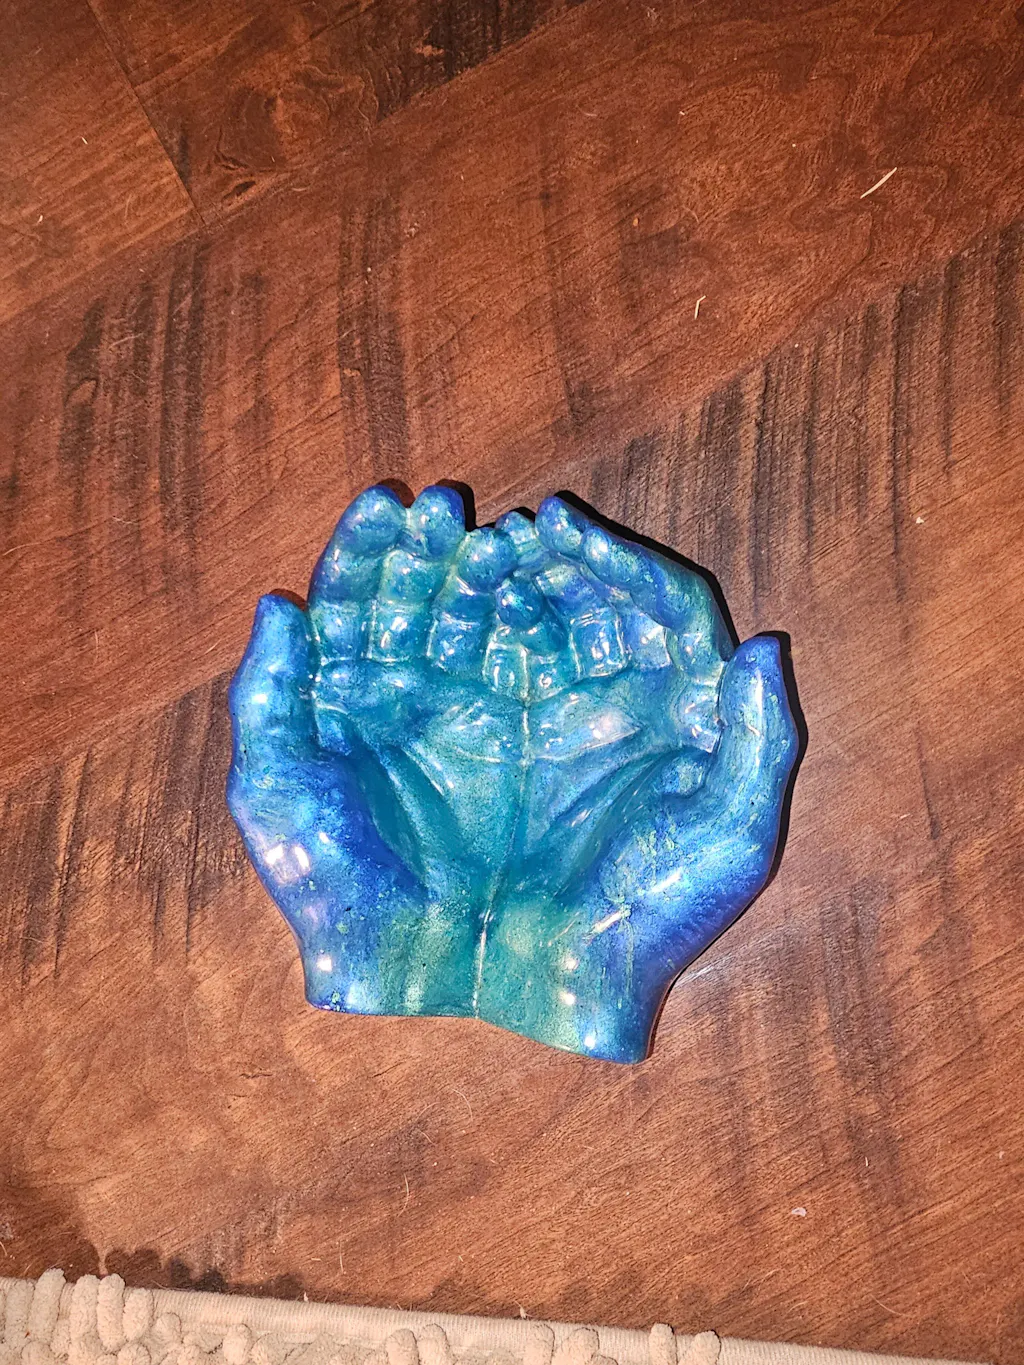
UltraClear is my go to for projects. I’ve used it several times and each time just loving the results. Easy to mix, to pour, dry time is great and over all results FANTASTIC. I’ve done surface pours and double pours up to 1/4 inch and results are just great if you are looking for ‘clear’ non yellow glass like finish. Wonderful product
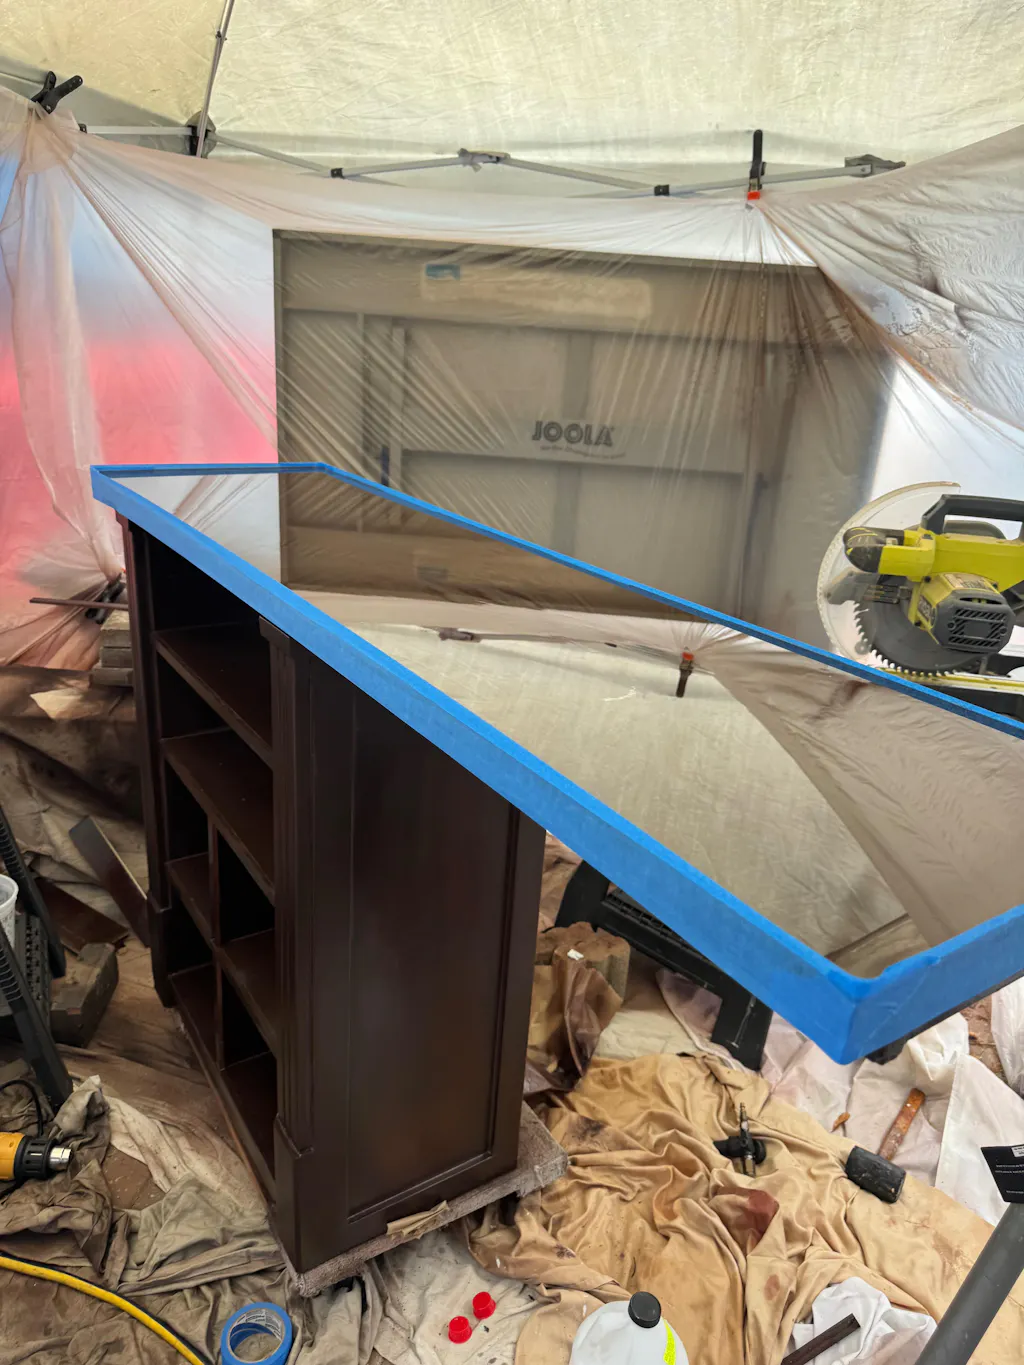
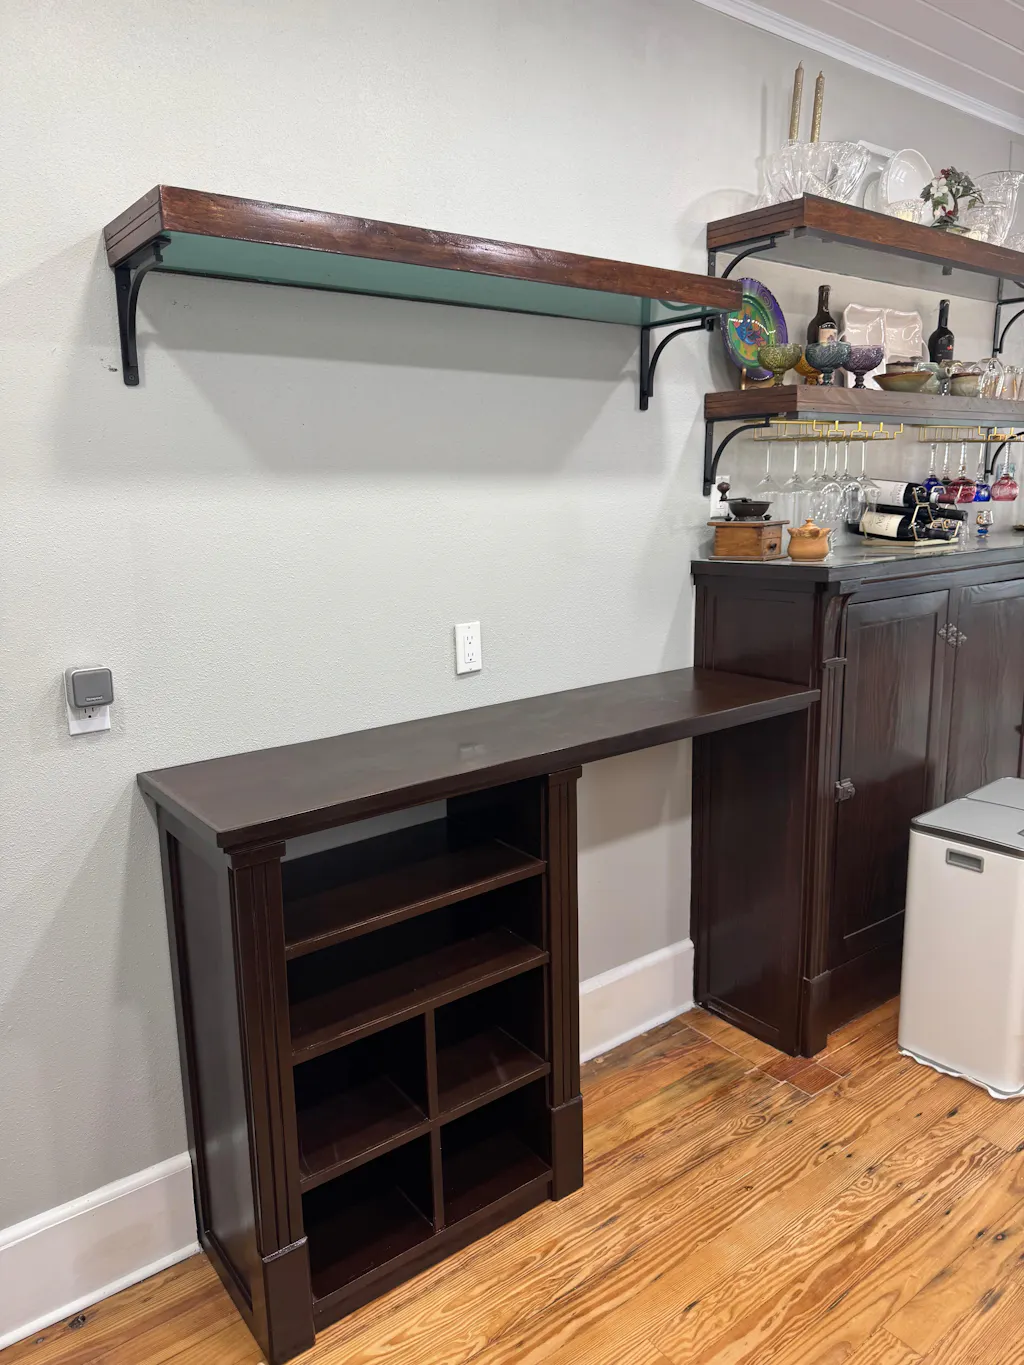
I have never done anything like this and it turned out amazing. Very easy to use
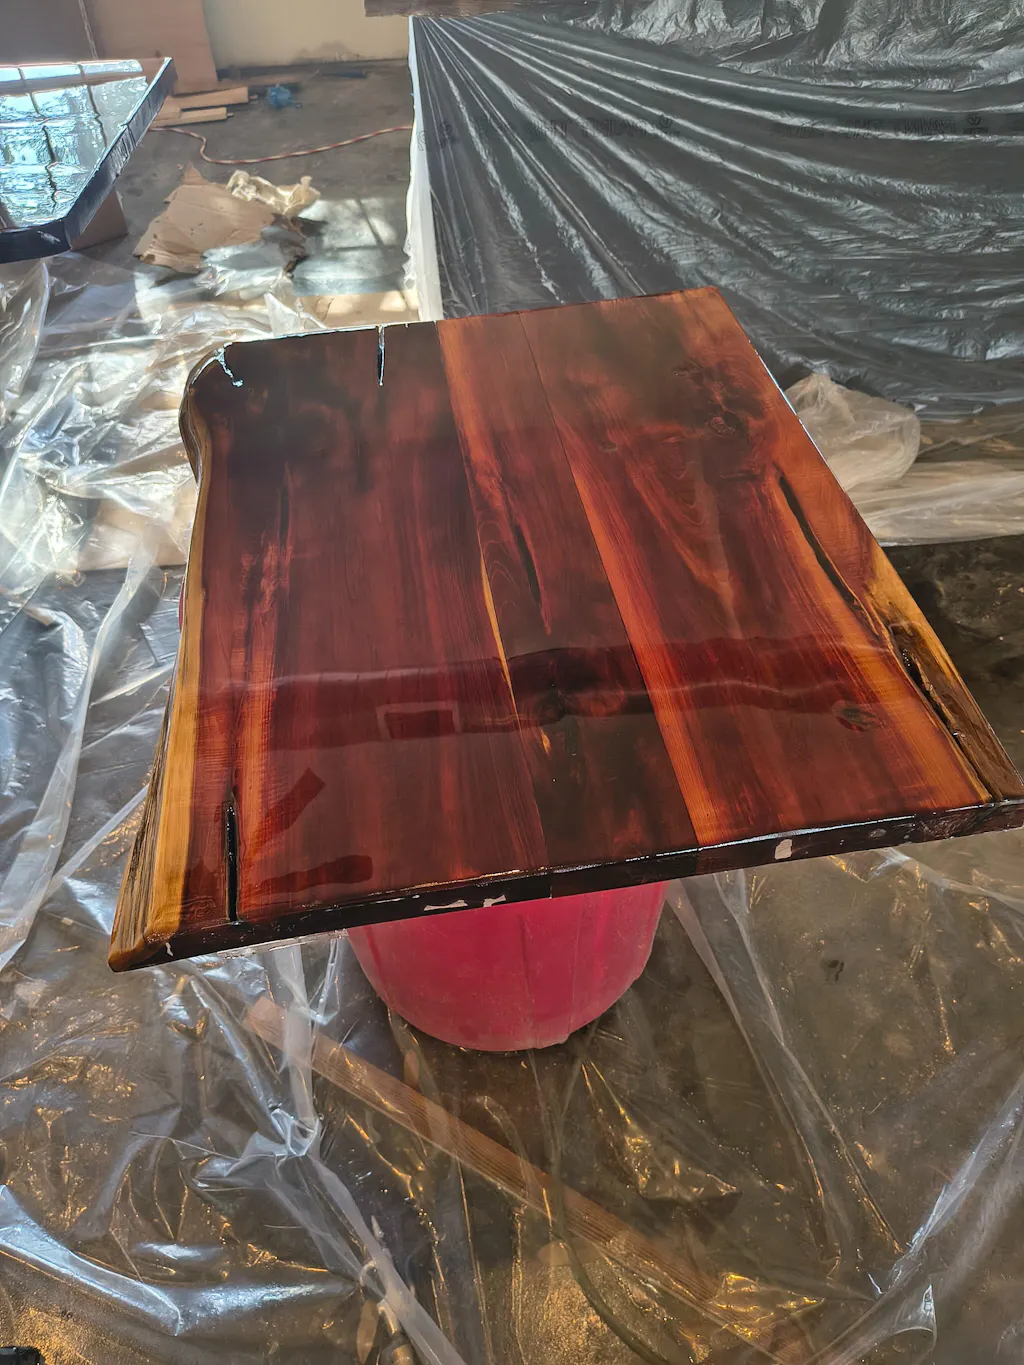
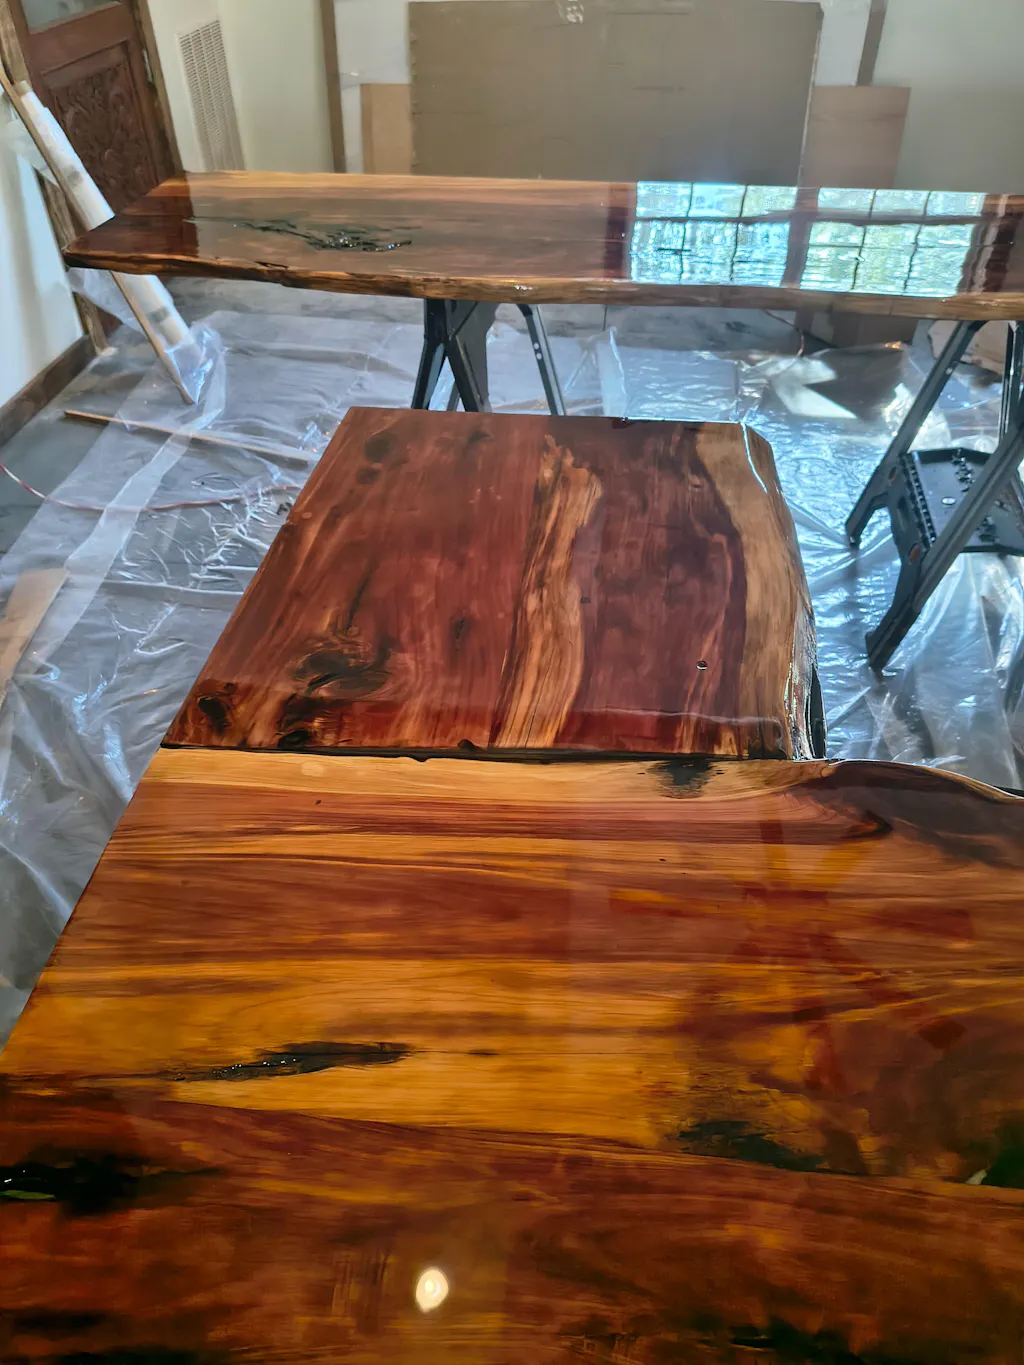
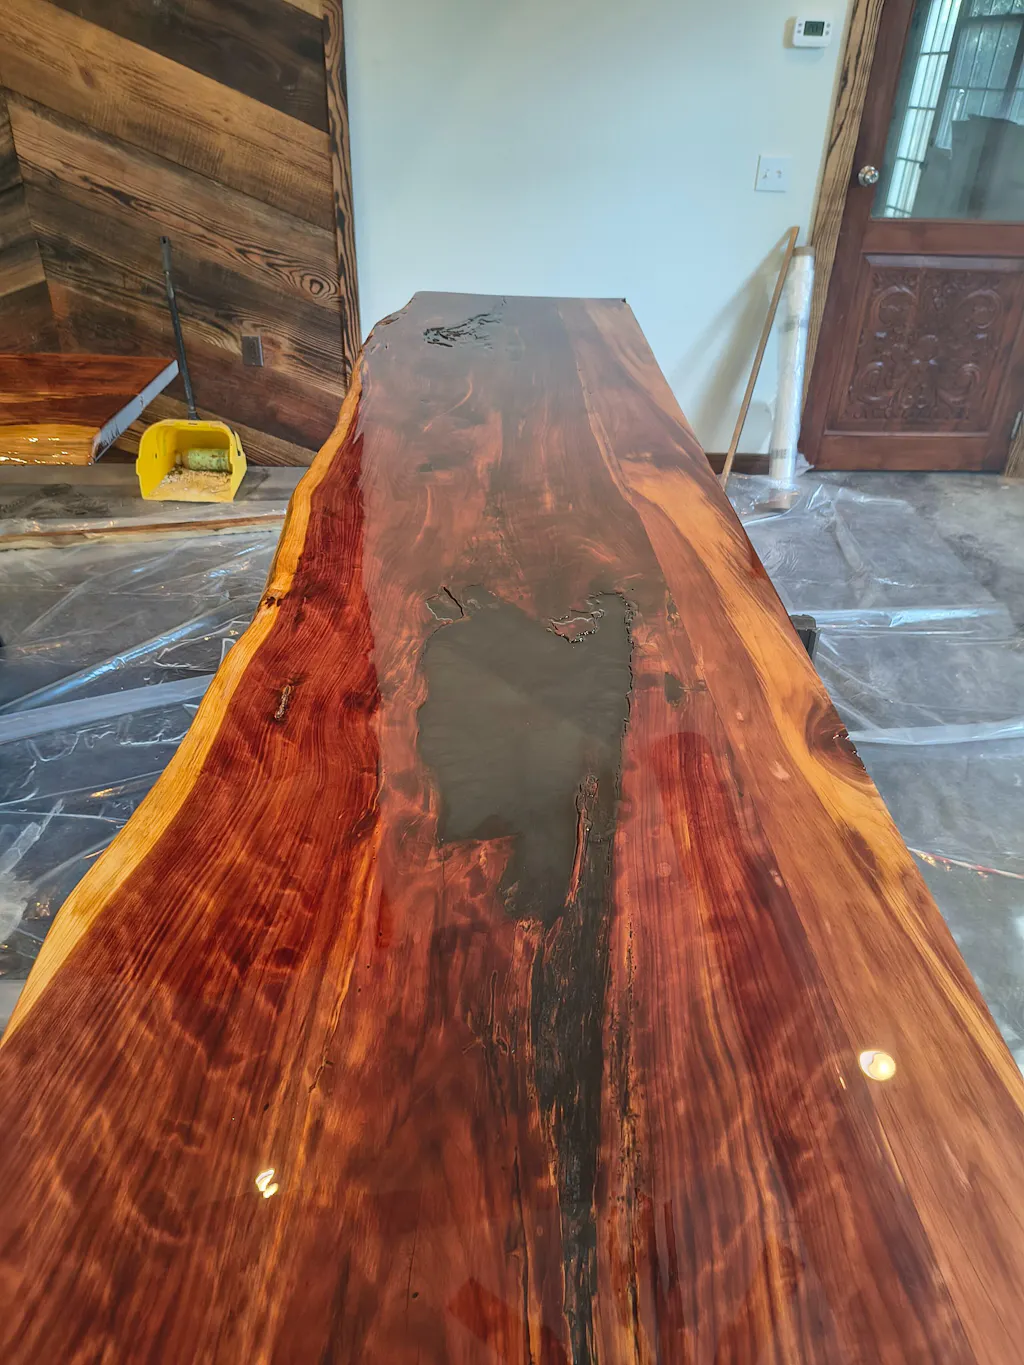
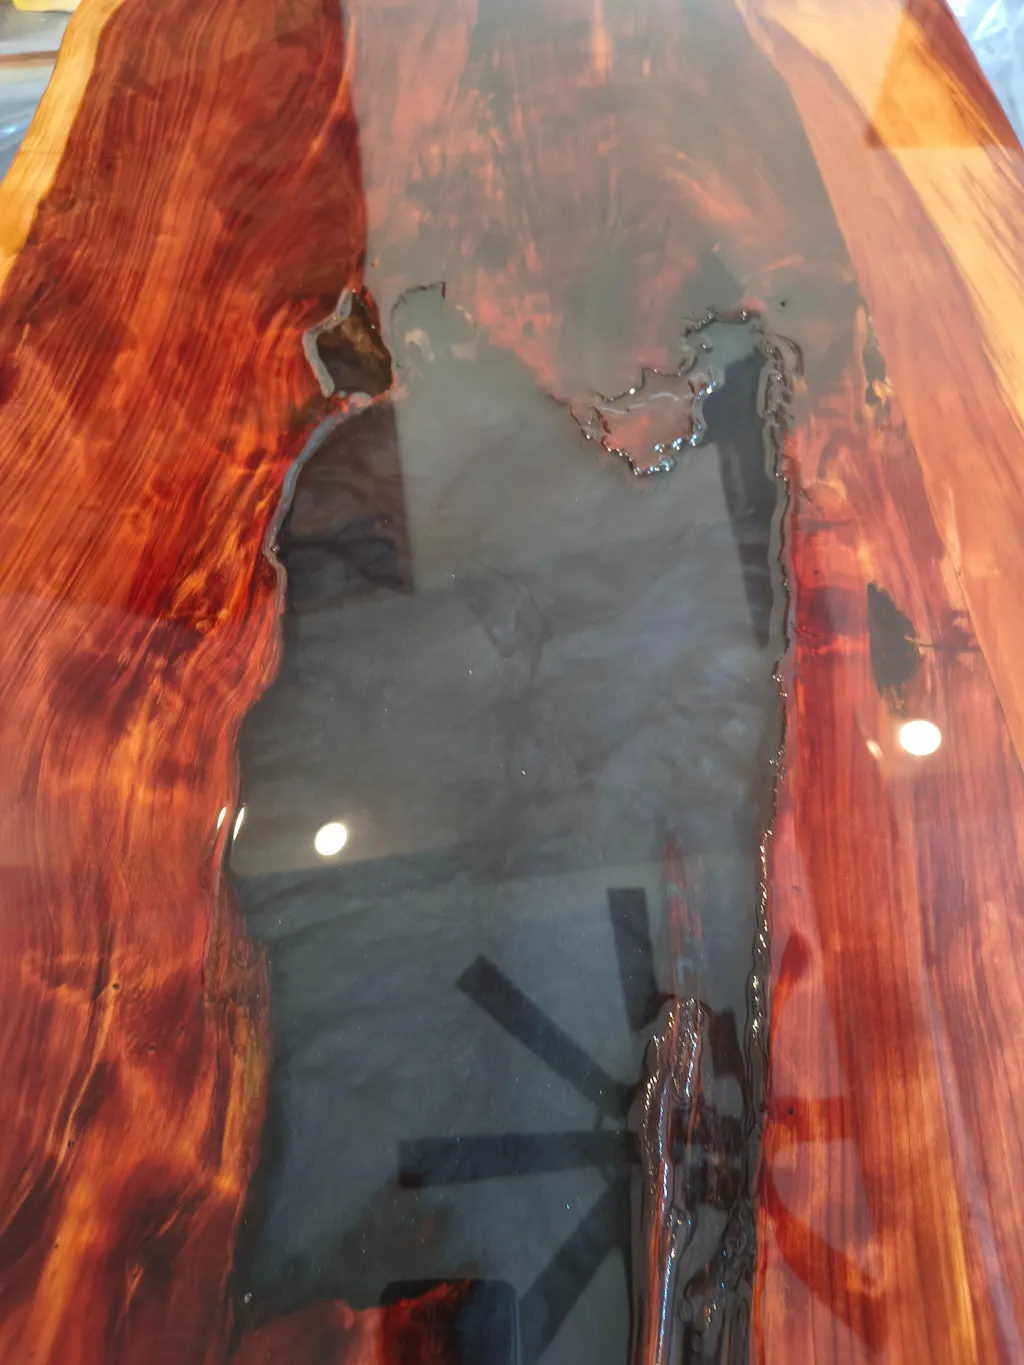
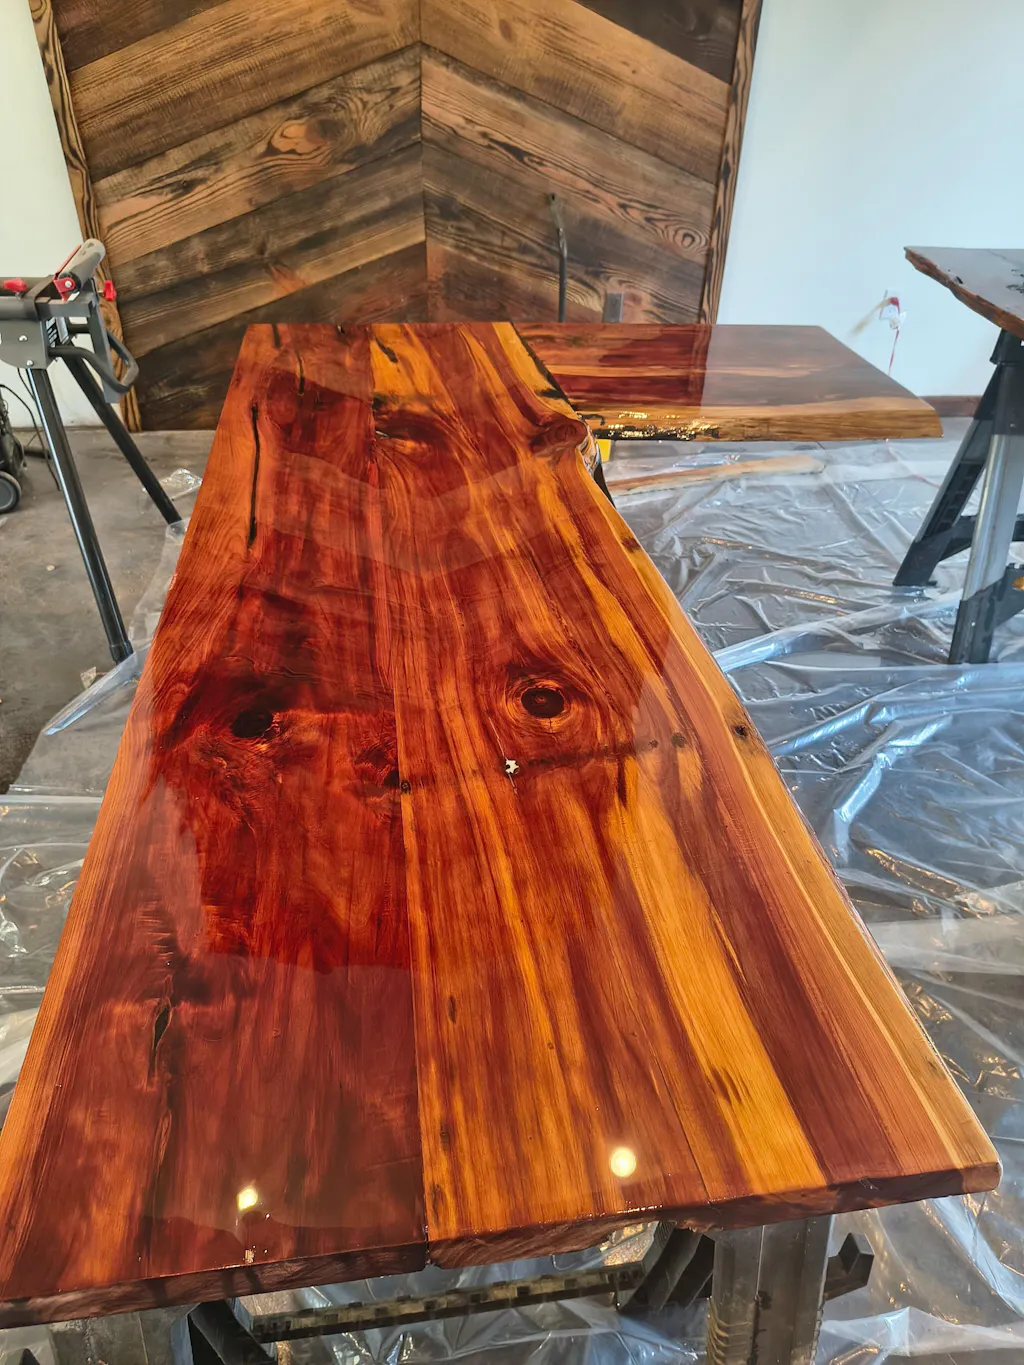
I have used bar epoxy on 3 of my live edge wood furniture pieces. I redid all of them, but seeking perfection is mostly accomplished. And the look is exactly what I was looking for. I purchased the mixing kit and the measuring cups, heat gun, and resin mixer really makes it easier. I have had these saguaro bases that had glass tops before. And placing live edge wood with bar epoxy makes this furniture unique, and beautiful to look at.
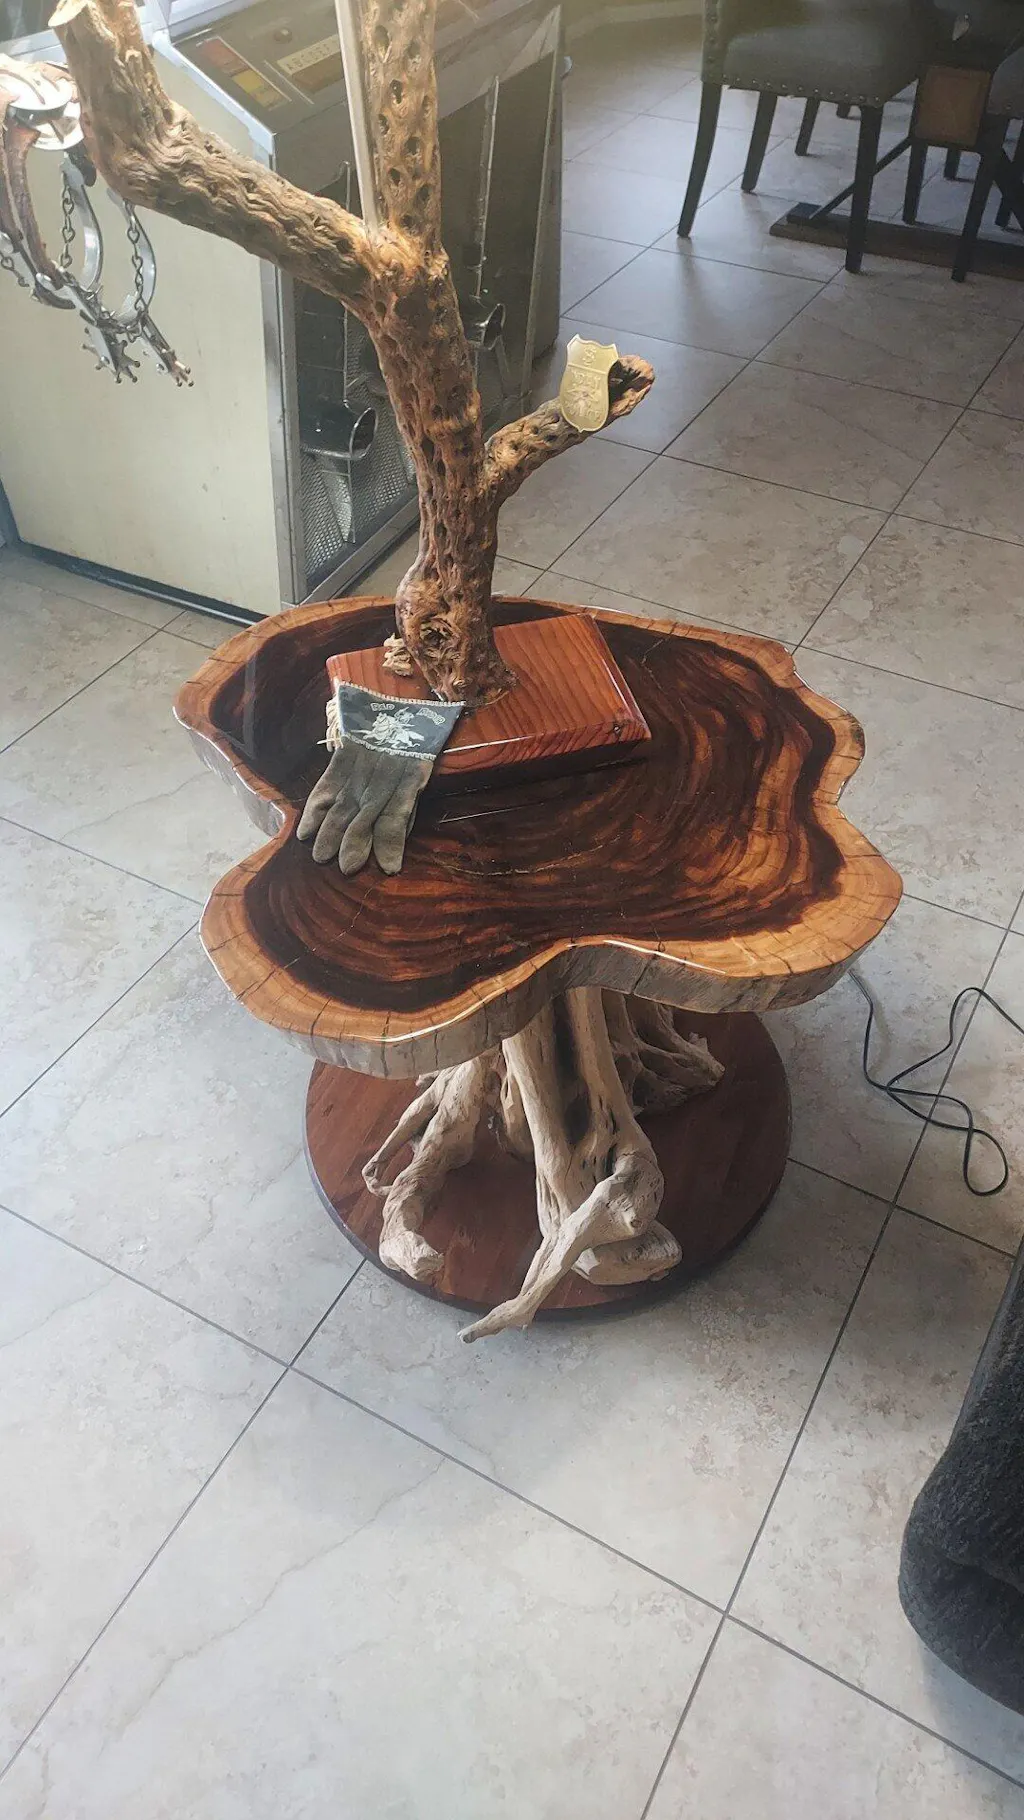
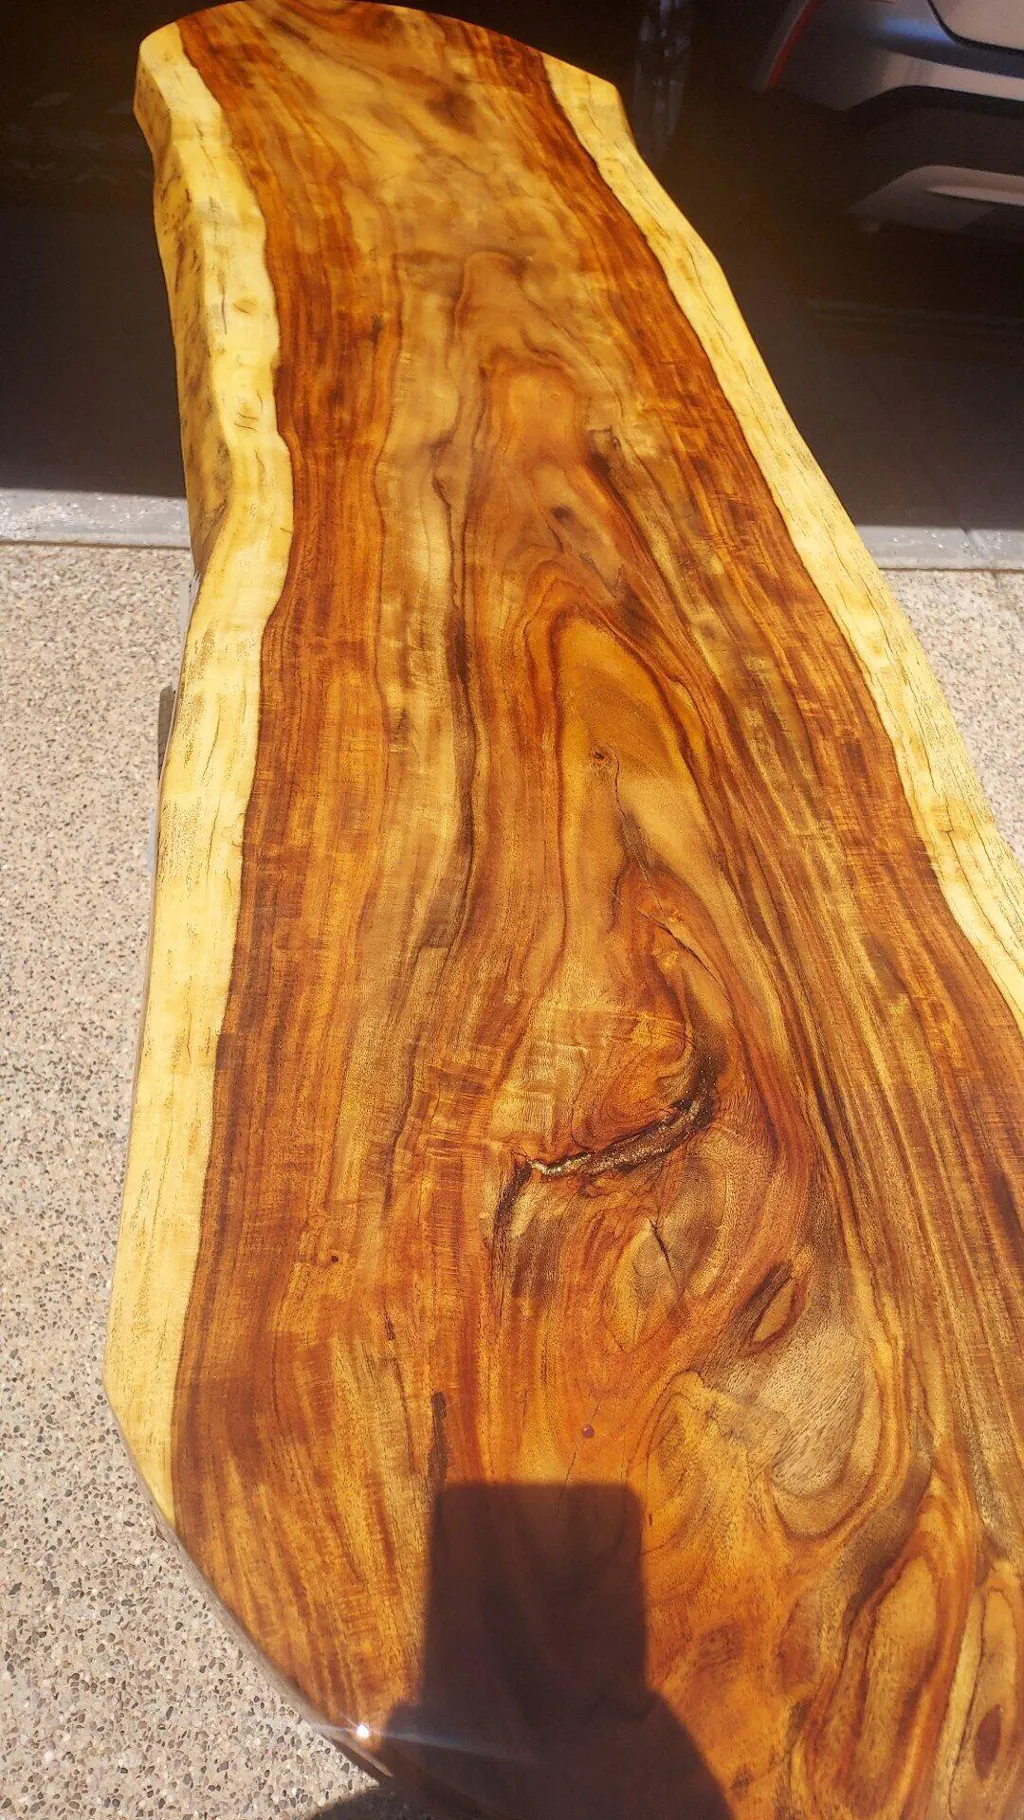
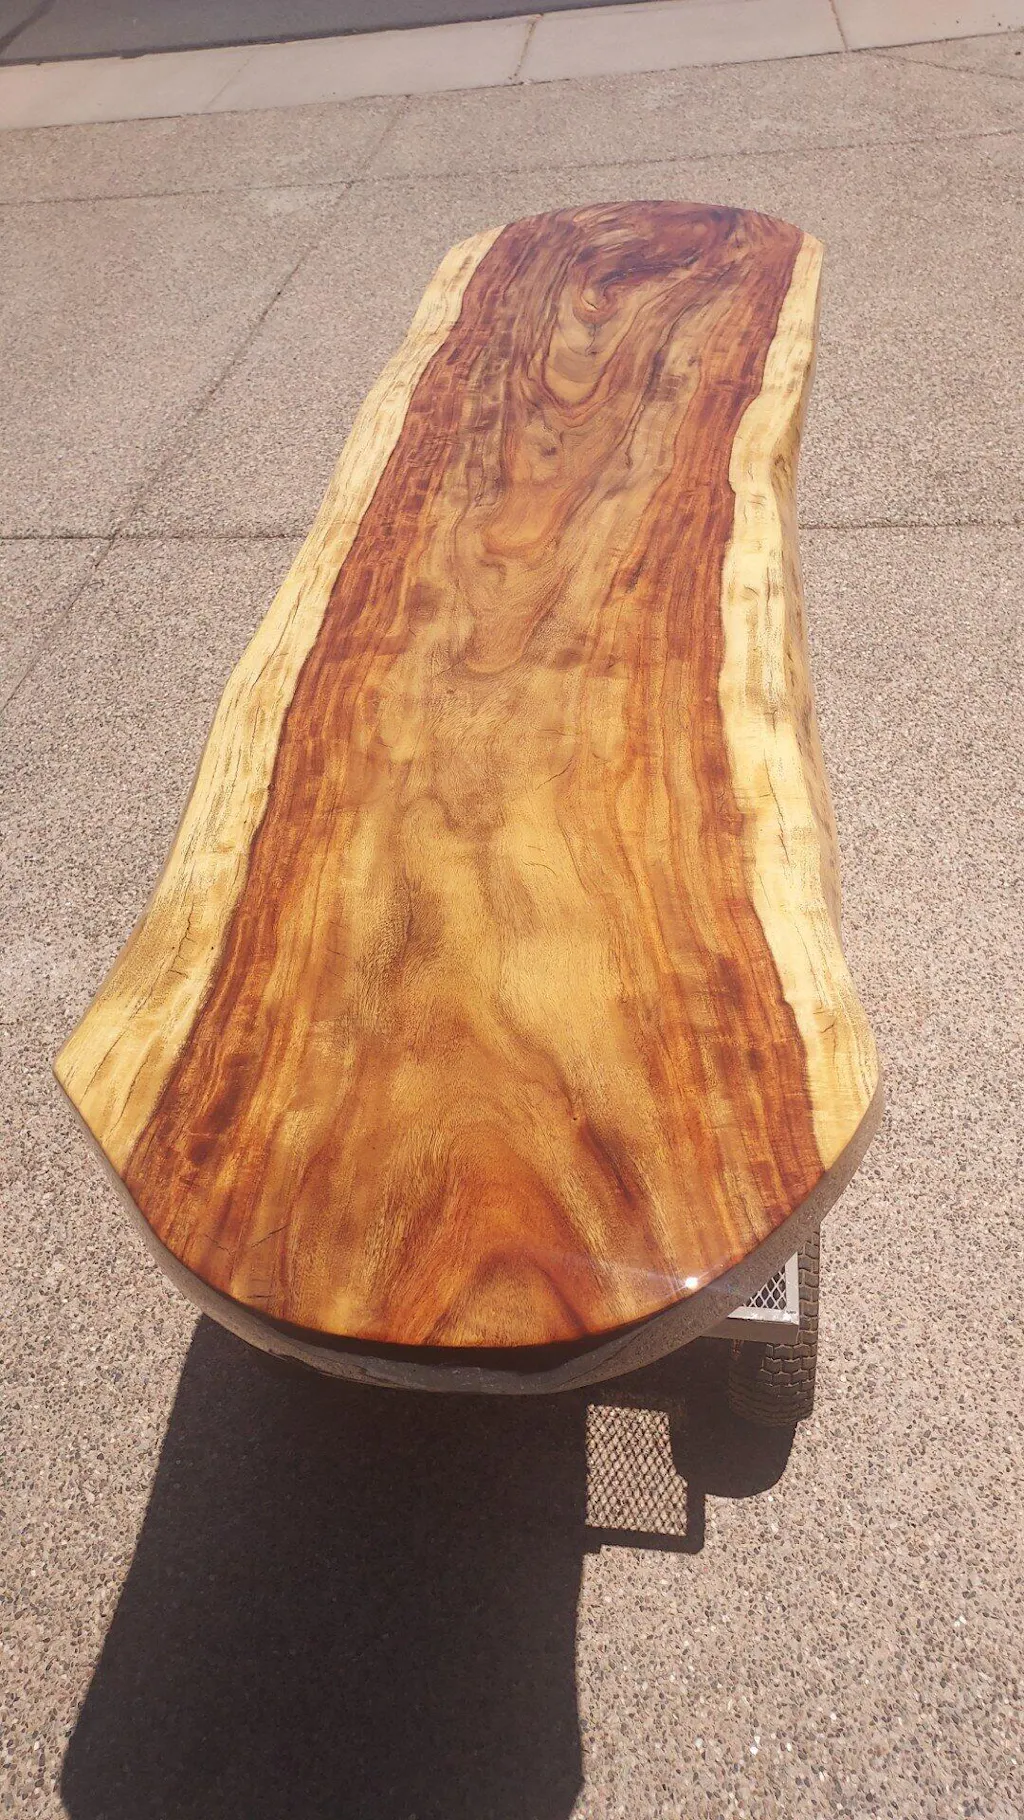
Absolutely gorgeous results on my first bar top pour.
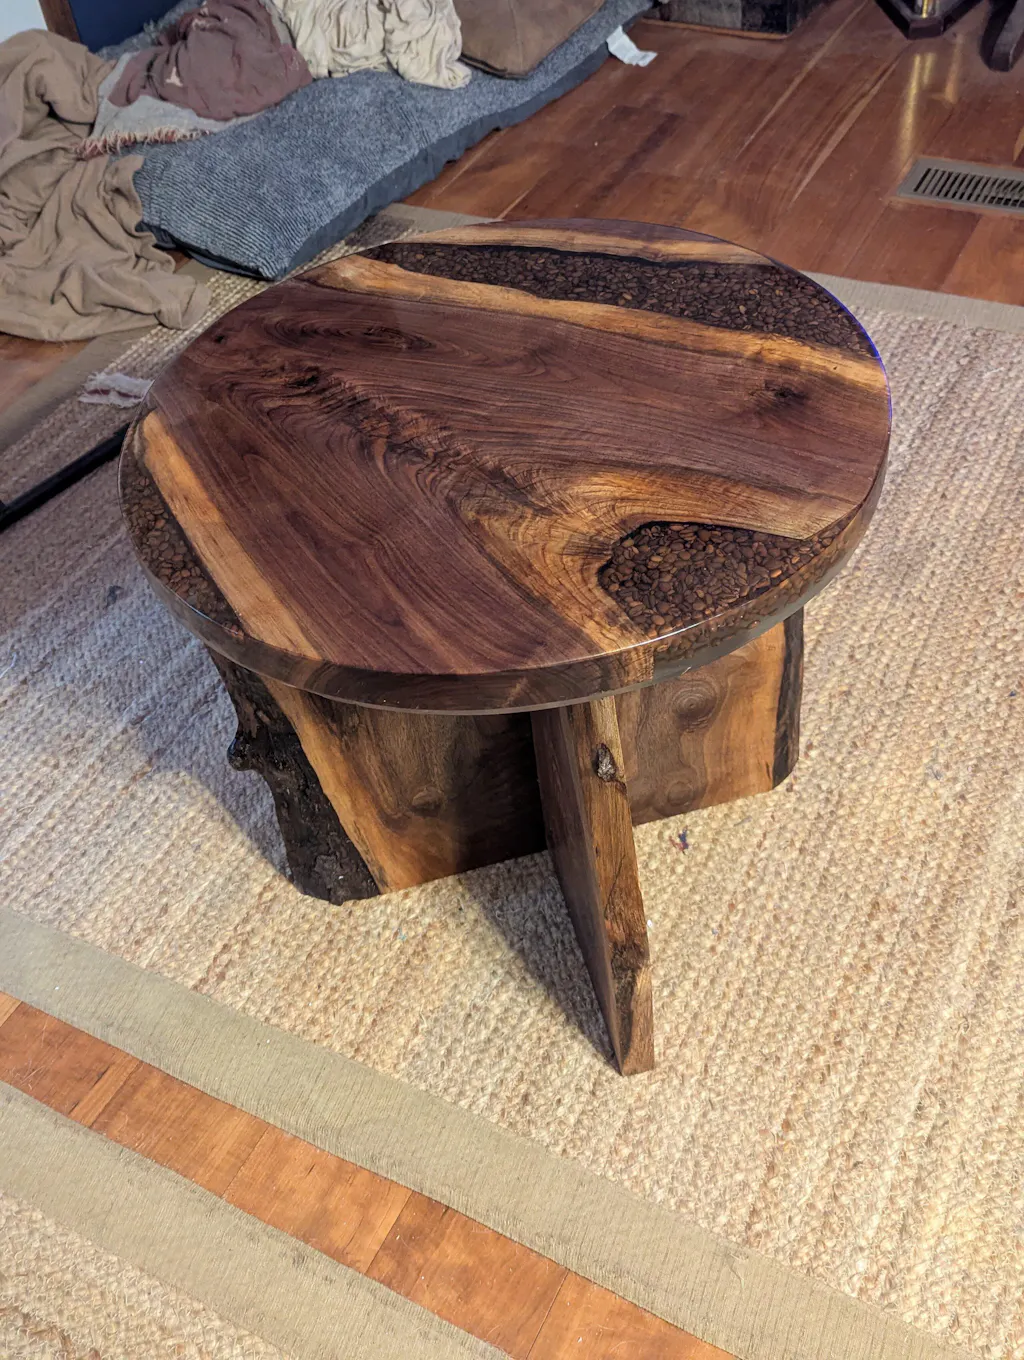
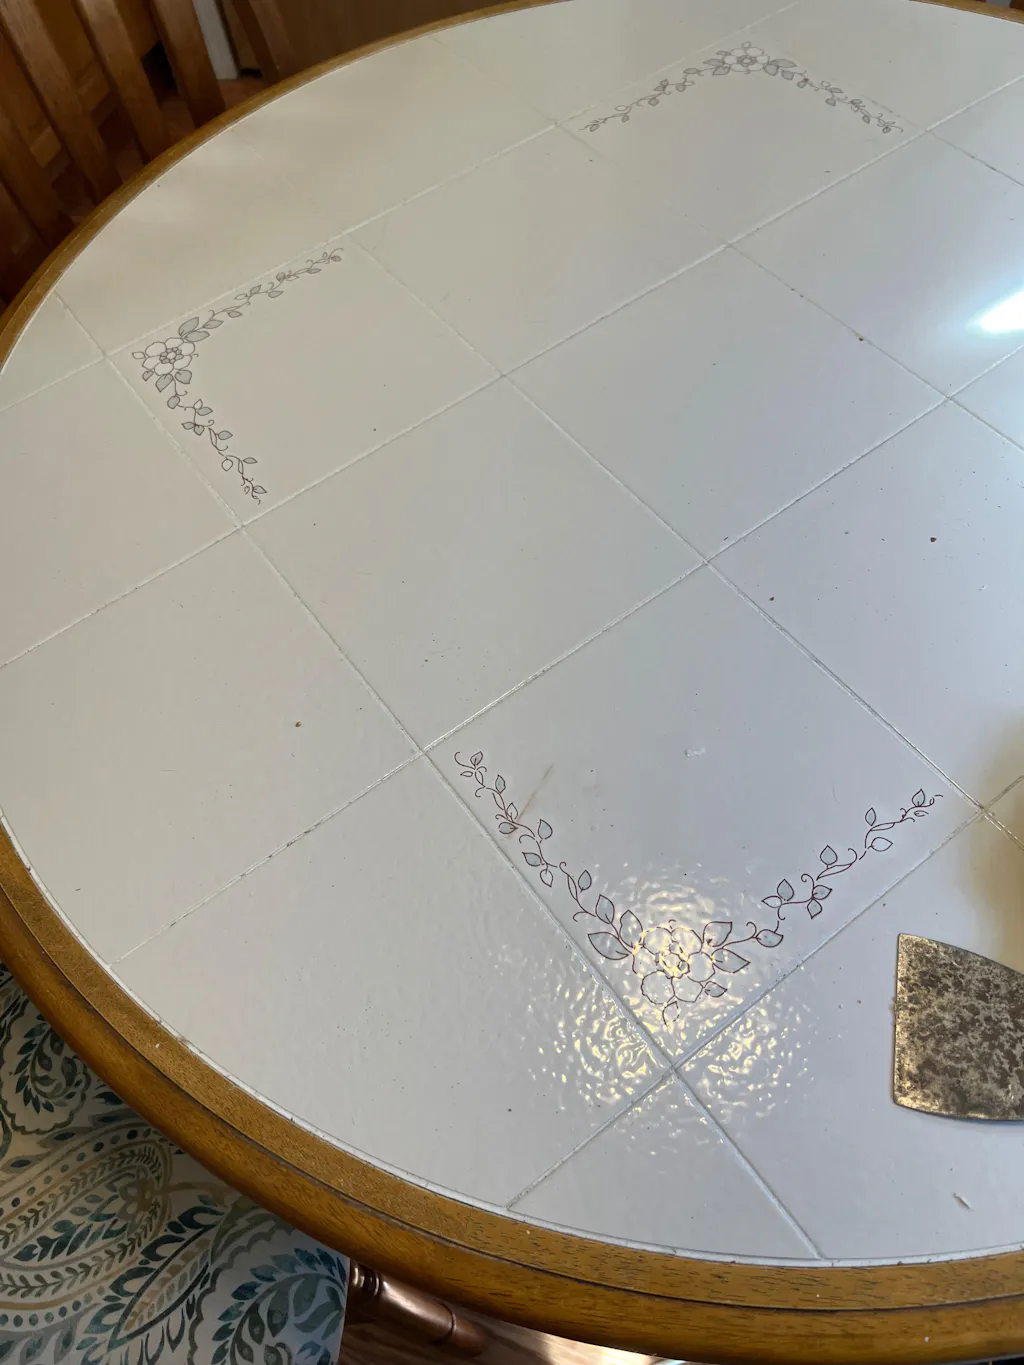
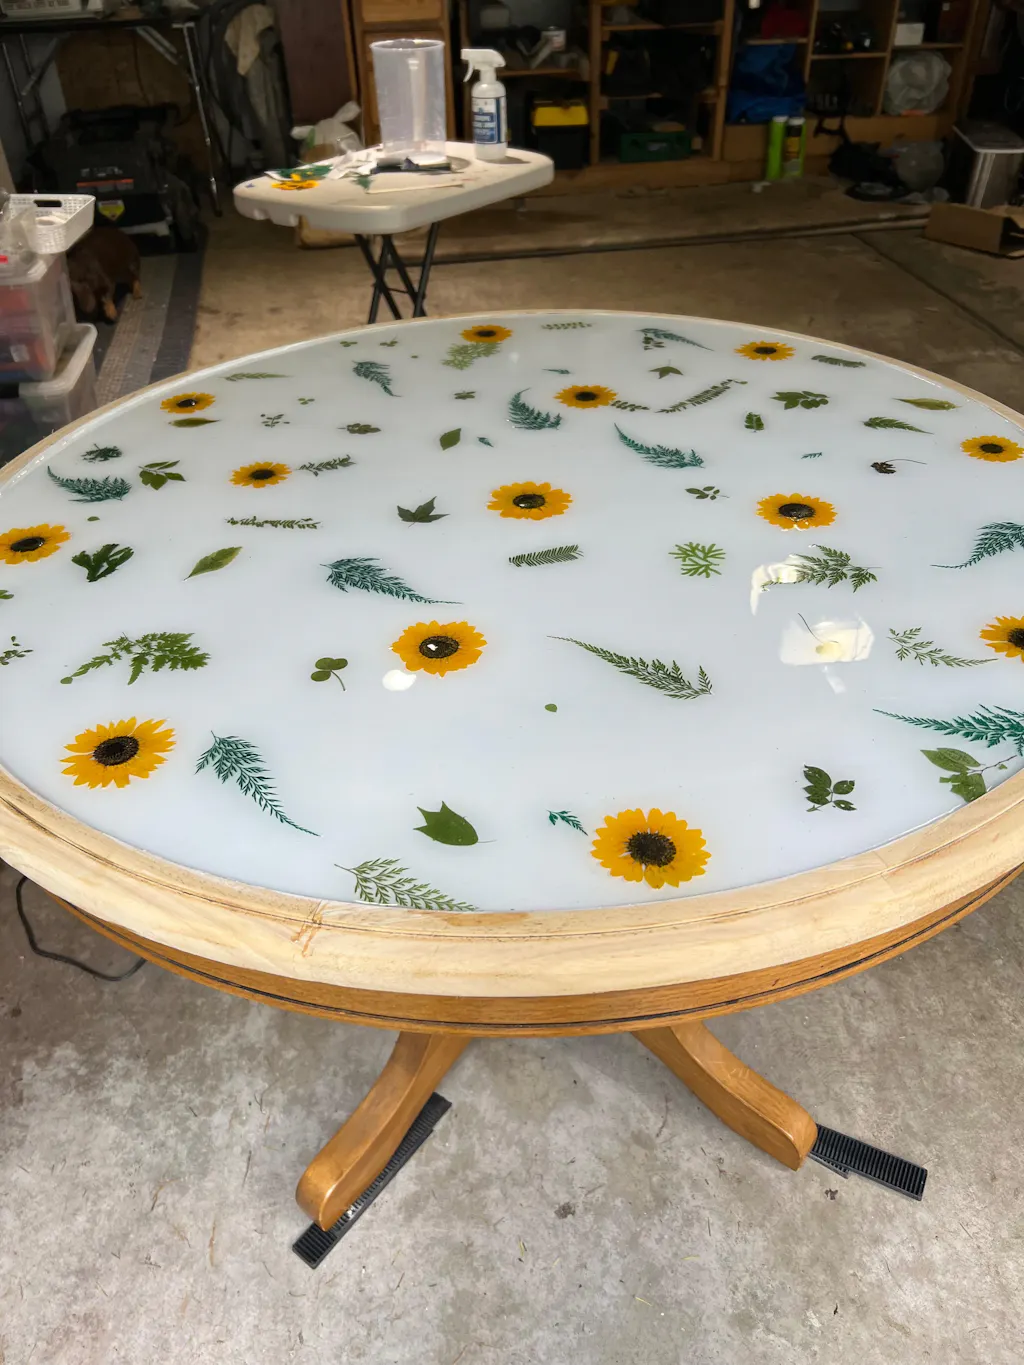
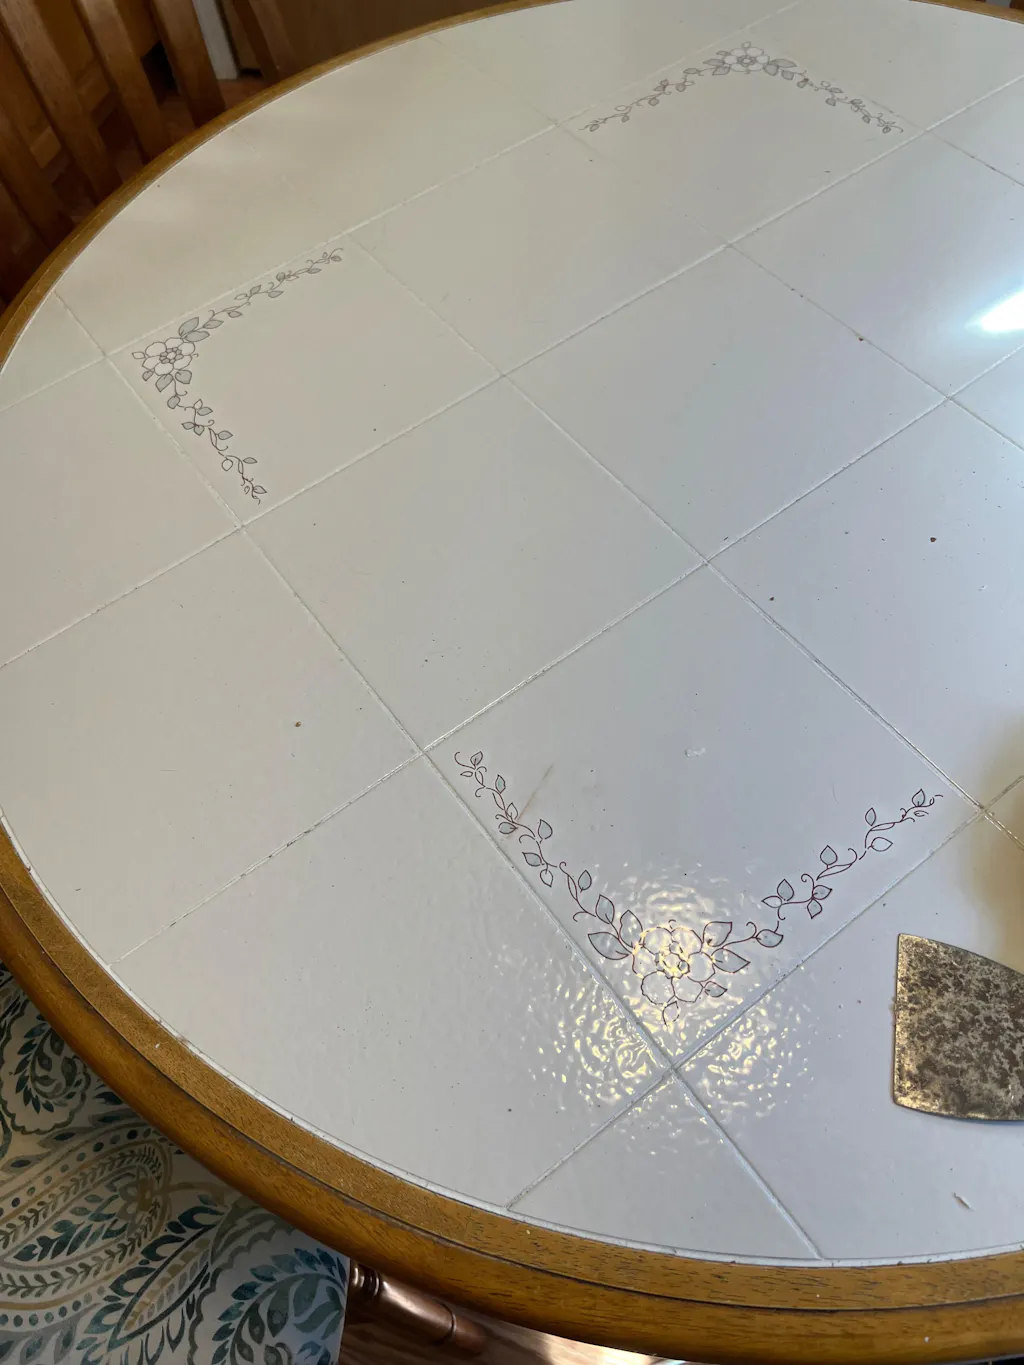
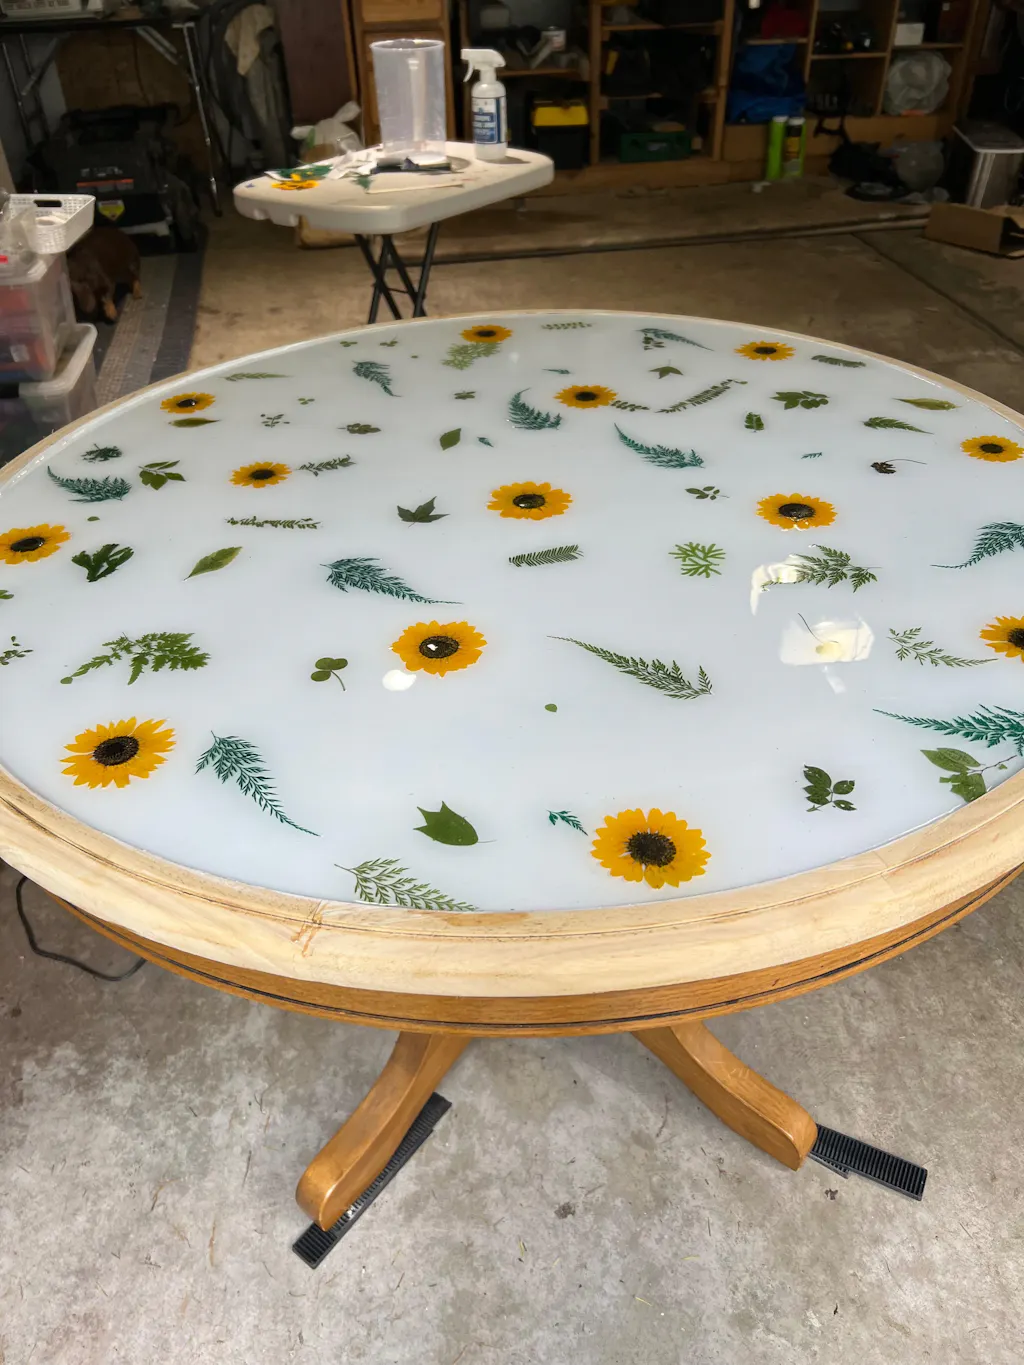
I was going to get a new kitchen table when I had an idea to refurbish my old one. I broke off the tiles, sanded the glue off and decided to use dried flowers with resin. I have bought cheap resin and it was disastrous. I decided to try ultra clear and was very happy with it. That is all I will use now. Check out the before and after pictures
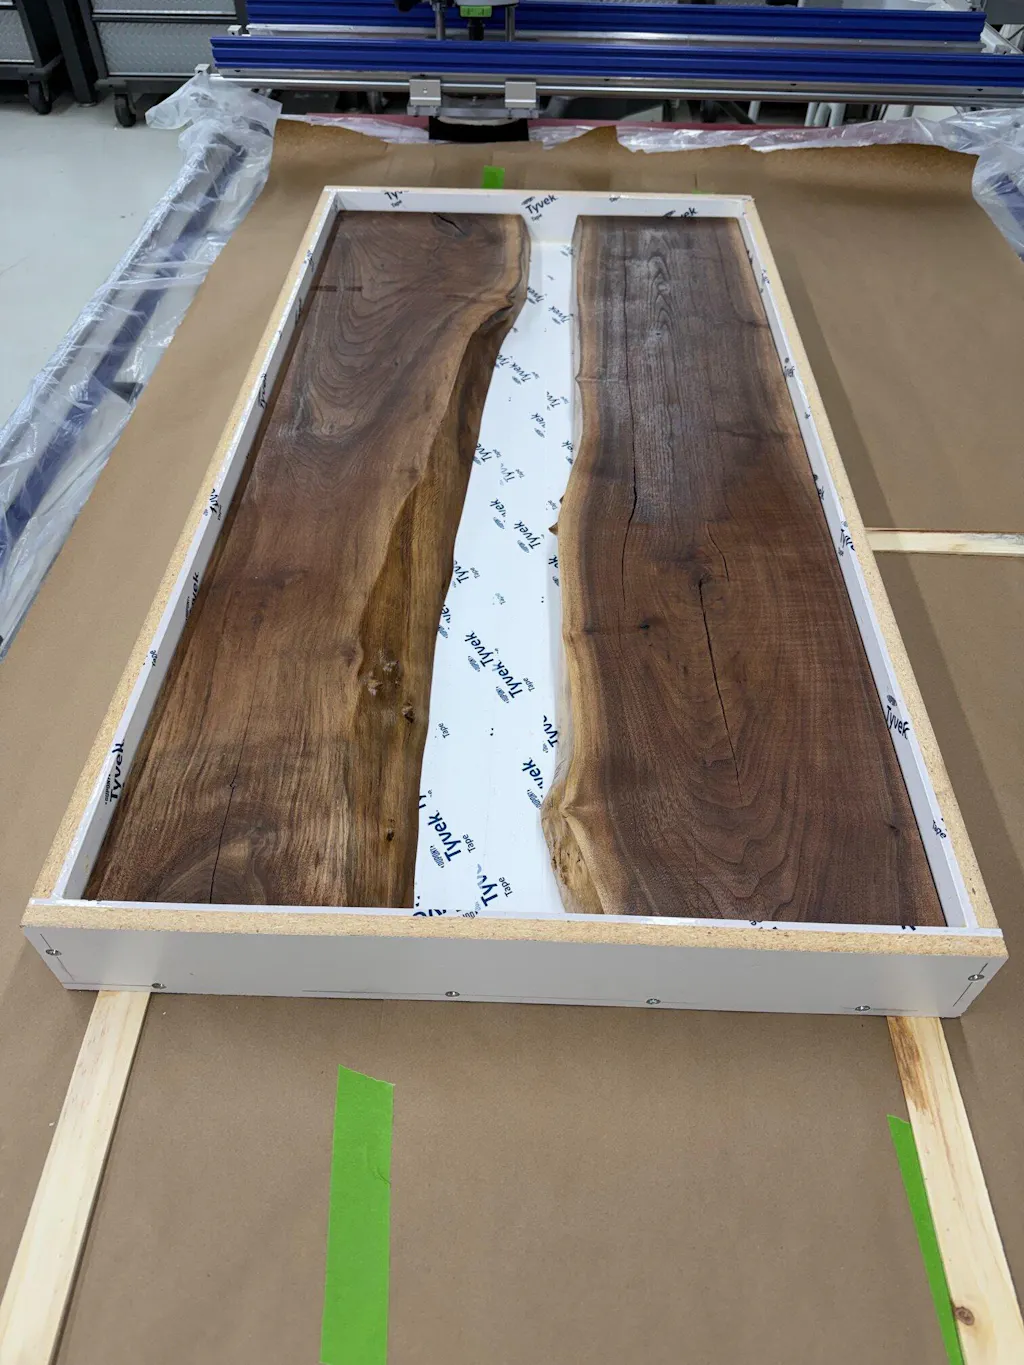
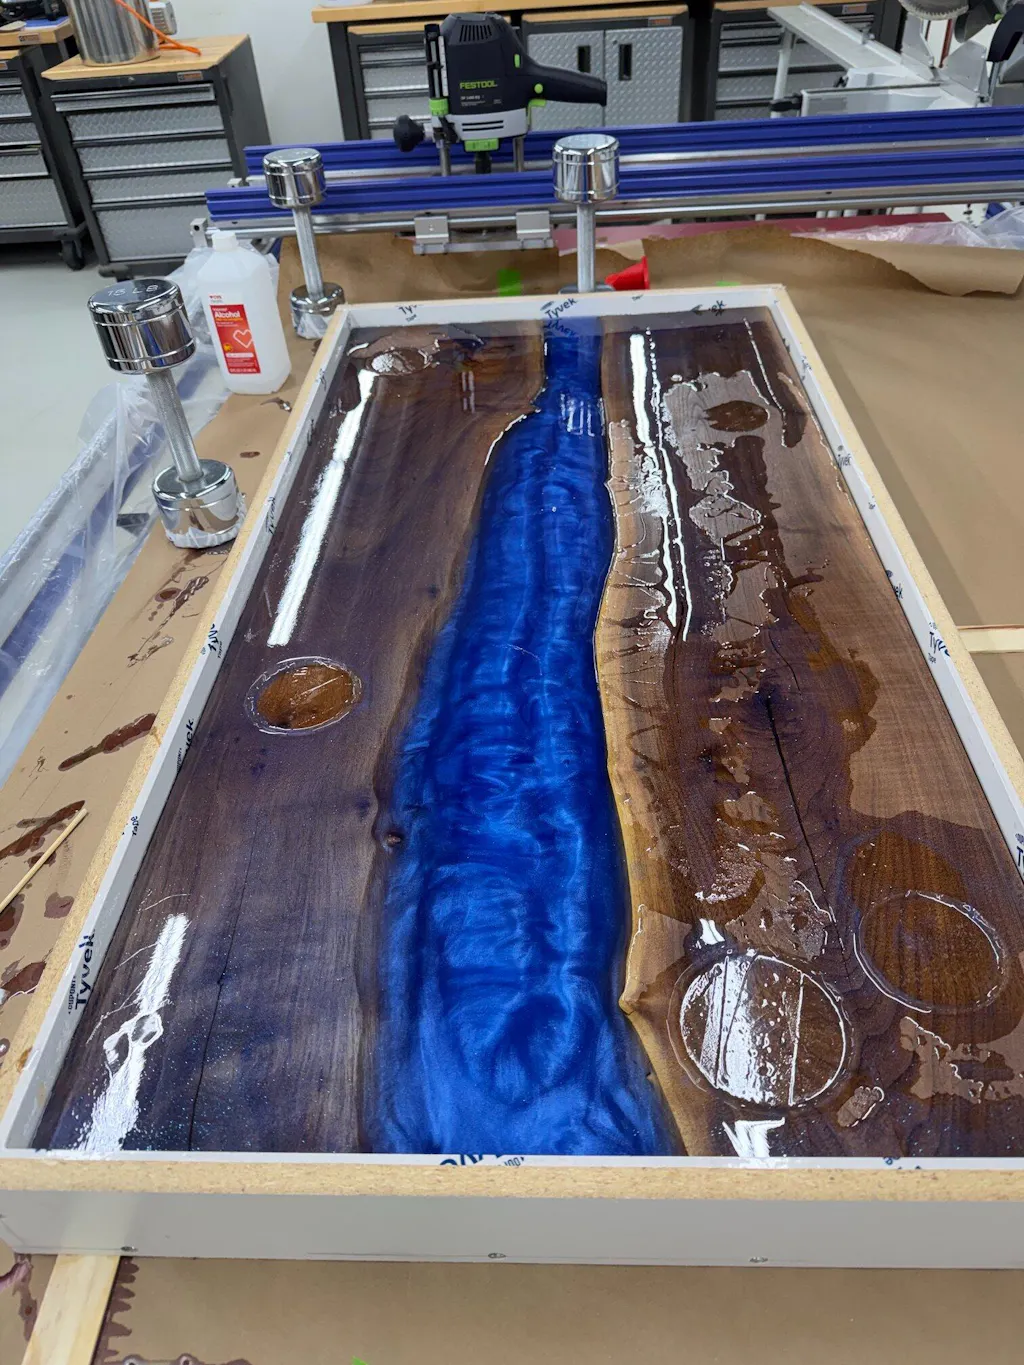
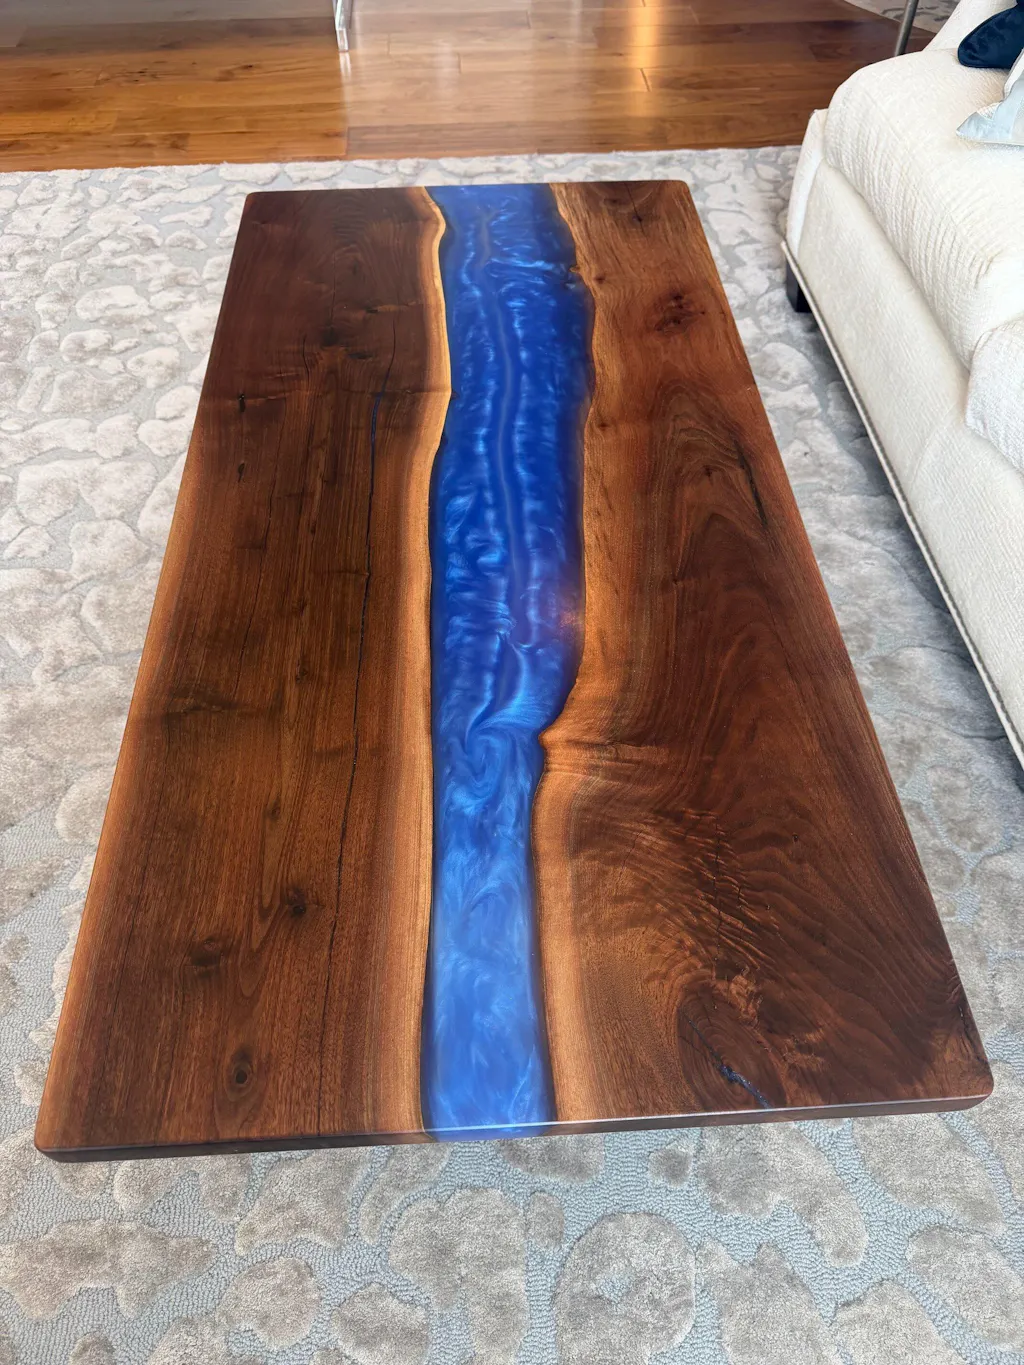
42" x 22" walnut coffee table with Ultra Clear Deep Pour epoxy, color is Electric Sapphire. The epoxy worked great, very low viscosity allowing the epoxy to cure bubble free. The epoxy finished smooth as glass. Will definitely be using Ultra Clear on the next table.
Worked great . Tip of the day the more you put on the more it’s smooths itself out for a cleaner finish. We will need to add more but very satisfied so far
I researched epoxy for a project having never used it before. Ultra clear has lived up to the reviews. Easy to use and excellent results.
We were very nervous at first because this was our first time using epoxy. Get a practice piece. And practice until you get it perfect. In our opinion the videos on YouTube make it look way too easy.
Make sure it’s at least 75°.
It’s easier to work with. Once you figure it out, this stuff is amazing. And more than likely you’re gonna have to put two or three coats on it, but it is fantastic. The proof is in the pudding.
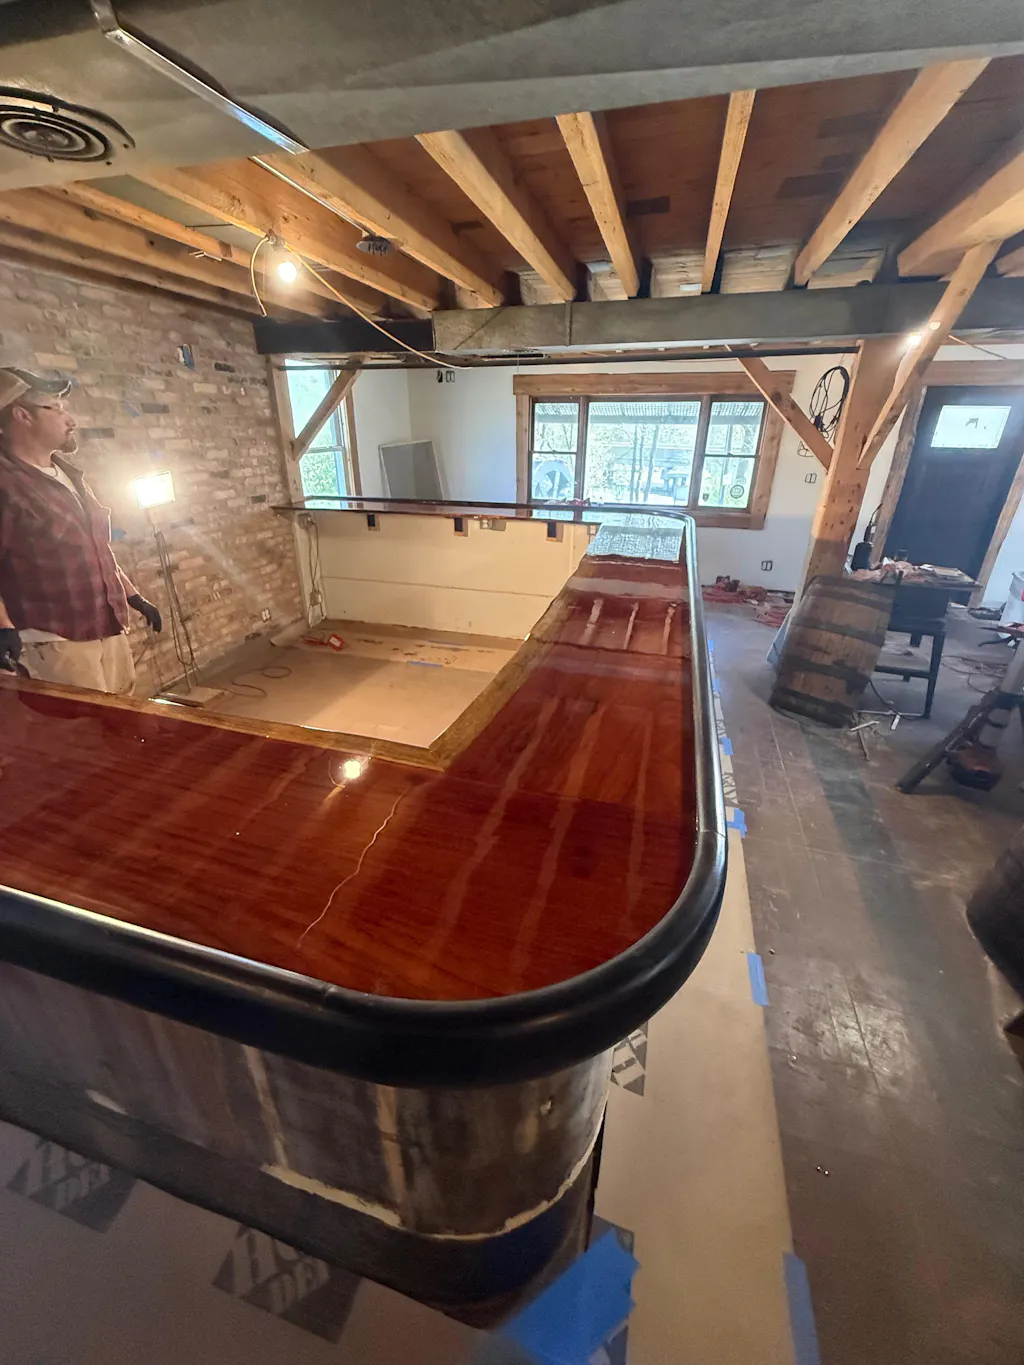
Works very well, no surprises!
Follow the directions and use the site epoxy calculator for great results with
no waste.